OPERATING MANUAL
800.749.2761 www.coachcomm.com
79
16. Upload the converted CCF to your system using the procedures detailed below. (This process is also covered in
“Uploading a Conguration File via X-Ware” on page 46 of this manual.)
A. Open X-Ware’s Advanced Settings.
B. Select
Upload File...
from the
File
menu. A Windows directory will display.
C. Navigate to your saved CCF’s location and
select it.
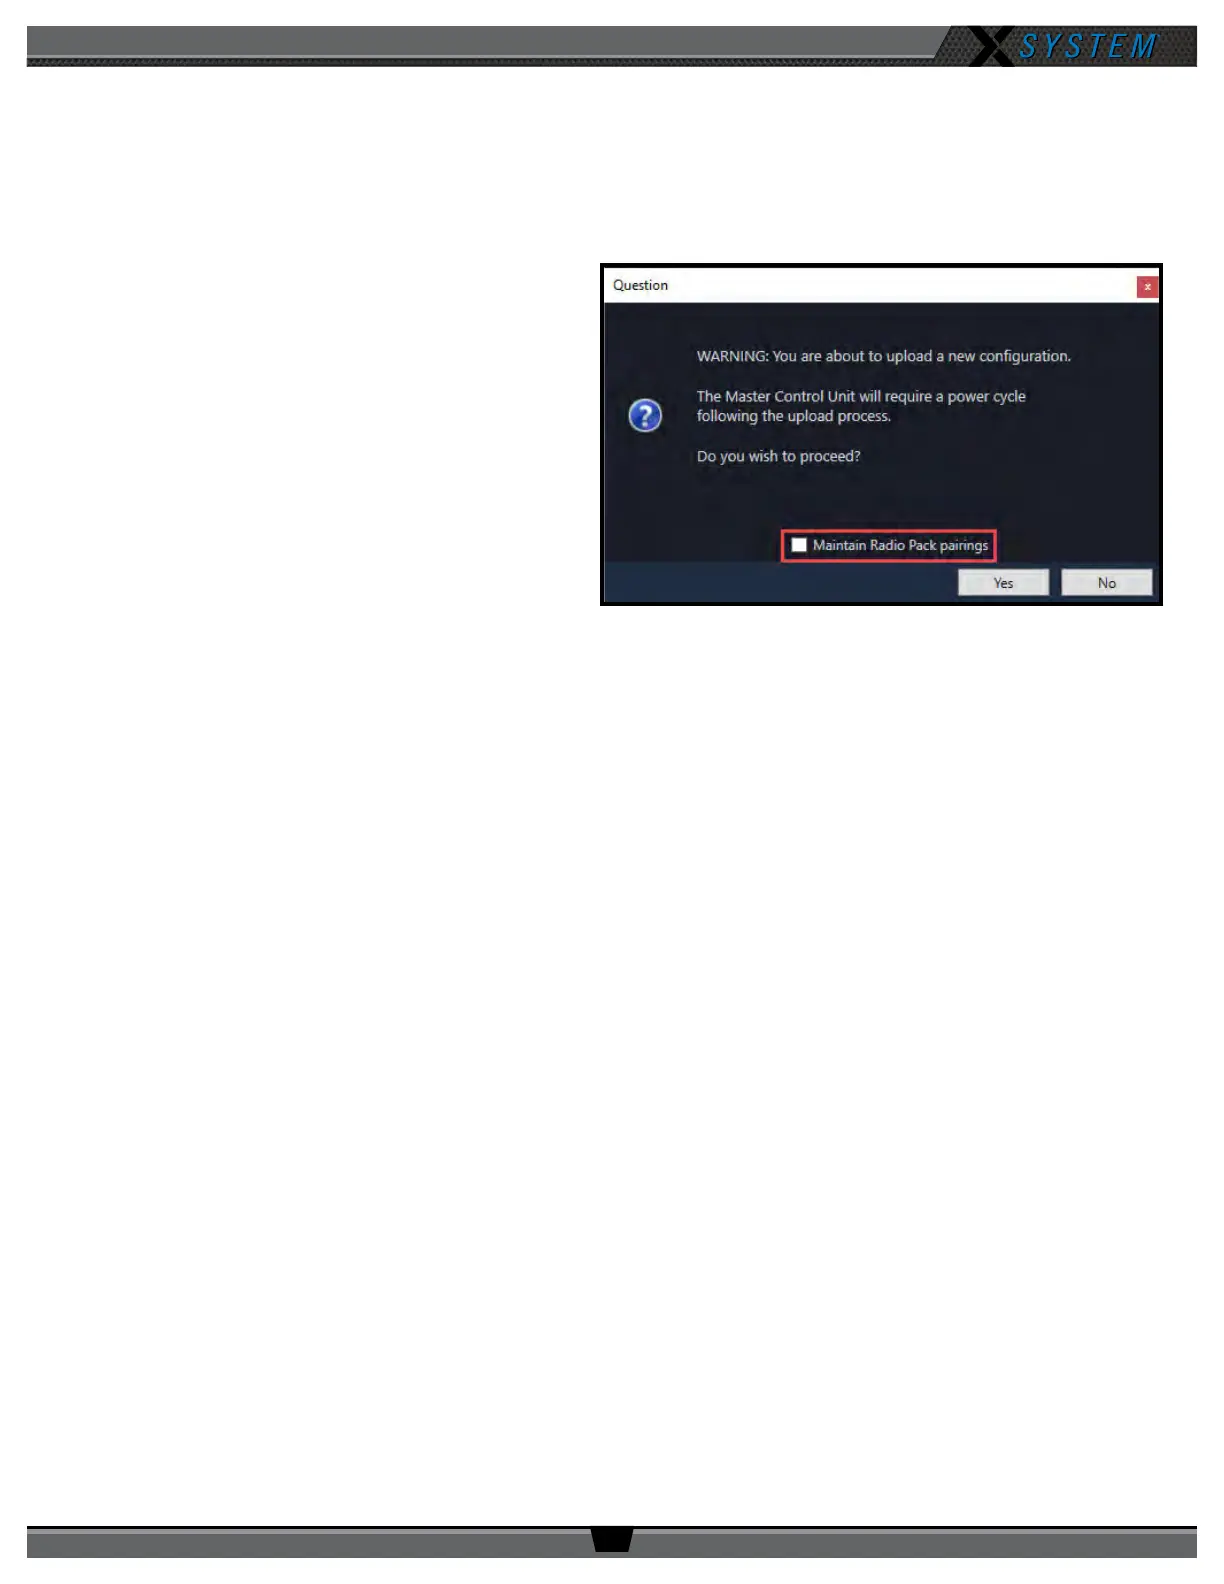
IMPORTANT: When uploading a CCF for the rst
time after a rmware update, DO
NOT check the box beside “Maintain
Radio Pack Pairings.” You will need to
re-pair your RPs to ensure that their
settings match the latest rmware
and conguration. Once the update is
complete, you may recheck this box
and leave it checked for future CCF
uploads. Re-pairing is only required
when you upload your CCF for the rst
time after a rmware update.
D. Follow the X-Ware prompts to complete the upload. While uploading, X-Ware will notify you of any
conguration exceptions.
E. During the upload, X-Ware will disconnect, and you will need to reboot your top (master) CU when prompted
by the CU LCD. Close and re-open X-Ware, and it will reconnect once CU startup is complete.
17. Re-pair all RPs by following the procedures on page 42 of this manual.
Figure 112: CCF Upload Conrmation Prompt