HGA-7001
Installation Manual
Document: 862-A0089_IM issue 1.6
COMPANY CONFIDENTIAL
Page 32 of 45
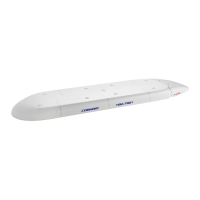
Figure 13: Fitting the Lanyard
(11) Make sure both mating surfaces of the Radome and Tail Cap are clean and free of any
remaining cured sealant.
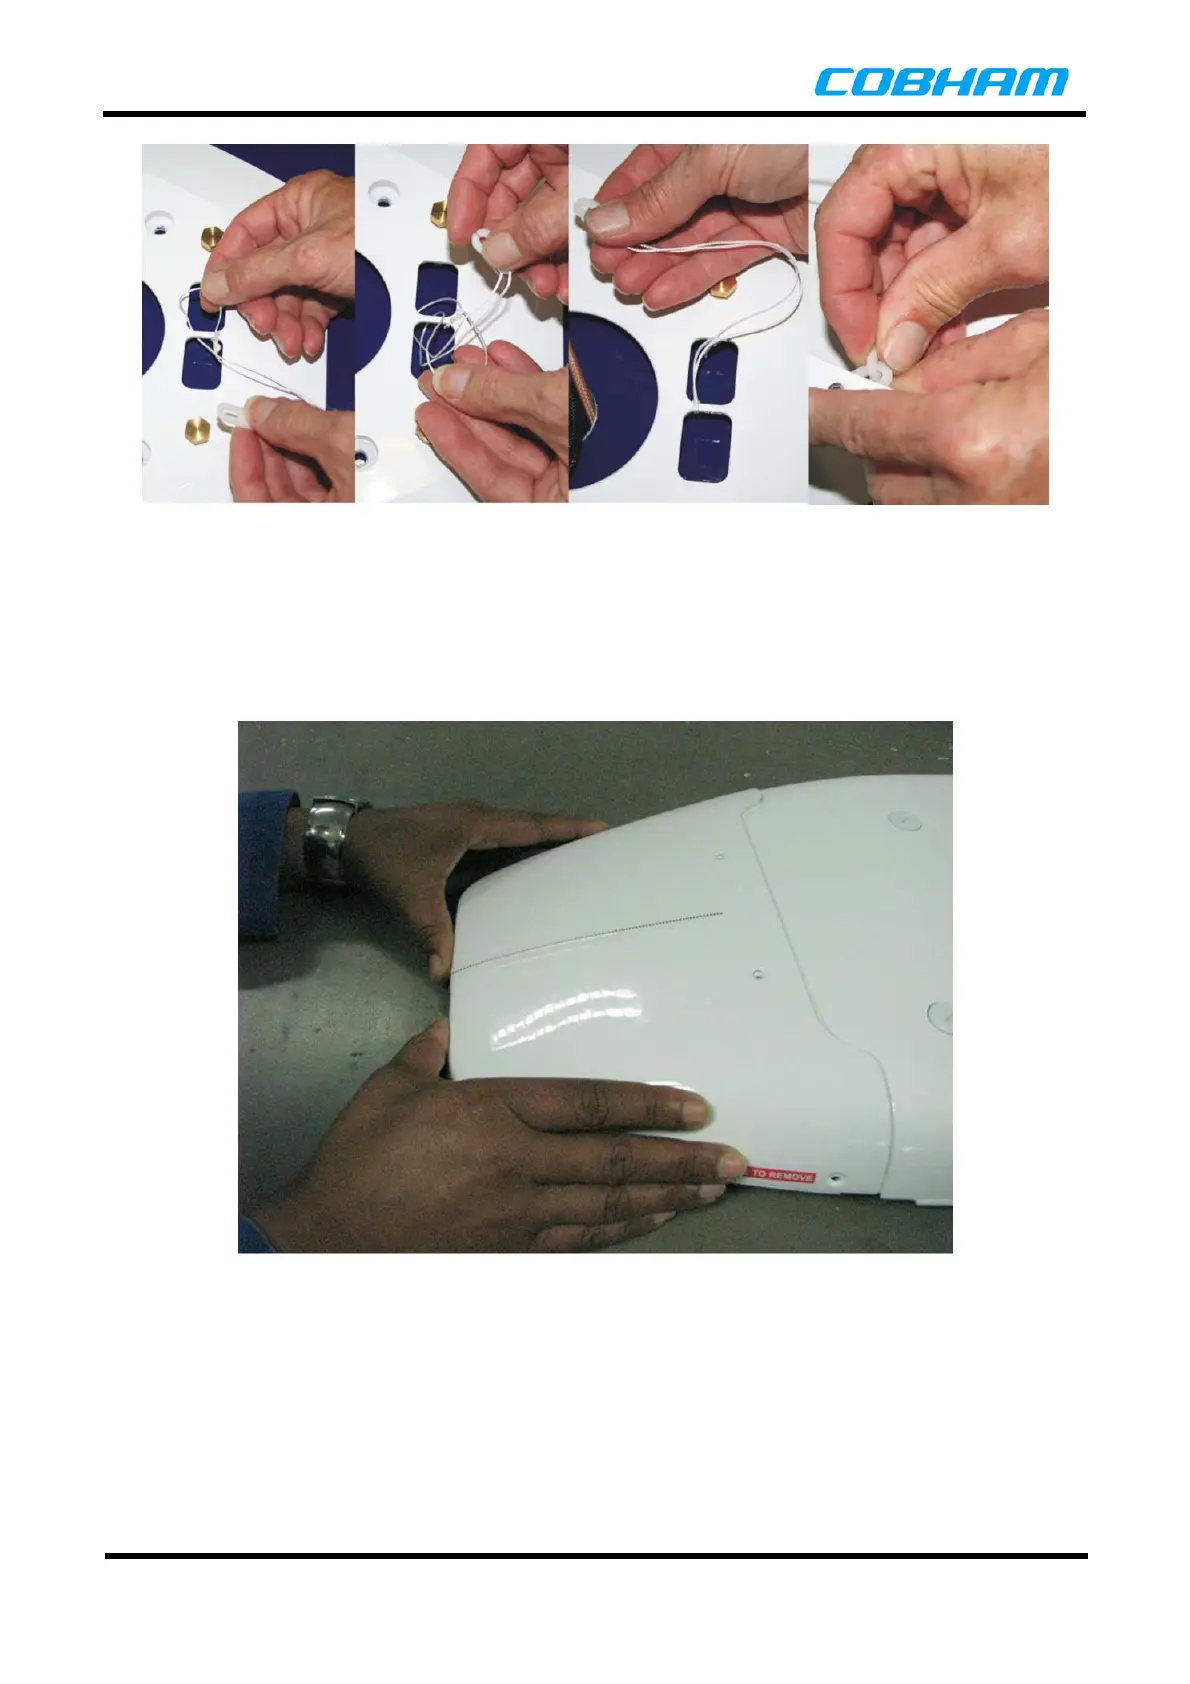
(12) Slide the Tail Cap into position until it engages the Tail Cap retainers (Refer to Figure 12 and
Figure 14).
Figure 14: Tail Cap Installation
(13) Use a Phillips #2 tip and a torque driver to tighten the 8-32 UNC screws [IPL 18-30] to 2.2
Nm (1.6 ft-lb) (Refer to Figure 15).
 Loading...