5
3.3 Powering on the DVR unit
3.4 Main Display
3.5 Navigating the DVR Menus
1. The easiest way to navigate the DVR unit menus is using the mouse. The mouse operates
in much the same way as your computer. Left-click to makes selections and choose
options. Right-click operates as a cancel or previous menu button
2. You can also use the remote control using the directional arrows and SEL button to make
selections
NOTE: This manual assumes the user has connected the mouse to control the DVR unit.
Any standard wired USB mouse will work with the DVR unit
1. Connect the Power Adaptor to the back of
the DVR unit
2. Plug the Power Adaptor into a power
outlet and turn the outlet switch to the ON
position
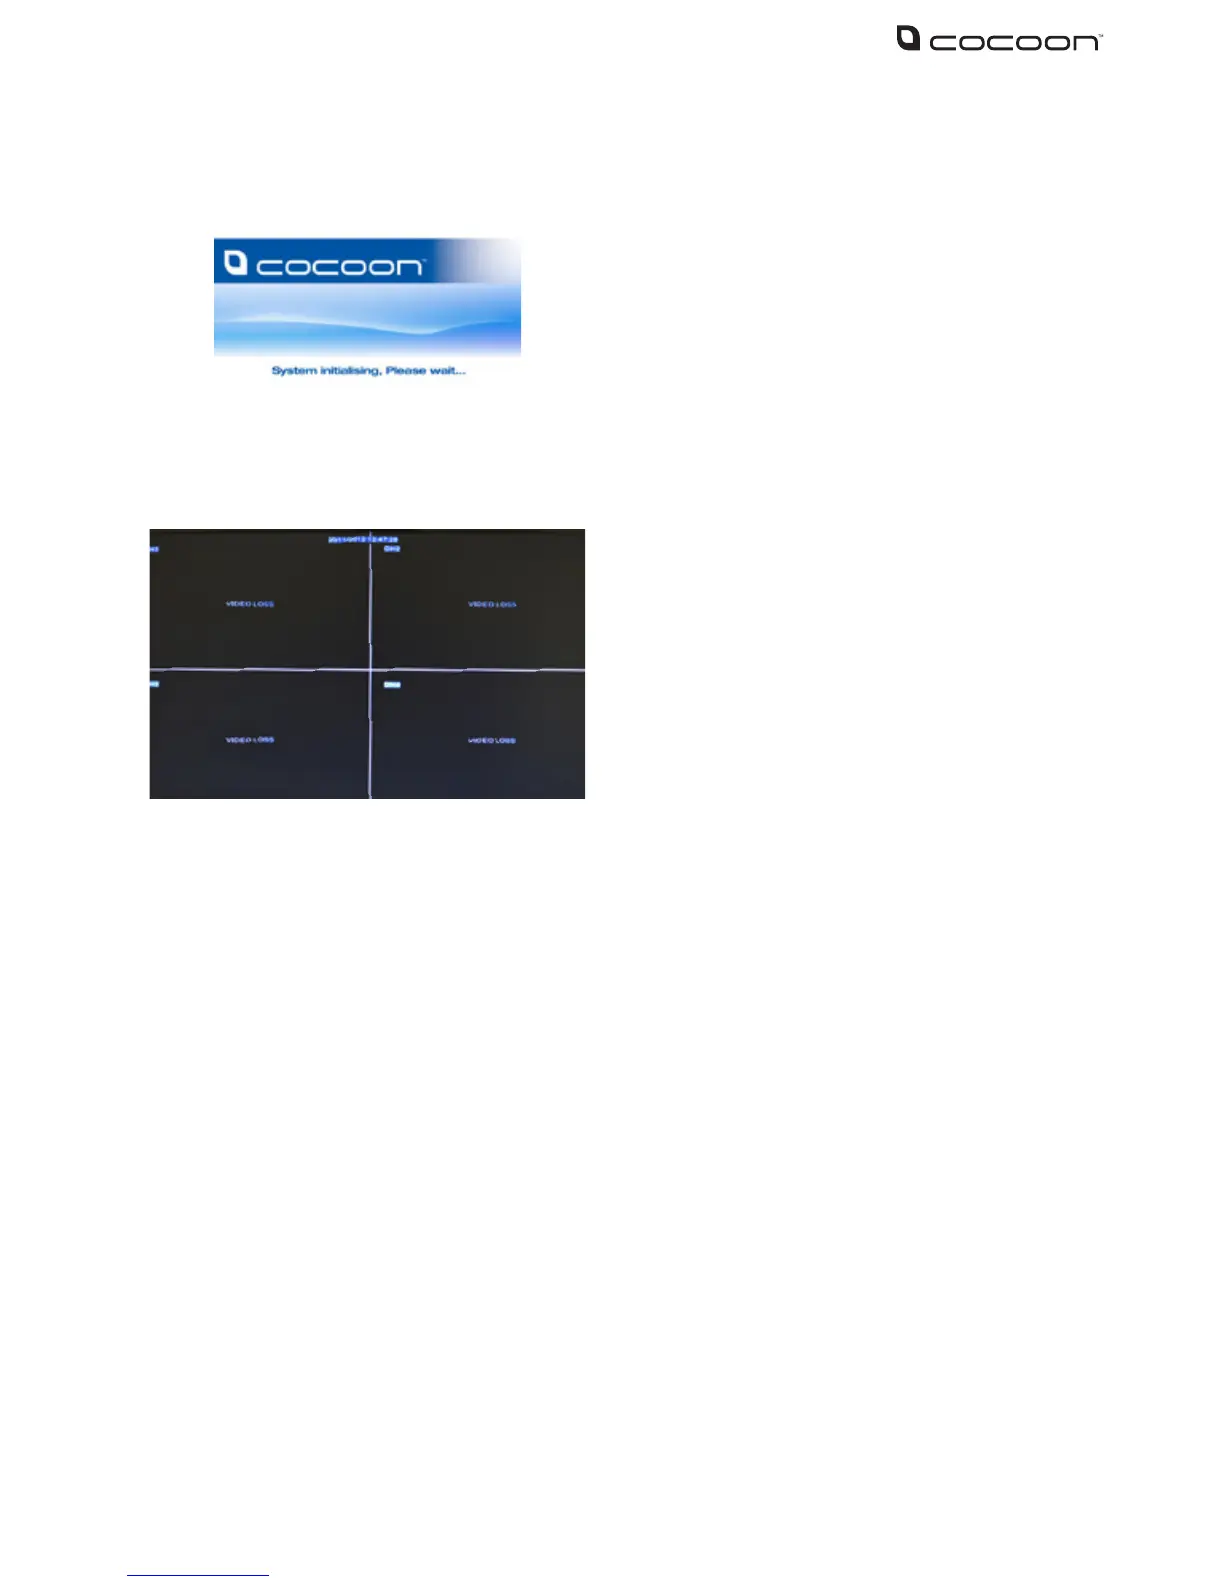
3. Once Power is connected to the DVR
unit it will proceed through the boot
sequence
Once the DVR unit has nished the boot sequence
the main split screen display will appear. Each
camera will be labeled CH1 to CH4
TIP: Double clicking a camera view will make the
picture full screen. Double click again to go back to
split screen mode