M0203A5A_uc CommScope ERA
®
CAP MX Medium Power Carrier Access Point Installation Guide
© November 2020 CommScope, Inc. Page 45
Installing CAP MXs
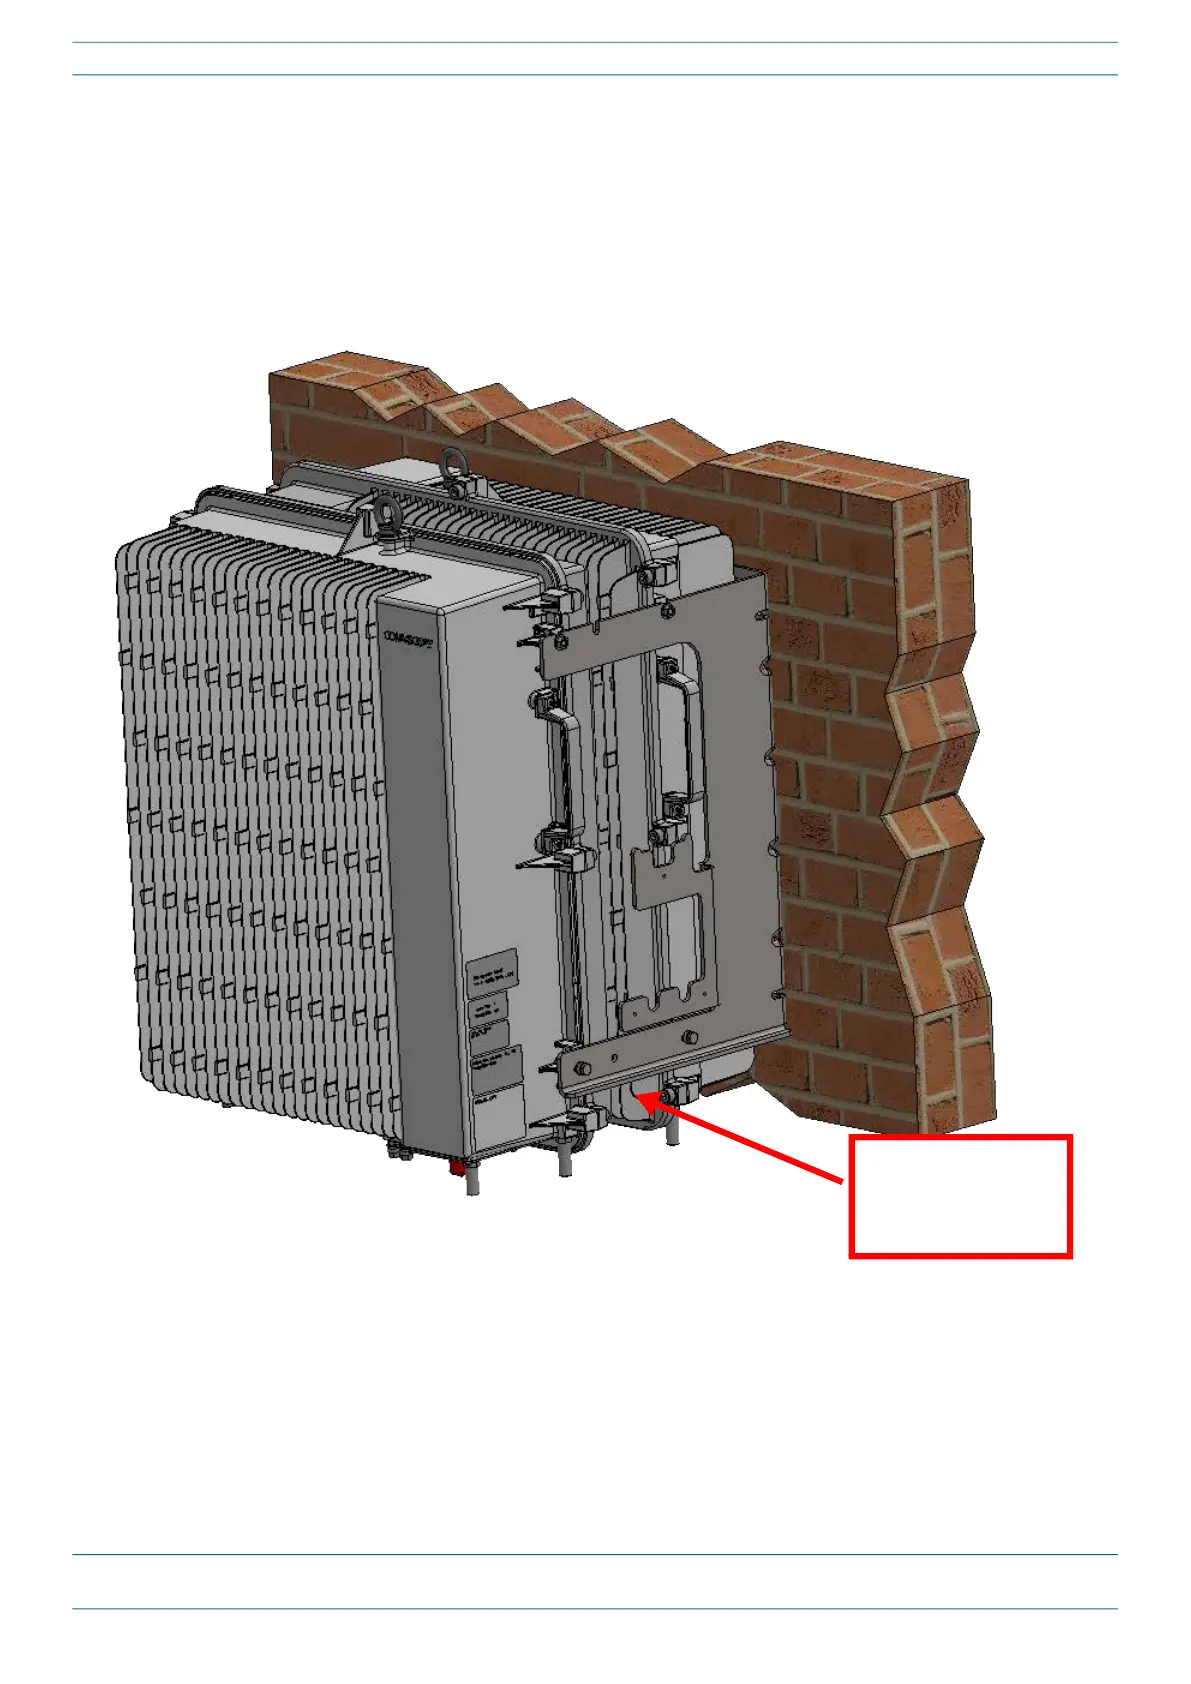
17 On lower right of the CAP MX-2, reinstall the M6x12 screw and its washers that you removed in Step 13
on page 43.
a Slide first the M6 split-lock washer and then the M6 plain washer over the M6x12 screw.
b Insert the M6x12 screw through the screw hole shown below, and screw it back into the CAP MX
chassis; torque to 11 N-m (100 in-lbs).
18 Repeat Step 11 on the left side of CAP MX-2.
19 Do one of the following:
• If this installation requires a Hybrid Fiber Splice Box, go to "Attach a Hybrid Fiber Splice Box to the
CAP MX” on page 46.
• If this installation does not a Hybrid Fiber Splice Box, go to "Grounding the CAP MX” on page 51.
M6x12 bolt and
washer set in hole
furthest from the
mounting surface