Replacing the Heaters
Process Heater Tube
(continued)
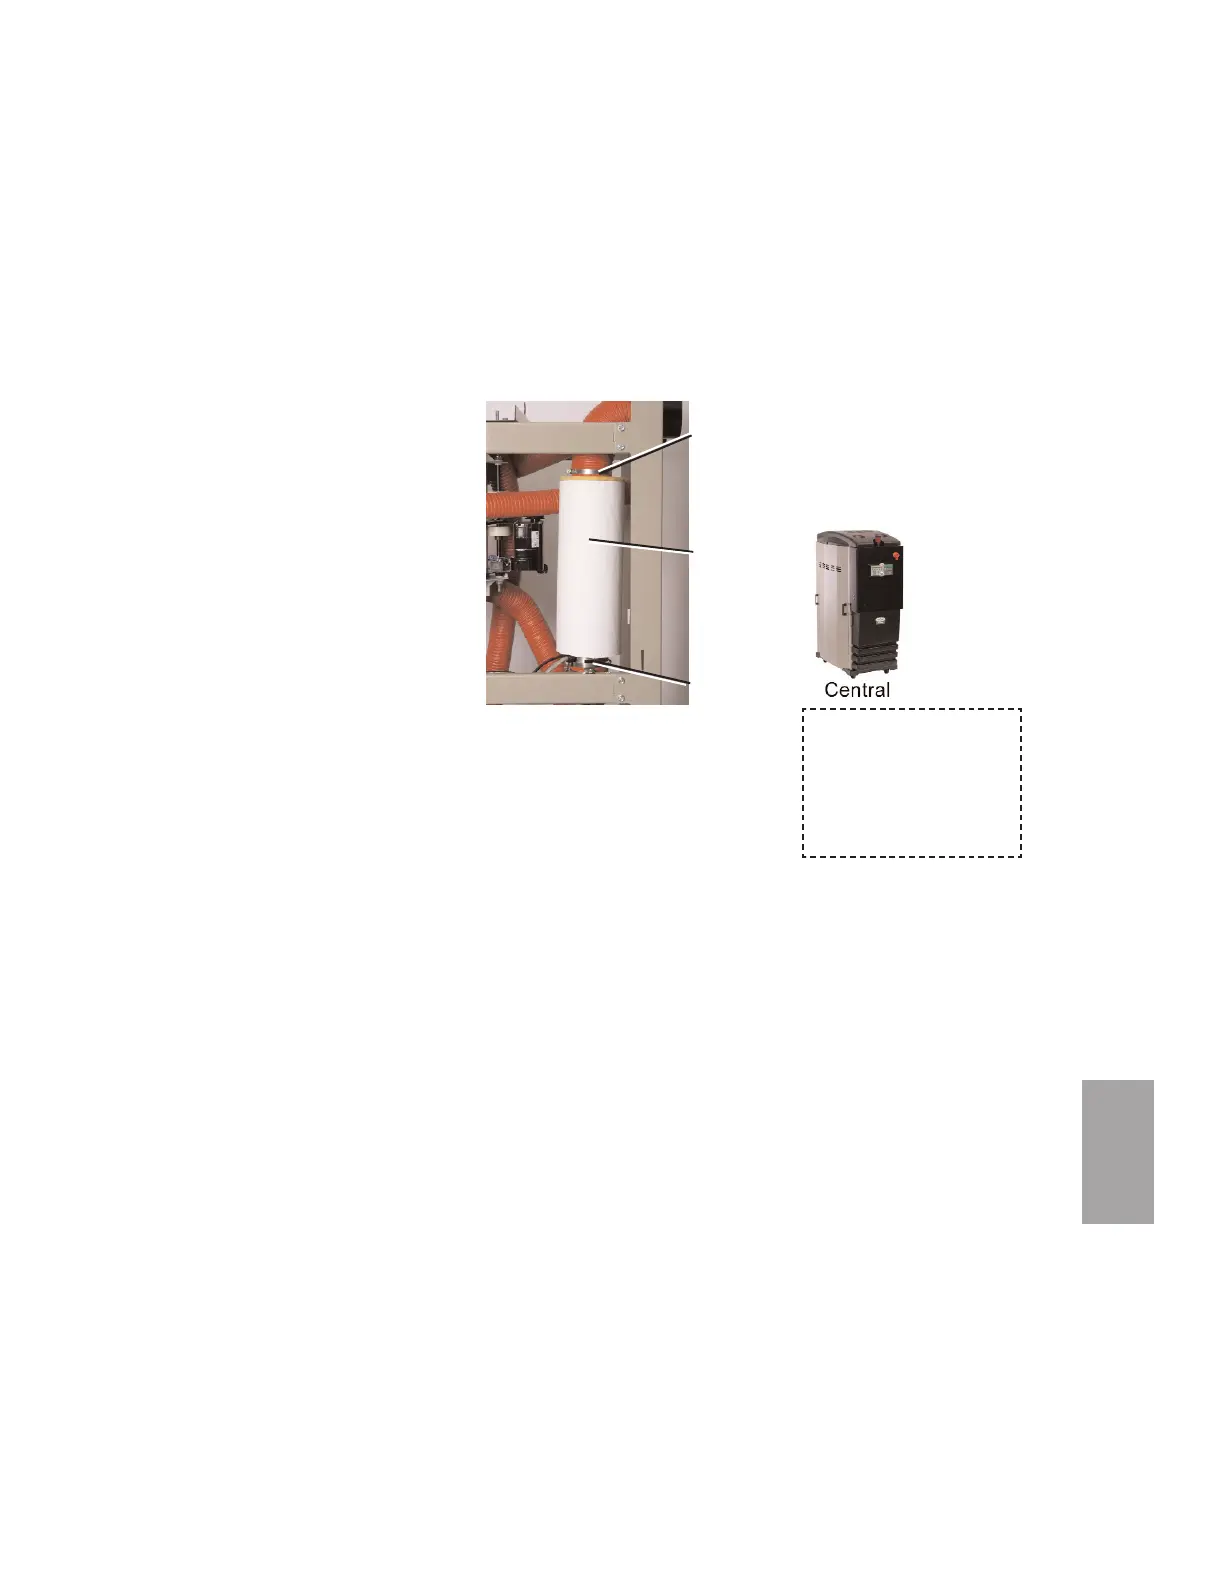
6 While supporting the heater tube,
remove the hose and clamp at the
top of the heater tube.
7 Loosen the clamp holding the bot-
tom of the heater tube to the sup-
port bracket, and remove the heater
tube from the dryer.
8 Compare the markings on the out-
side of the heater tube to ensure the
new one has the same voltage and
kW ratings as the original heater
tube. This information is on the end
nearest the wires.
9 Secure the new heater tube to the support bracket with the clamp, with
the wires of the heater tube to the bottom.
10 Connect the hose and clamp at the top of the heater tube.
11 Connect the hose and clamp at the bottom of the heater tube.
12 Put the original insulation back on the heater tube. Apply duct tape to
the seam that was cut during removal.
13 W-200 - 400 models - Route the heater wires with the existing harness
to the control box. Put petroleum jelly on the tips of the cable, and push it
through the holes in the control box. Reference the wiring diagram, and
connect the heater wires to the solid state relays. Connect the high temper-
ature switch wires to the quick disconnect near the heater tube.
W-150 models - Connect the heater wires and high temperature switch
wires to the quick disconnects near the heater tube.
14 Replace the side panel of the dryer.
15 Make sure the process heater fuses are not blown before applying power
to the new heater.
6
Troubleshooting
Troubleshooting l 6-35
When configured as a
central dryer, there is no
process heater in the sys-
tem. Therefore, replac-
ing the process heater is
not applicable.
Insulation
Clamp
Clamp