32
1. Connect the pump group to the installation by using the pipes. The installation
to the piping must be carried out without any tension.
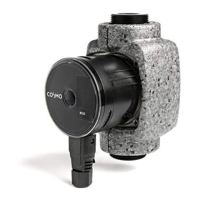
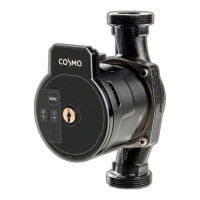
2. Connect the pump.
3. Carry out a pressure test and check all thread connections.
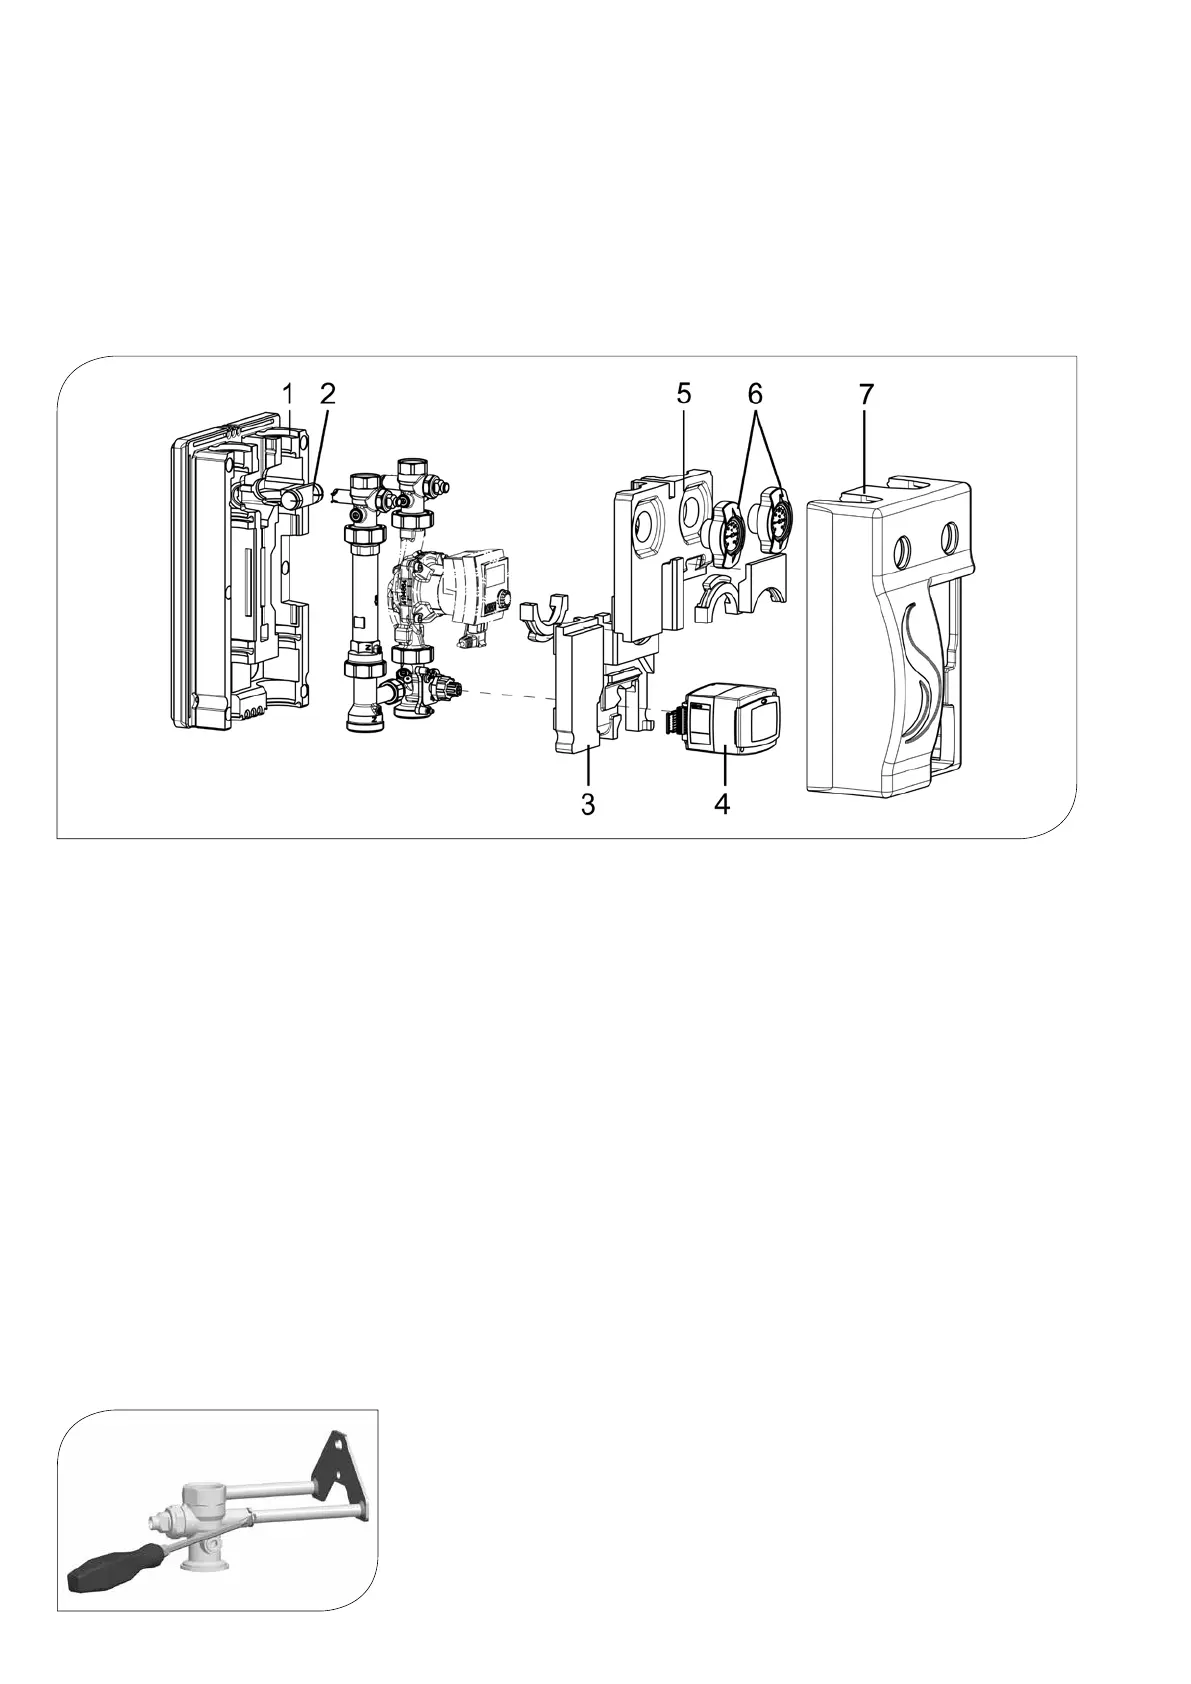
4. Installation on a distribution manifold: Mount the insulating back shell (1) of the pump group.
5. Mount the EPP element (2) in the insulating back shell (1).
6. Mount the lower insulation element (3) of the pump group.
7. Mount the actuator (4), see page 25.
8. Run the cable of the actuator and of the pump in the cable channel of the insulating back
shell (1).
9. Mount the upper insulation element (5) of the pump group and the thermometer handles (6)
by slightly pushing the insulating back shell (1) backwards.
10. Mount the insulating front shell (7).
11. Installation on a distribution manifold: Mount the insulating shell of the distribution manifold.
8.1 DEINSTALLATION
1. Drain the heating installation.
2. Disconnect the pipe connection between the pump group and the heating installation.
3. To remove the pump group from the wall bracket, pull out the clip springs laterally with
a screwdriver.
4. Remove the pump group by pulling it forward.
8 COMMISSIONING /
FUNCTION TEST /
DECOMMISSIONING