1018029-E Page 10
INSTALLATION
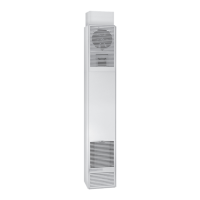
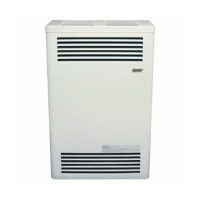
RECESSED UP TO 9-1/4” INSTALLATION
1.
2.
plate.
3.
4.
5.
cut out in ceiling plate. Install vent pipe into position, be sure to lock bottom of vent pipe
into the base plate. Nail second ceiling plate spacer in place. See Figure 12.
6.
spacers must be installed at the second and subsequent ceiling levels. See Figure 13.
7.
bottom of the header plate, see Figure 7 (on page 9).
Figure 11.
8. Make gas connection using connector the same size as gas connection of furnace.
DO NOT USE OPEN FLAME.
9.
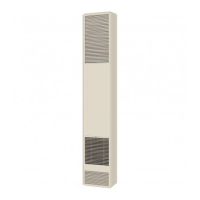
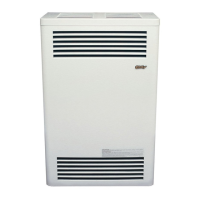
FLUSH TO WALL INSTALLATION
1.
Install B vent type base plate (not supplied) to top of vent collar. Install ceiling plate
2.
included).
3.
4. Make gas connection using connector the same size as gas connection of furnace.
DO NOT USE OPEN FLAME.
5.
FIG. 11
NOTE: For proper combustion, make sure units are level front to back and side to side.
FIG. 10
HEIGHT:
From Header Plate to the Floor