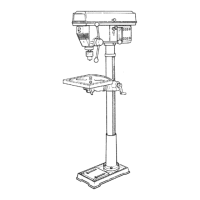
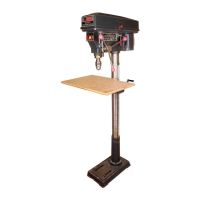
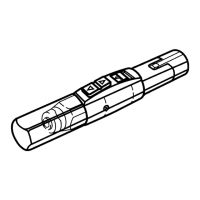
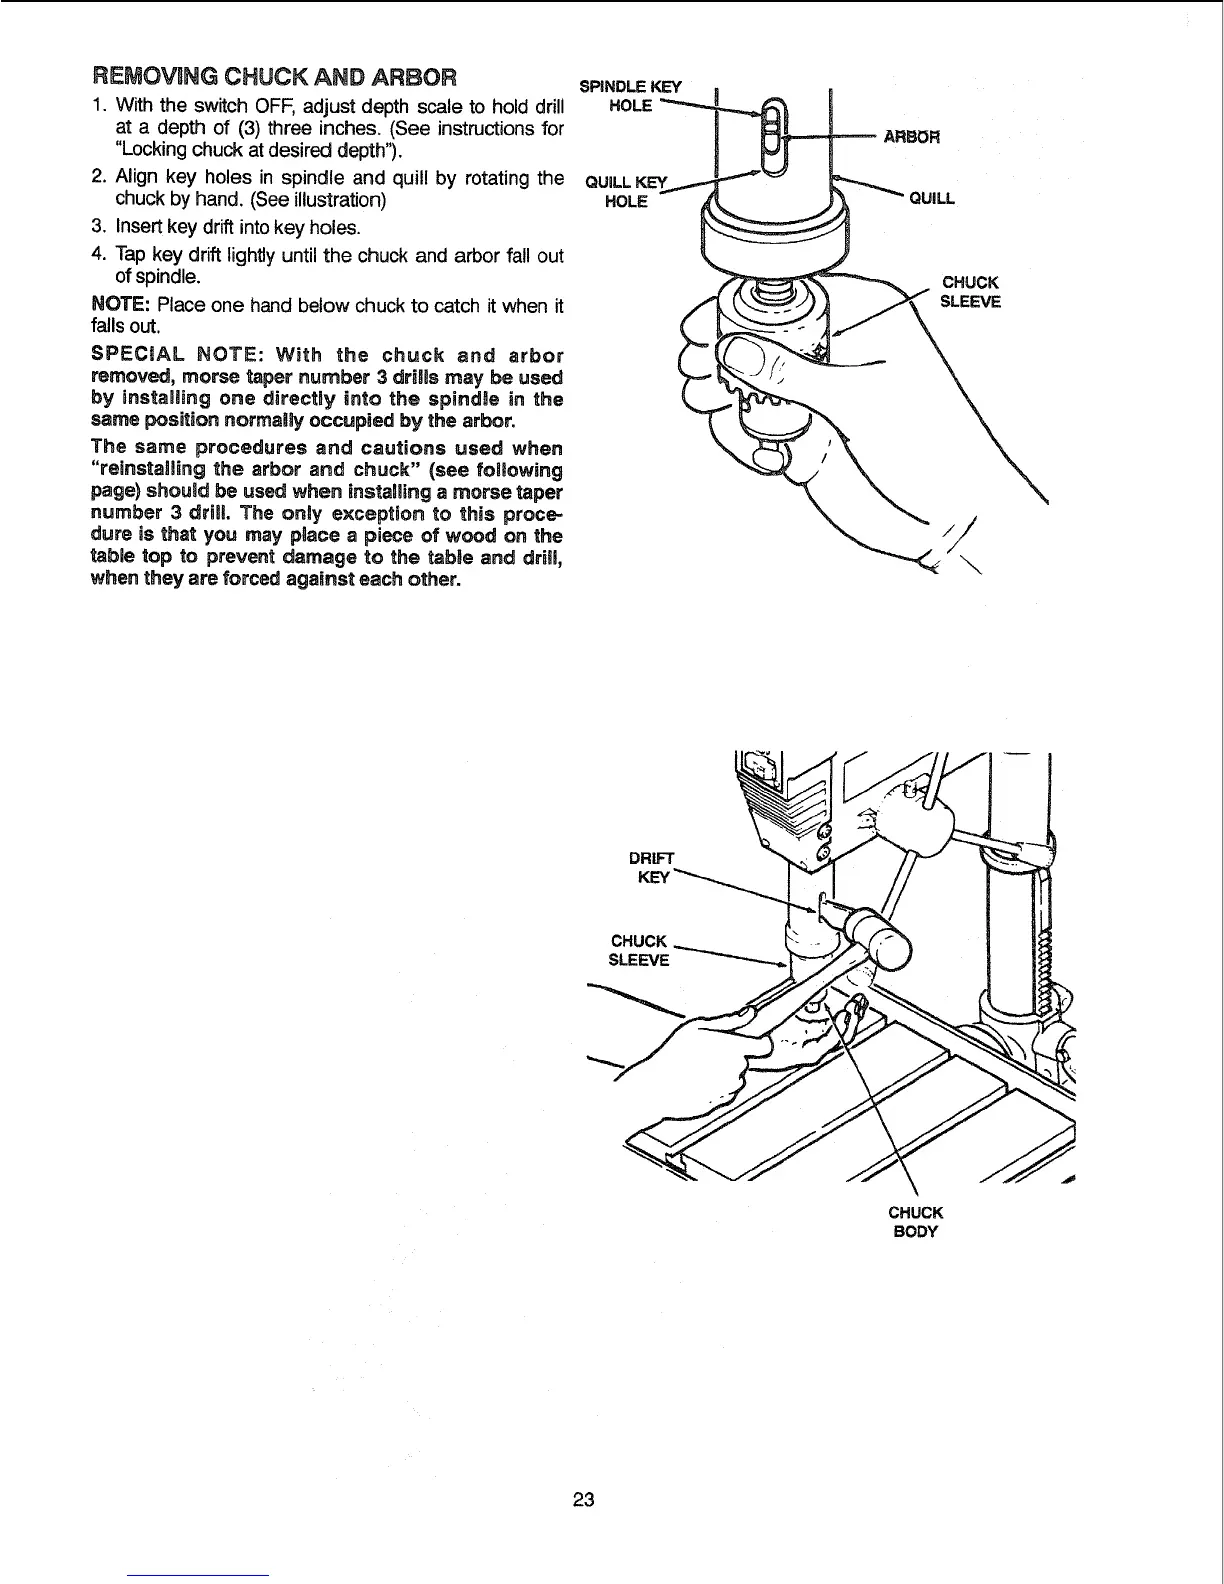
REMOVmNG CHUCK AND ARBOR
I. With the switch OFF, adjust depth scale to hold drill
at a depth of (3) three inches. (See instructionsfor
"Locking chuck at desired depth").
2. Align key holes in spindle and quill by rotating the
chuck by hand. (See illustration)
3. Insert key drift into key holes.
4. Tap key drift lightly until the chuck and arbor fall out
of spindle.
NOTE: Place one hand below chuck to catch it when it
falls out.
SPECIAL NOTE: With the chuck and arbor
removed, morse taper number 3 drills may be used
by installing one directly into the spindae in the
same position normalhj occupied by the arbor.
The same procedures and cautions used when
"reinstalling the arbor and chuck" (see following
page) should be used when installing a morse taper
number 3 driBi. The only exception to this proce-
dure is that you may place a piece of wood on the
table top to prevent damage to the table and dri,,
when they are forced against each other.
SPINDLE KEY
HOLE __
QUILL KL=Y_ -
HOLE
CHUCK
SLEEVE
DRIFT
KEY
CHUCK
SLEEVE
J
CHUCK
BODY
23