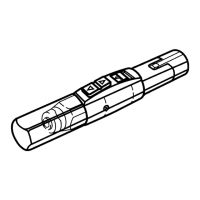
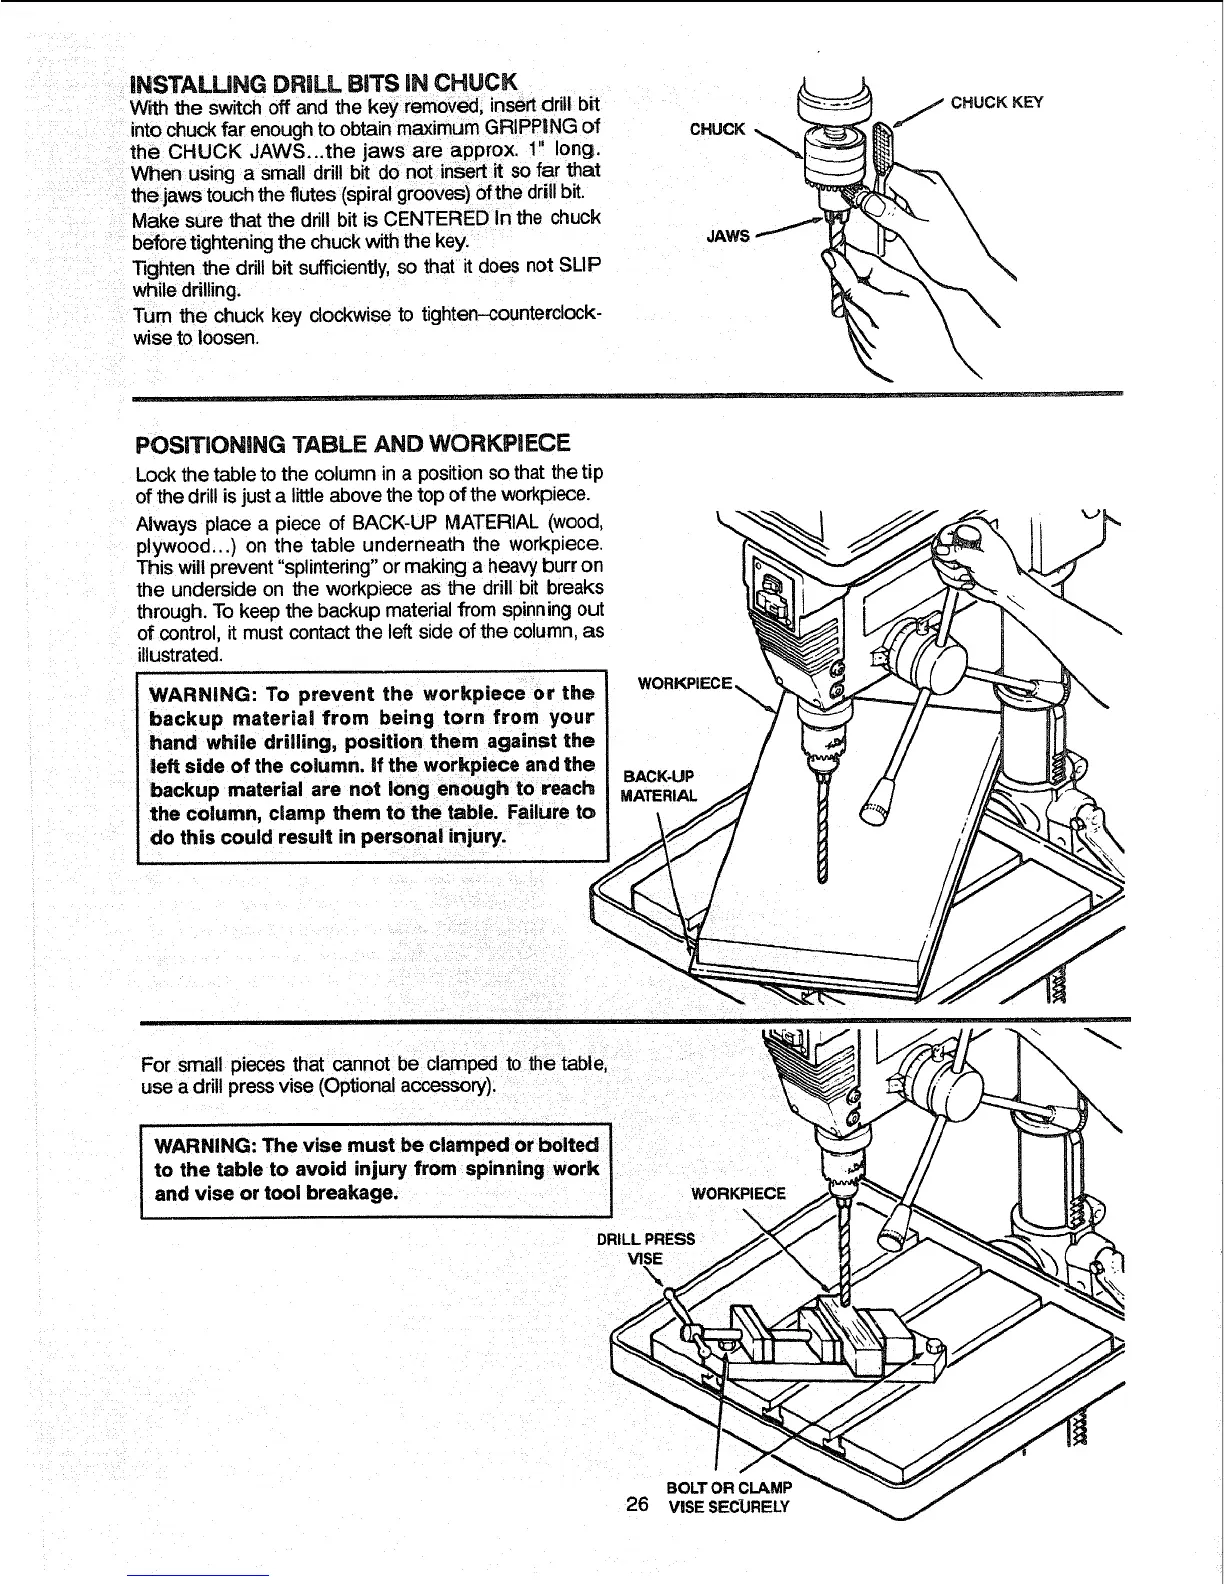
iNSTALLiNG DRILL BiTS iN CHUCK
With the switch off and the key removed, insertdrill bit
intochuckfar enough to obtain maximumGRIPPING of
the CHUCK JAWS...the jaws are approx. 1" long.
When using a small drill bit do not insert it so far that
thejaws touch the flutes (spiralgrooves)ofthe drillbit.
Make sure thatthe drill bit is CENTERED In the chuck
beforetighteningthe chuckwith the key.
Tighten the drill bit sufficiently,so that itdoes not SLIP
while drilling.
Tum the chuck key clockwise to tighten-counterclock-
wiseto loosen.
CHUCK
JAWS /
CHUCK KEY
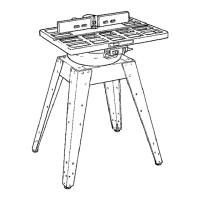
POSITiONiNG TABLE AND WORKPIECE
Lock the table tothe column in a positionso that thetip
ofthe drill isjusta little above the topof the workplece.
Always place a piece of BACK-UP MATERIAL (wood,
plywood...) on the table underneath the workpiece.
This willprevent "splintering" or making a heavy burr on
the underside on the workpiece as the drill bit breaks
through. To keep the backup materialfrom spinningout
of control,it must contactthe left side of the column,as
illustrated.
WARNING: To prevent the workpiece or the
backup material from being torn from your
hand while drilling, position them against the
left side of the column, if the workpiece and the
backup material are not long enough to reach
the column, clamp them to the table. Failure to
do this could result in personal injury.
WORKPIECE
BACK-UP
MATERIAL
For small pieces that cannot be clamped to the table,
use a drill press vise (Optional accessory).
I WARNING: The vise must be clamped or bolted
to the table to avoid injury from spinning work
and vise or tool breakage. WORKPIECE
DRILL PRESS
VISE
BOLT OR CLAMP
26 VISE SECURELY