RZT-S Zero
22
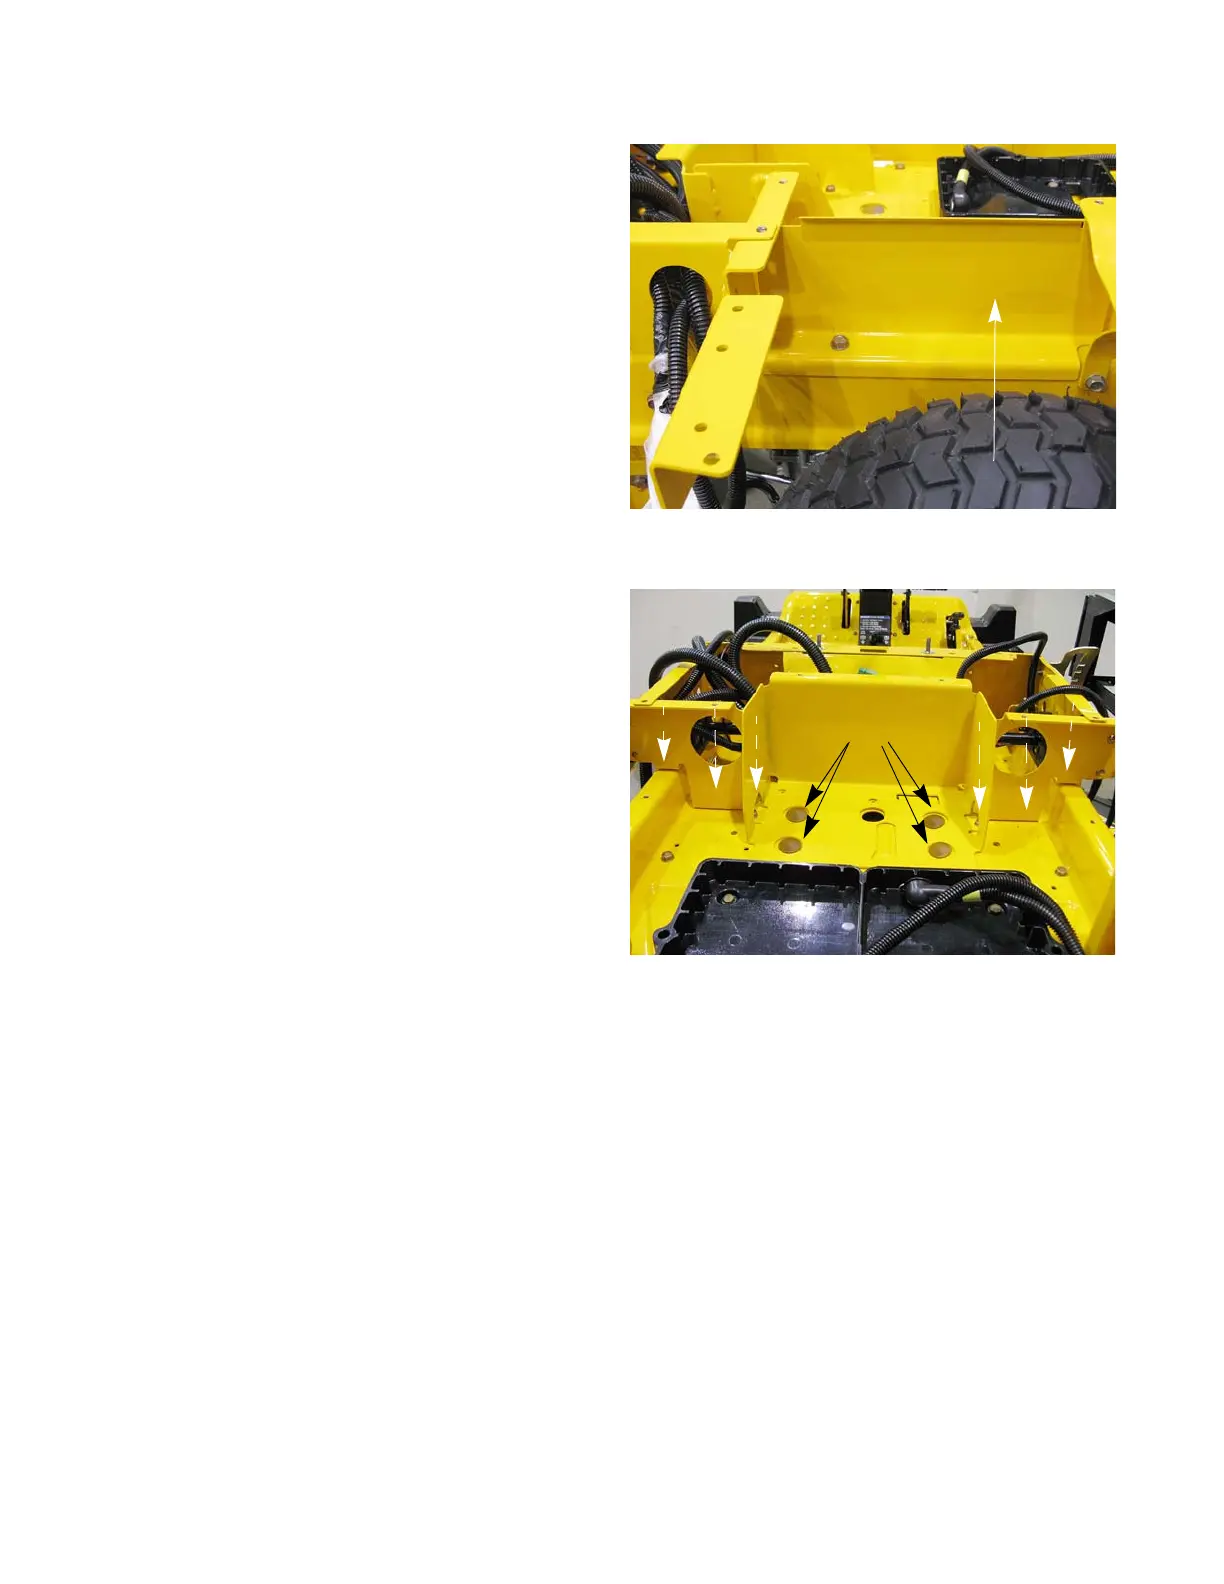
8. Remove the screw that holds the left rear finger
guard to the frame using a 1/2” wrench.
See Figure 2.40.
9. Slide the finger guard off of the mower.
10. Remove the six screws that hold the rear section to
the frame using a 1/2” wrench. See Figure 2.41.
NOTE: If the front main and the rear sections are
being removed as one assembly, skip to
step 13.
11. Remove the four elevator bolts and nuts using a 1/2”
wrench.
12. Slide the rear section towards the rear of the mower
enough to clear the front main section of the seat
box assembly.
13. Lift the rear section off of the mower.
14. Install the rear section by following the previous
steps in reverse order.
15. Test drive the mower in a safe area before returning
it to service.
Figure 2.40
Left rear finger guard
Figure 2.41
Elevator bolts

 Loading...