23
4. Open your “Internet Access” Located in your Network Settings.
Note: Always select your Cube from your network settings before opening Cubify Client
Software.
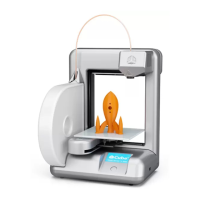
5. Scroll and select your Cube on the menu. Click on “connect.” This may take
VHYHUDOPLQXWHVWRFRQQHFW2QFHFRQQHFWHG\RXFDQVHQGSULQW¿OHVIURP&XELI\
software straight to your Cube.
Set up a computer (WPS) network
1. Press and hold the WPS button on your wireless-router until the button starts
ÀDVKLQJ
2. Open your “Internet Access” located on your computer’s taskbar.
3. Scroll and select the network for your router on the menu. Click on “connect.”
This may take a few minute to connect.
WPS (WI-FI Protected Setup) allow easy establishment of a secure wireless network. All new wireless-routers are set up for
WPS. To be sure, look for the WPS logo on your wireless-router box. WPS connection will allow you to connect to your Cube
Printer through the Cubify Client Software.
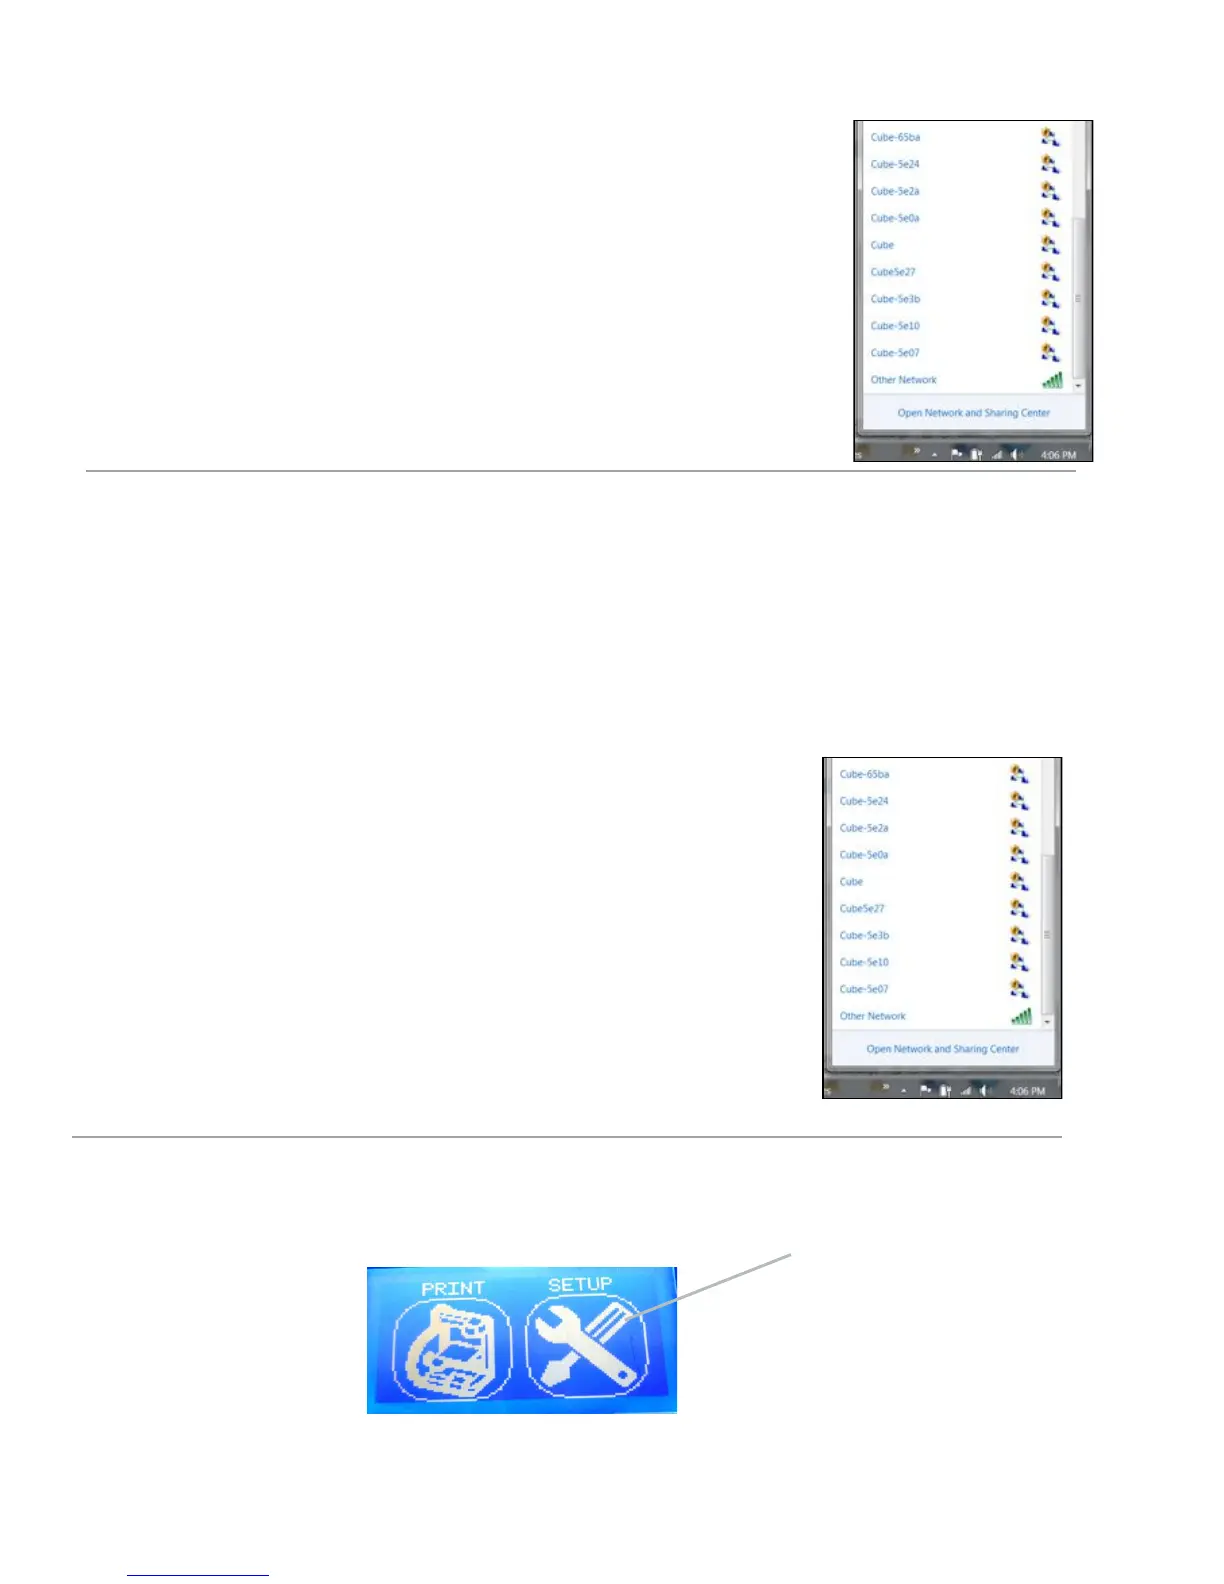
4. Tap on “SETUP” in the main menu and scroll until you come to the WI-FI set up screen
Tap Here