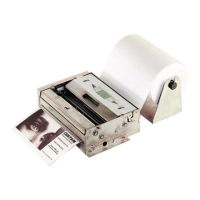
3 INSTALLATION
3.1 Fastening
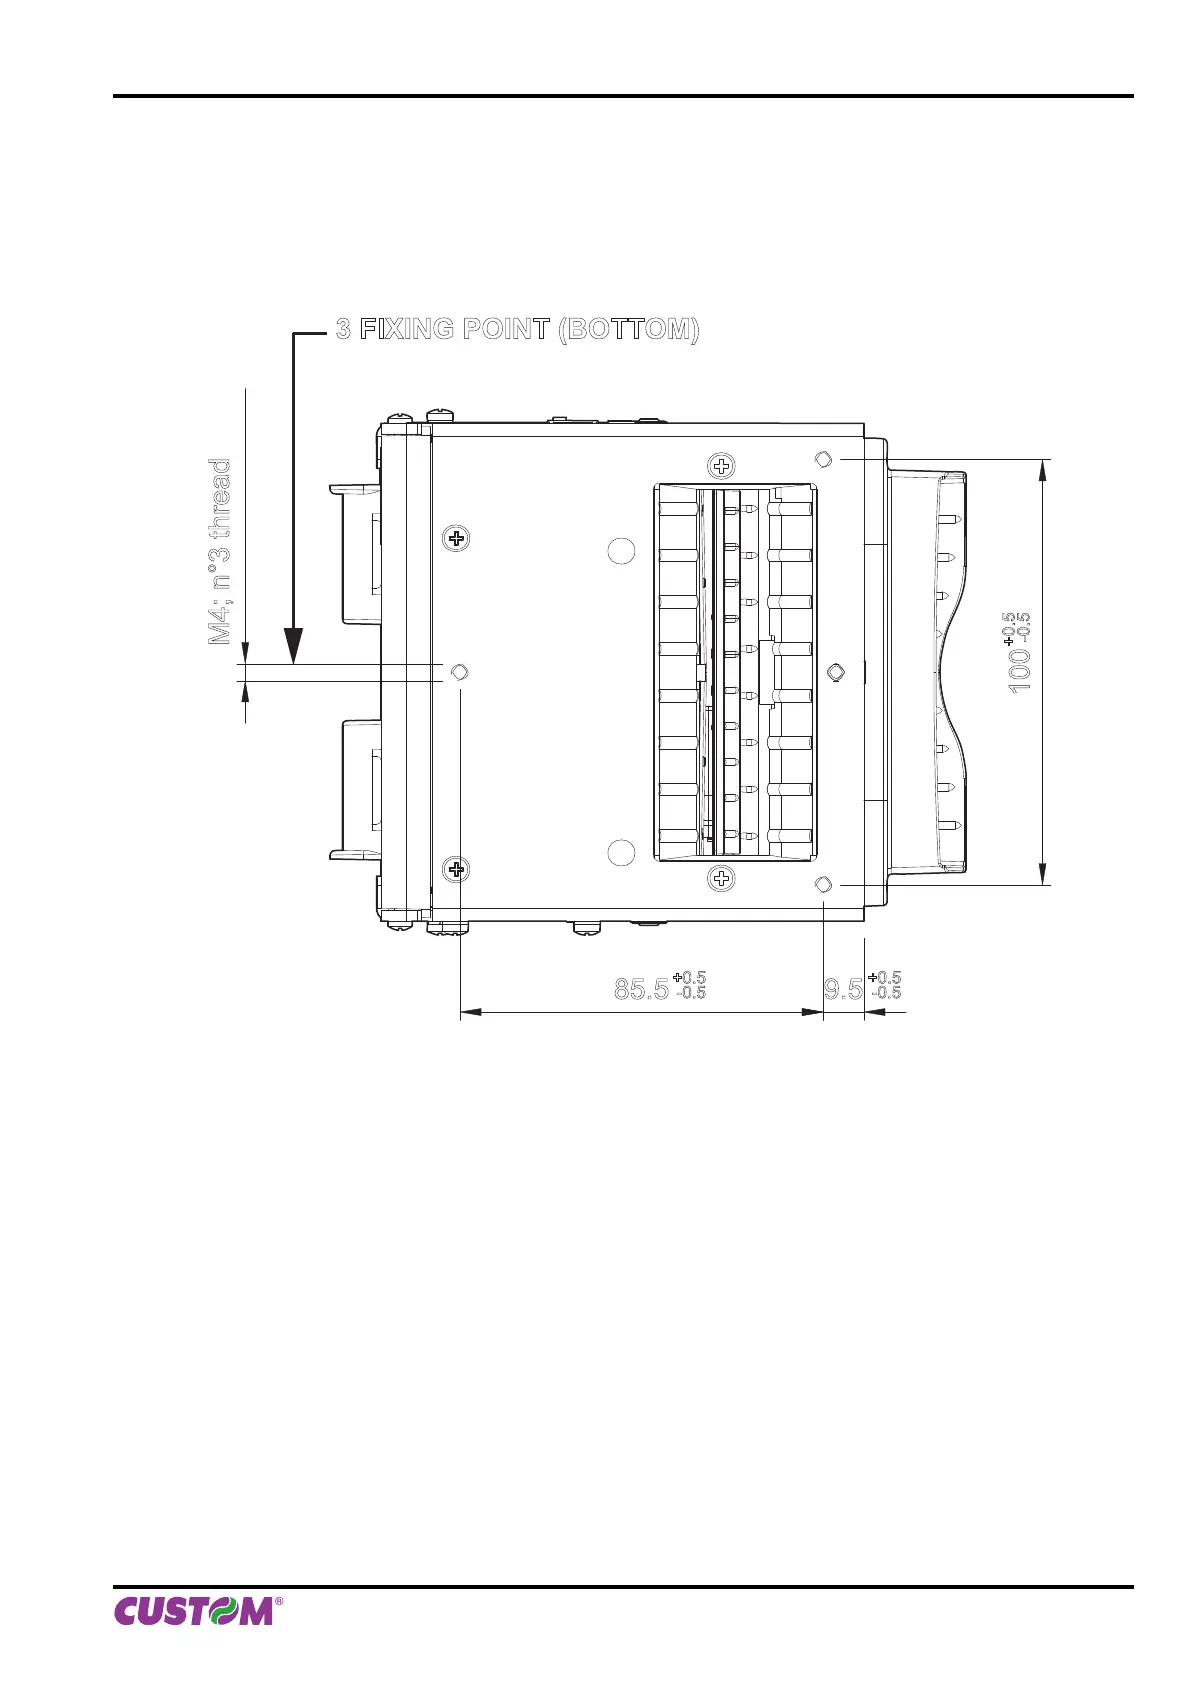
The printer is provided with three fi xing holes on the bottom of device (see following fi gure). To fasten the printer on
a panel, use three M4 screws
100
85.5
+0.5
-0.5
+0.5
-0.5
+0.5
-0.5
9.5
M4; n°3 thread
3 FIXING POINT (BOTTOM)
It’s very important to consider the screws length to not damage the internal components placed near the fi xing holes .
On the basis of panel thickness calculate the screws length as follows :
Lv ≤ Pn + Sp
where
Lv : indicates screw length
Pn : 8 mm
Sp : panel thickness
For example if panel thickness is 10mm ( Sp = 10mm ) the max screw length will be 18mm.
3. INSTALLATION
User Manual VKP80II 15