Getting Started
28
Select Skip: LAN already configured if you wish to use the CyberGuard SG
appliance’s initial network settings (IP address 192.168.0.1 and subnet mask
255.255.255.0) as a basis for your LAN settings, and you do not wish to use the
CyberGuard SG appliance’s built-in DHCP server. Skip to the next step.
You may choose to Obtain LAN IP address from a DHCP server on LAN if you
have an existing DHCP server, and wish to rely on it to automatically configure the
CyberGuard SG appliance’s LAN connection settings (not recommended). Skip to the
next step.
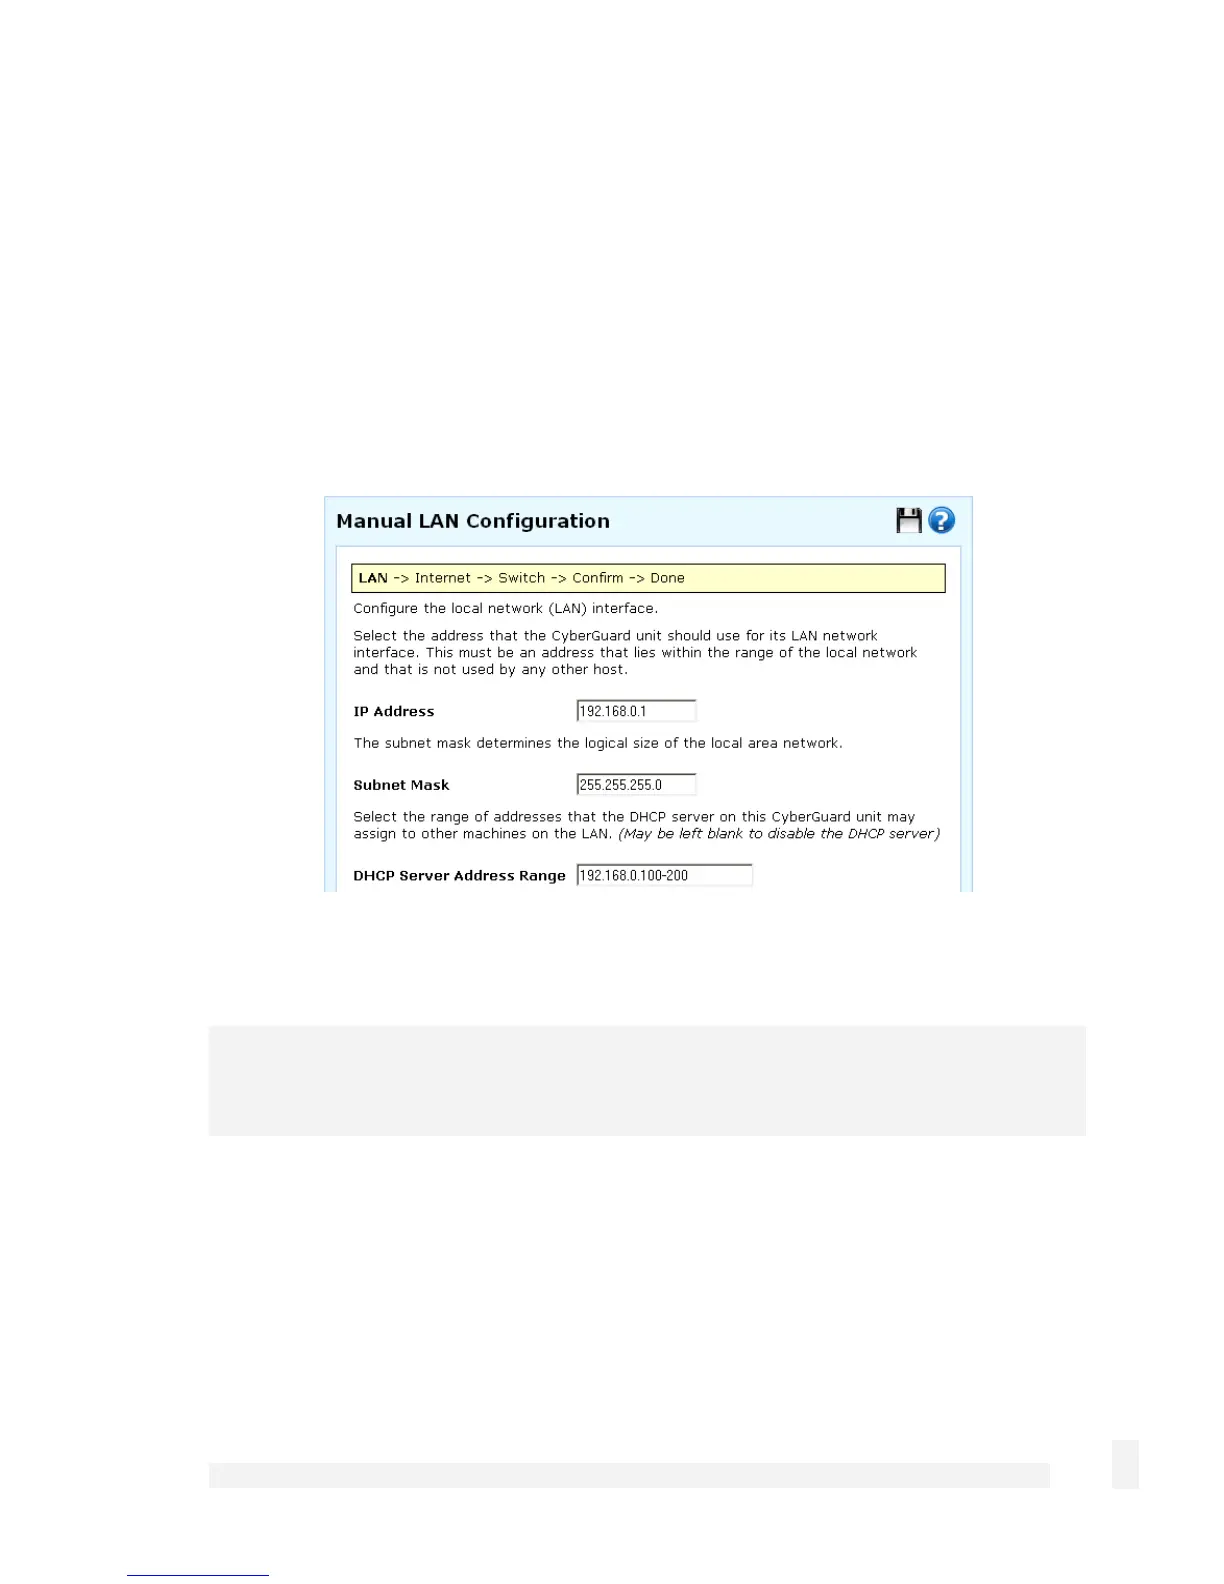
If you selected Manual configuration, some additional information is required.
Otherwise, skip to the next step.
Enter an IP address and Subnet Mask for the CyberGuard SG appliance’s LAN
connection.
Note
Take note of this IP address and subnet mask, as you will need them later on.
To enable the CyberGuard SG appliance’s built-in DHCP server, enter a range of
addresses to hand out in DHCP Server Address Range. PCs and other hosts on your
LAN that are set to automatically obtain network settings are assigned an address from
this range, and instructed to use the CyberGuard SG appliance as their gateway to the
Internet and as their DNS server for Internet domain name resolution.
Click Next.
 Loading...