S0402020
Page 6
Cab
Return to Master Table of Contents
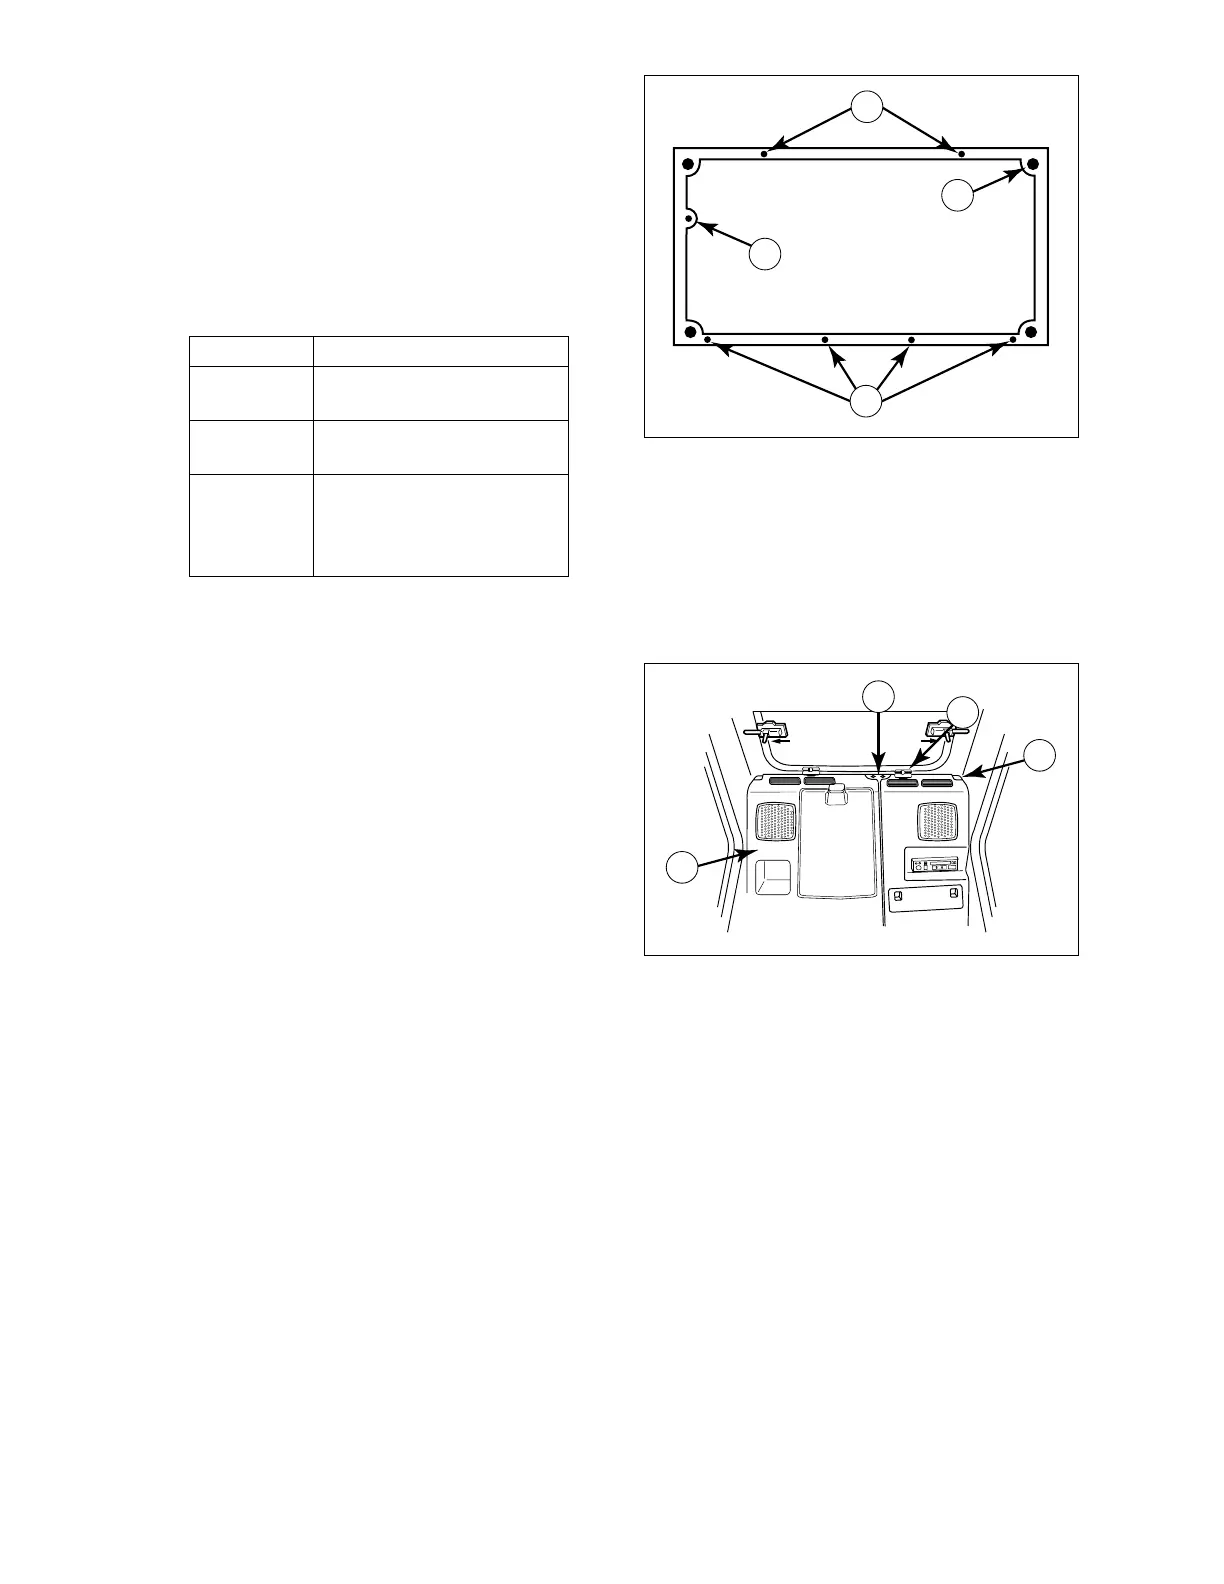
3. Install four m ounting nuts on four corners
of cabin floor (2, Figure 4).
NOTE:
Mounting nut to rque 2 0.2 kg•m
(146 ft lbs)
4. Install four h ex bo lts ( 3, Figure 4) i n door
side of cabin floor.
5. Install t wo h ex bol ts ( 1, Fig ure 4 ) i n r ight
side of c abin floo r and one bol t ( 4) und er
front window of cab floor.
6. Once cab is mounted to floor unhook lifting
device
7. Connect cabin ground cable (2, Figure 2).
8. Connect cab lamp wiring connector.
9. Connect s peaker wi re to r ight s ide c over
(4, Figure 3).
10. Connect sp eaker wir e, ste reo wir e an d
antenna wi re c onnector to left s ide c over
(3).
11. Install bo lts ( 1) to hol d r ear le ft and right
dash covers (3 and 4) in place.
12. Install two r ubber stops (2, Figure 3) used
in storing the front lower glass.
Quantity Description
4 16 mm hex nuts at each
corner of the cab
4 10 mm x 1.5 hex bolts at
the door side of the cab
3 10 mm x 1.5 mm hex
head bolts, 2 on the right
side of the cab and 1
under the front window.
HAOF270L
2
1
3
4
Figure 7
HAOF260L
1
2
3
4
Figure 8