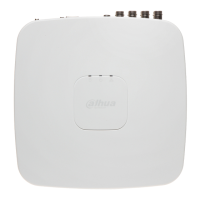
Local Configurations 164
Configure the time period from end of event detection to the stop of
alarm.
Click Setting to display setting interface.
General Alarm: Enable alarm activation through the alarm
devices connected to the selected output port.
External Alarm: Enable alarm activation through the
connected alarm box.
Wireless Siren: Enable alarm activation through devices
connected by USB gateway or camera gateway.
Set a length of time for the Device to delay turning off alarm after
the external alarm is cancelled. The value ranges from 0 seconds
to 300 seconds, and the default value is 10 seconds. If you enter 0,
there will be no delay.
Select the Show Message check box to enable a pop-up message
in your local host PC.
Select the Alarm Upload check box to enable the system to
upload the alarm signal to the network (including alarm center)
when an alarm event occurs.
Select the Send Email check box to enable the system to send an
email notification when an alarm event occurs.
To use this function, make sure the email function is enabled in
Main Menu > NETWORK > EMAIL.
Select the channel(s) that you want to record. The selected
channel(s) starts recording after an alarm event occurs.
The recording for motion detection and auto recording function
must be enabled. For details, see "5.1.4.9 Configuring Recorded
Video Storage Schedule" and "5.9.1 Enabling Record Control."
Click Setting to display the PTZ interface.
Enable PTZ linkage actions, such as selecting the preset that you
want to be called when an alarm event occurs.
Motion Detect can only activate PTZ preset.
Set a length of time for the Device to delay turning off recording
after the alarm is cancelled. The value ranges from 10 seconds to
300 seconds, and the default value is 10 seconds.
Select the Tour check box to enable a tour of the selected
channels.
Select the Snapshot check box to take a snapshot of the selected
channel.
To use this function, select Main Menu > CAMERA > ENCODE >
Snapshot, in the Mode list, select Event.
 Loading...