Appendix C – Paper Menu Setup 73
B
B
B
G
G
G
P
P
P
I
I
I
O
O
O
P
P
P
o
o
o
r
r
r
t
t
t
The printer can easily be programmed to interface with most applicator devices. The GPIO
functions can be enabled and configured via the menu system of the printer via the DMXConfig
program or on through the front panel on display equipped printers. Configured parameters are
stored in non-volatile memory and saved for subsequent power-ups.
Printing with GPIO: When the GPIO functions are enabled, the printer will not print a label until
the “Start of Print” signal goes active.
When a label is ready to print but awaiting a Start of Print signal, the prompting operation
differs slightly depending upon equipment:
Non-display models – The STOP LED will flash.
Display-equipped models – The display will indicate “WAITING FOR SIGNAL.”
GPIO Port Configuration
The connection to the GPIO signals can be accessed via the Option Port connector (an 8-pin Molex
Microfit 3, P/N 44300-800) on the front of the printer, or via the J6 connector (an AMP, P/N
640456-8) on the Main PCB. The pin-outs for the respective connectors (as viewed when facing
the printer) are as follows:
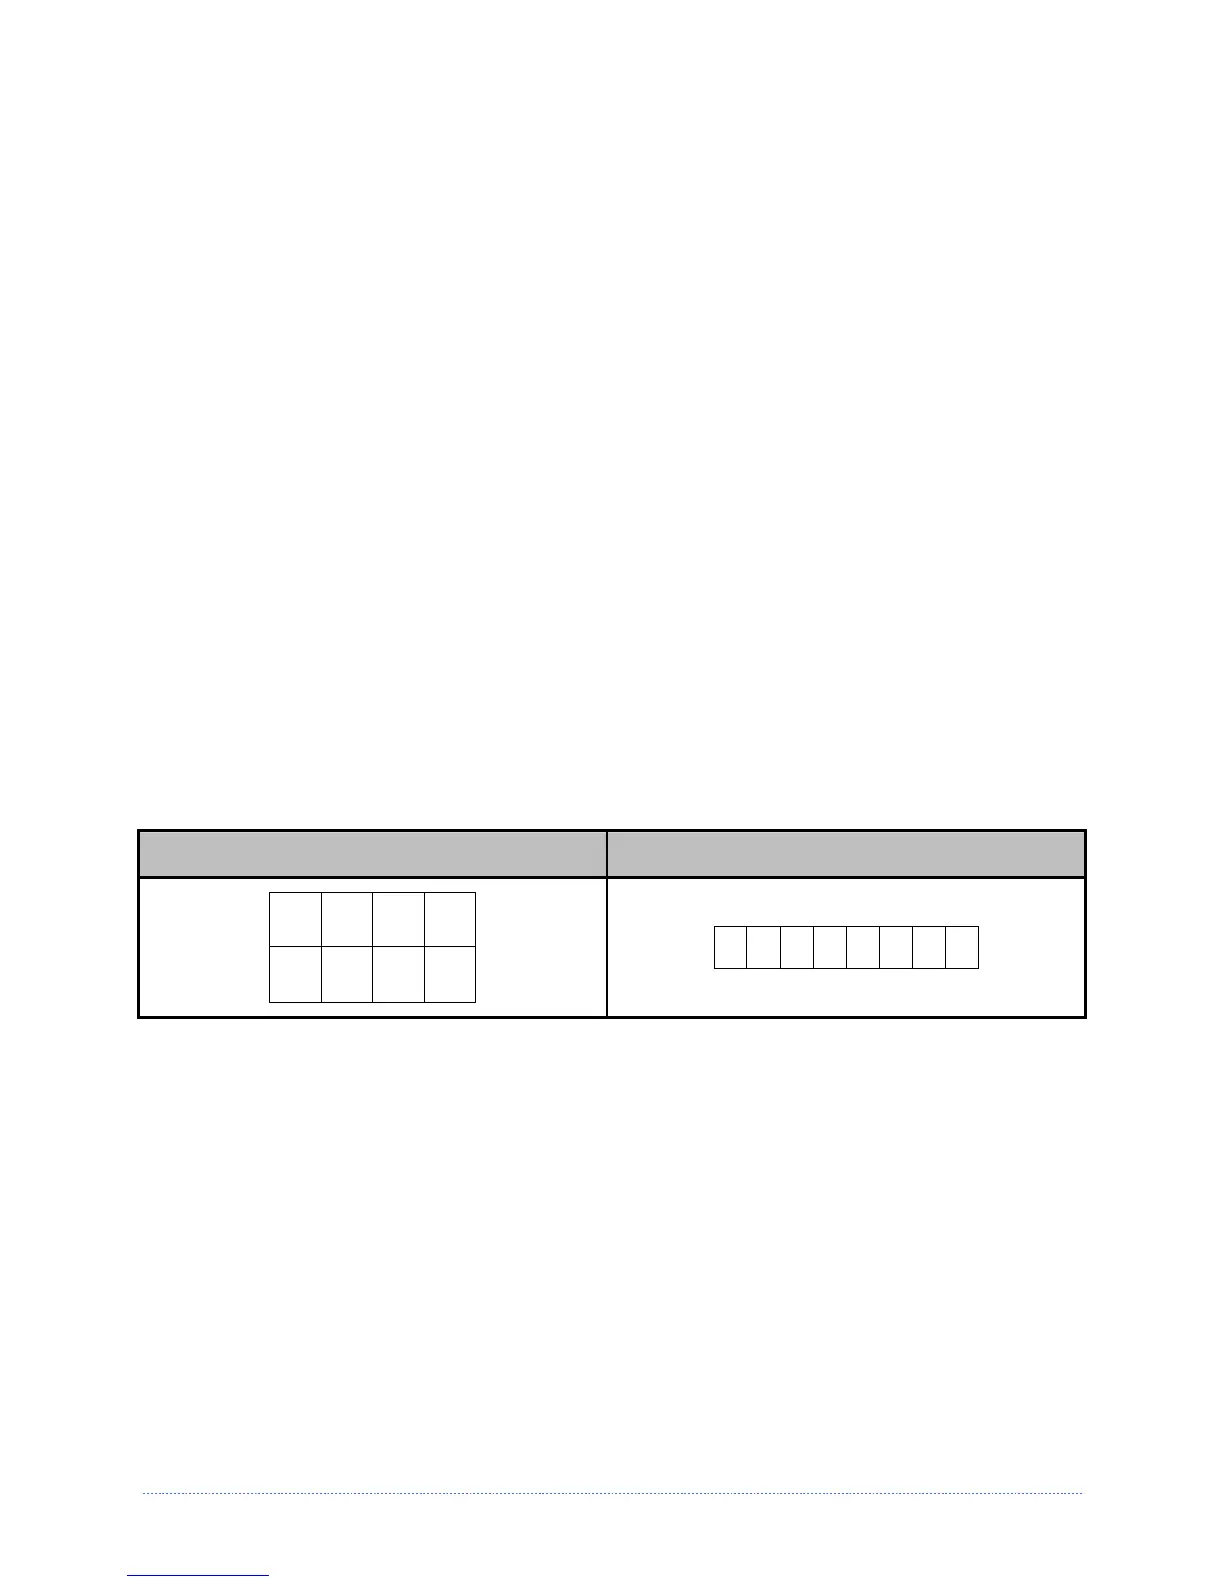
Option Port Connector Main PCB – Connector J6
8 6 4 2
7 5 3 1
12345 6 7 8