73
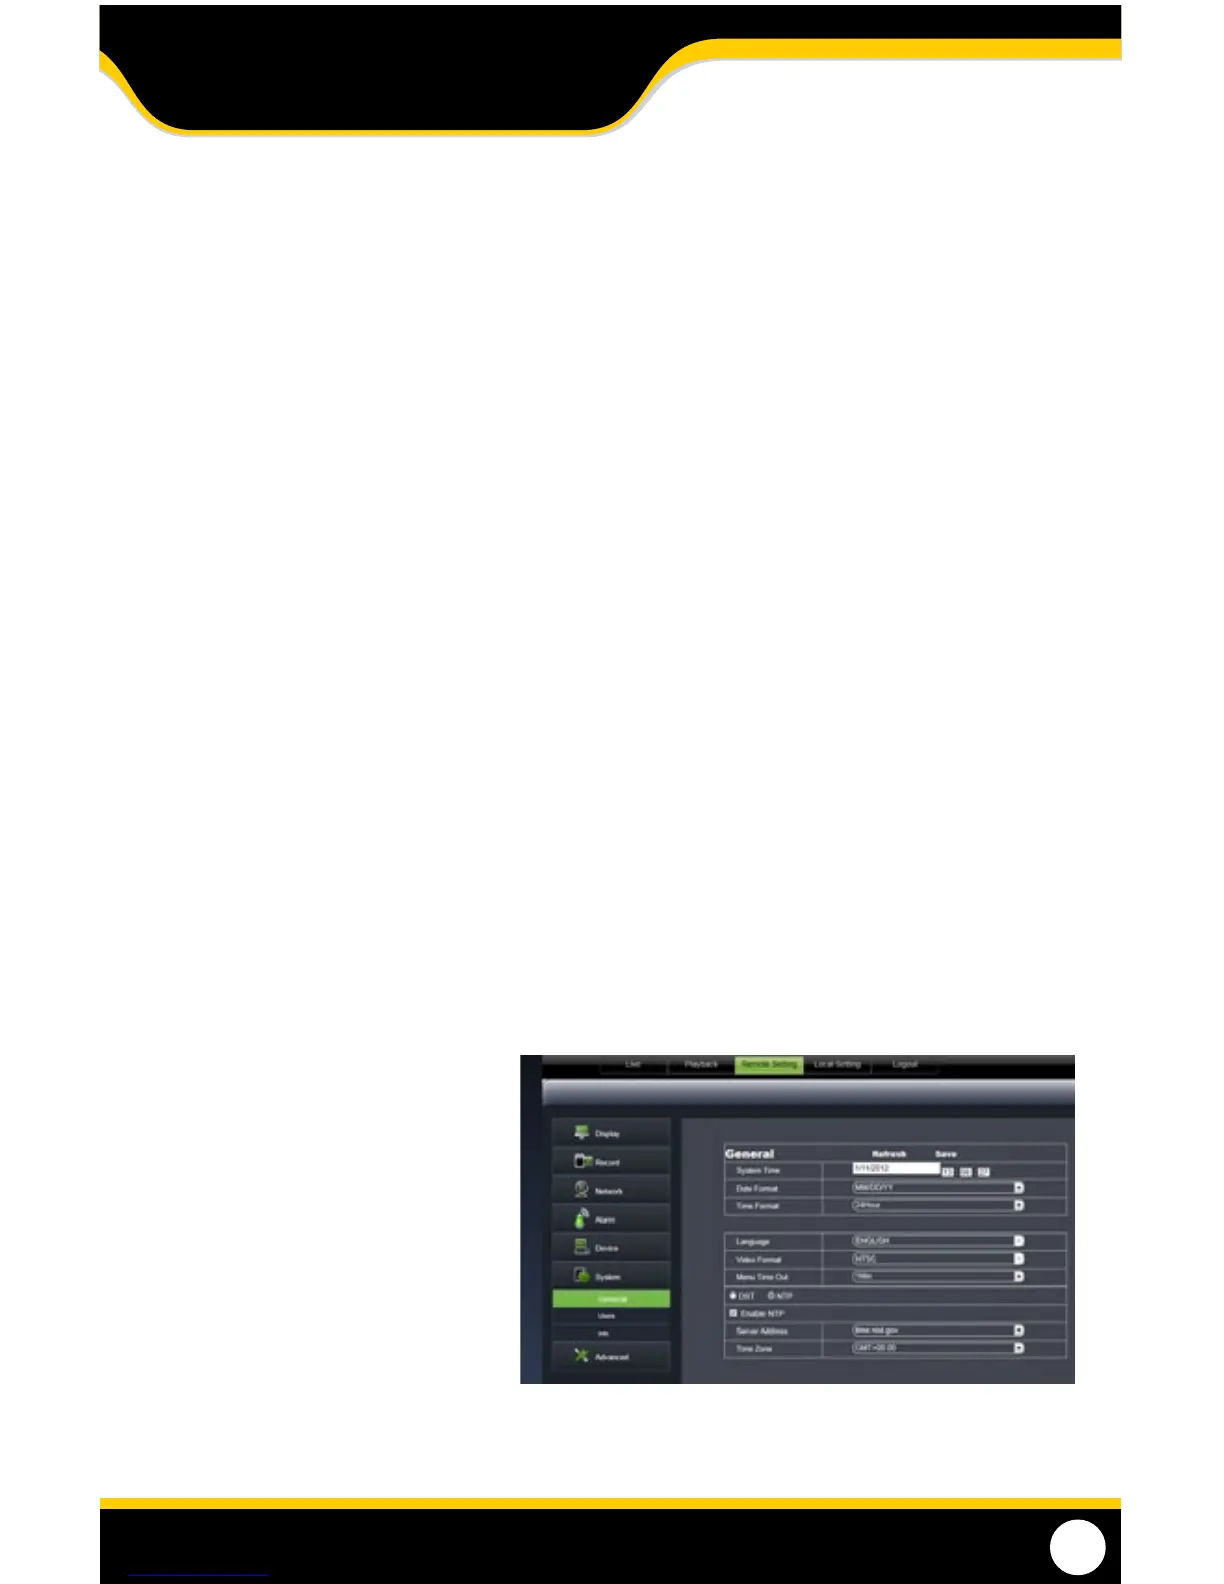
DST
DST stands for Daylight Saving Time. You can adjust the DVR to change its time for you when daylight saving time
approaches, so you don’t have to go back and do it yourself. You can also customize when the DVR changes for DST.
To turn the DVR DST on:
1. Select the checkbox next to DST and a box will appear.
2. Select the checkbox next to DAYLIGHT SAVING TIME to enable.
3. Select the drop down box next to TIME OFFSET and select if you would like your clock to go forwards or backwards
by 1 or 2 hours.
4. Select the drop down box next to DAYLIGHT SAVING TIME MODE to adjust whether you would like DST to change in
a specic month and week or a specic date.
If by Week
• SelectthedropdownboxnexttoSTART TIME and select the month.
• SelectthedropdownboxbelowandselecttheWEEK.
• SelectthedropdownboxbelowandselecttheWEEKDAY.
• RepeatabovestepsforEndTime.
If by Date
• SelecttheboxnexttoSTART TIME and input the specic date. A keyboard will appear.
• SelecttheboxbelowandinputtheTIME you want the DST to change.
• RepeatabovestepsforEND TIME.
5. Once everything has been adjusted to your liking, select SAVE to save your settings.
(NTP) Network Time Protocol
You have the option of setting your DVR to sync its time to various web servers. This ensures your DVR always has the
correct time. It will also automatically adjust for daylight saving time.
To set the DVR to sync with an NTP time server:
1. Select NTP SETUP. Select ENABLE
or DISABLE.
2. The NTP server options will come up.
Choose one of three time servers.
3. Select the server drop down box and
select a SERVER.
4. Select the TIME ZONE drop down box and
select your time zone.
5. Select the UPDATE NOW button.
6. Select SAVE to save settings.
ONLINE SOFTWARE
 Loading...