7
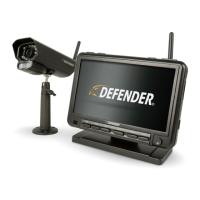
ABOUT YOUR PRODUCT
Camera
1
2
3
65
4
7
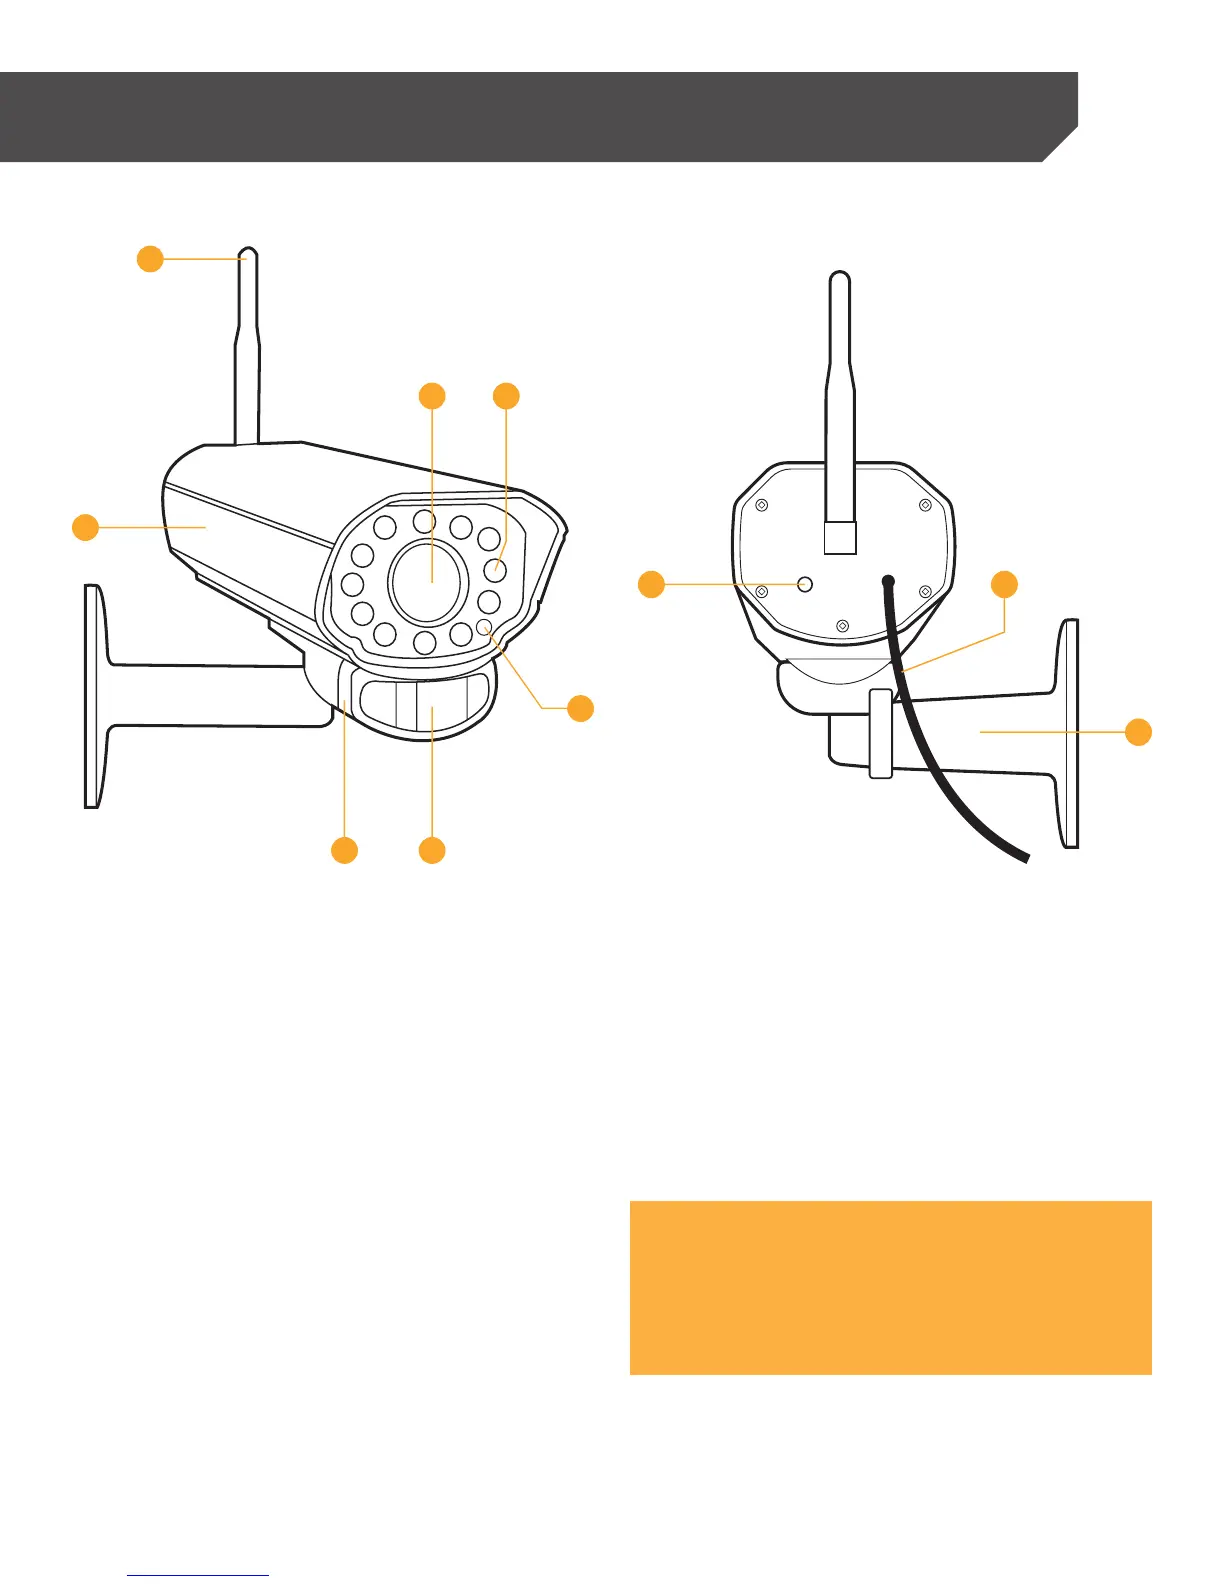
1 . Antenna: This removable antenna allows for a
better signal between the camera and monitor.
2 . Camera Housing: Made of anodized aluminum
to prevent rust.
3 . Camera Lens: The camera lens is located in the
center of the LEDs.
4 . Infrared (IR): The 16 LEDs allow the camera to
see in the dark up to 32ft away.
5 . Speaker/Microphone: Allows you to hear and
record sounds, and talk back to whomever you
are recording.
6 . Motion Detection Sensor: Detects any motion in
front of the camera.
7 . CDS Sensor: Automatically turns on the infrared
LEDs when it gets dark.
8 . Pair Button: Located at the back of the camera.
Press this button when pairing the camera and
monitor. For more information, please see Pairing
on page 18.
9 . Power Connection: This 3 ft. cord connects to
the power adapter (marked Camera).
10. Camera Mount: Allows the camera to be wall
mounted or placed on a table.
NOTE:
This camera includes an Auto Mechanical IR Cut Filter. When
the camera changes between day mode and night vision
mode, an audible clicking noise may be heard coming from
the camera. This clicking is normal, and indicates that the
camera filter is working