Steps
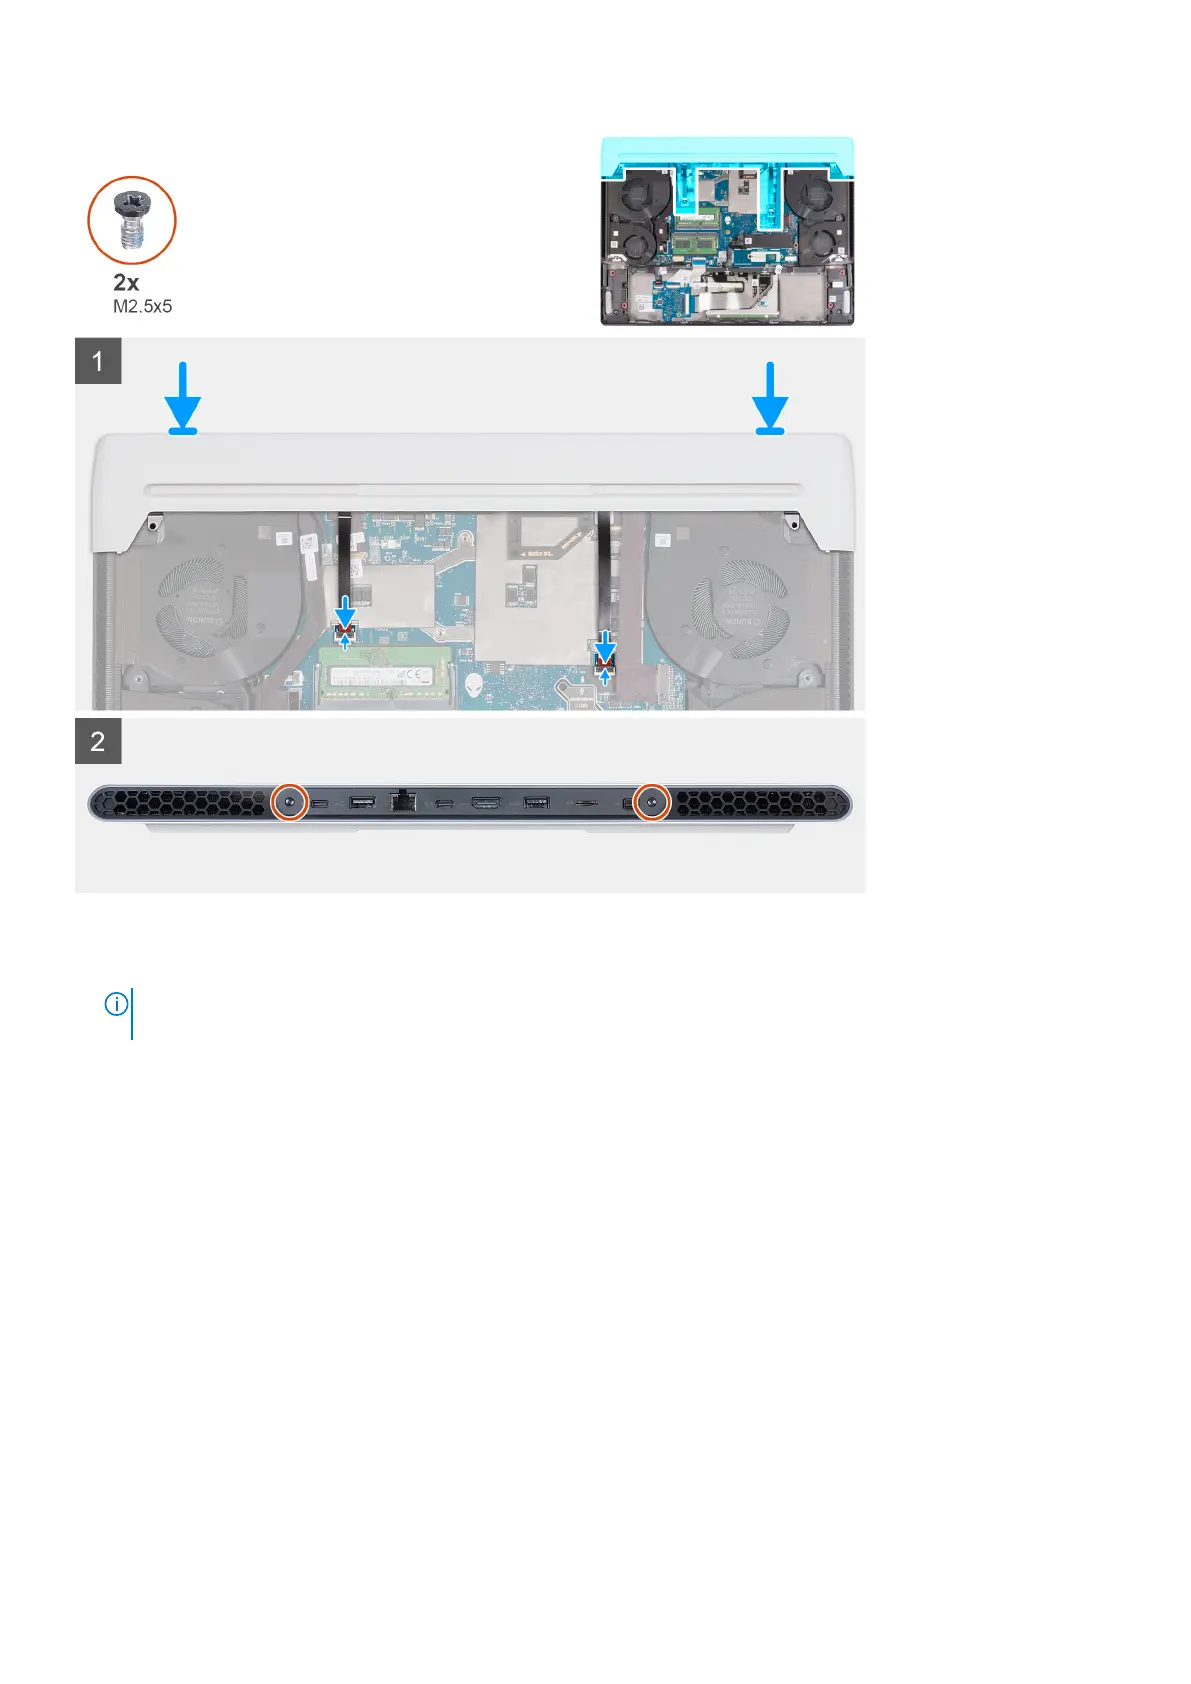
1. Push the rear I/O-cover into the palm-rest and keyboard assembly snapping it into place.
NOTE:
To avoiding damaging your computer, ensure the right and left Tron-light cables are not pinched before snapping
the rear I/O-cover into place.
2. Replace the two screws (M2.5x5) that secure the rear I/O-cover to the palm-rest and keyboard assembly.
3. Connect the left Tron-light cable to the system board and close the latch.
4. Connect the right Tron-light cable to the system board and close the latch.
Next steps
1. Install the base cover.
2. Follow the procedure in After working inside your computer.
Power-adapter port
Removing the power-adapter port
Prerequisites
1. Follow the procedure in Before working inside your computer.
2. Remove the base cover.
3. Remove the rear-I/O cover.
30
Removing and installing components