Installing the Hardware 13
NOTE: Power modules are not field serviceable.
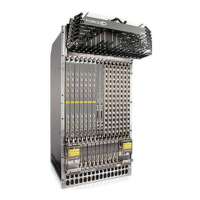
E300 DC Power Modules
The E300 supports a minimum of one DC PEM. You must have only one type of
power module in the chassis; you cannot install a mixture of power modules.
You must provide your own cables to connect to a remote power source (a
circuit breaker panel, for example) in your equipment rack or facility. Cables
must be sized to meet the following criteria:
• Rated for 60A service to allow for a fully loaded E300 system per NEC in the
United States or internationally, per local safety codes.
• Limit voltage drop across the cable length to 0.5V or less.
Before you make the cable connections, apply a coat of anti-oxidant paste to
unplated metal contact surfaces. File unplated connectors, braided straps, and
bus bars to a shiny finish. It is not necessary to file and coat tinned, solder-
plated, or silver-plated connectors or other plated connection surfaces, such as
those on the PEM studs.
3 For bottom units, ensure that the EMI gasket along the edge of each
power supply is compressed smoothly before securing each power
supply into place using the captive screws.
For top units, it may be necessary to lift the unit slightly to install the
captive screws.
As a best practise, insert the two captive screws of each power supply by
hand before tightening them all.
CAUTION: Tighten the screws with a #2 Phillips screwdriver.
Use no more than eight pounds of torque (light torque with a
manual screwdriver). Too much torque can damage fasteners
and that improper use of power drivers can cause even greater
damage.
4 Plug the AC power cord into the AC power inlet in the face of the power
supply.
5 Plug the AC power cord into an AC power outlet.
6 Toggle the standby switch of the power supply to the On position.
Step Task