Drive Bezel 27
Removing a Drive Bezel Insert
NOTE: Do not discard the screws located on the inside of the bezel insert tab. You
need these screws to secure the replacement drive in the drive bay.
1
Follow the procedure in "Before Working on Your Computer" on page 9.
2
Remove the drive bezel (see "Removing the Drive Bezel" on page 25) and
place it facedown on a flat surface.
3
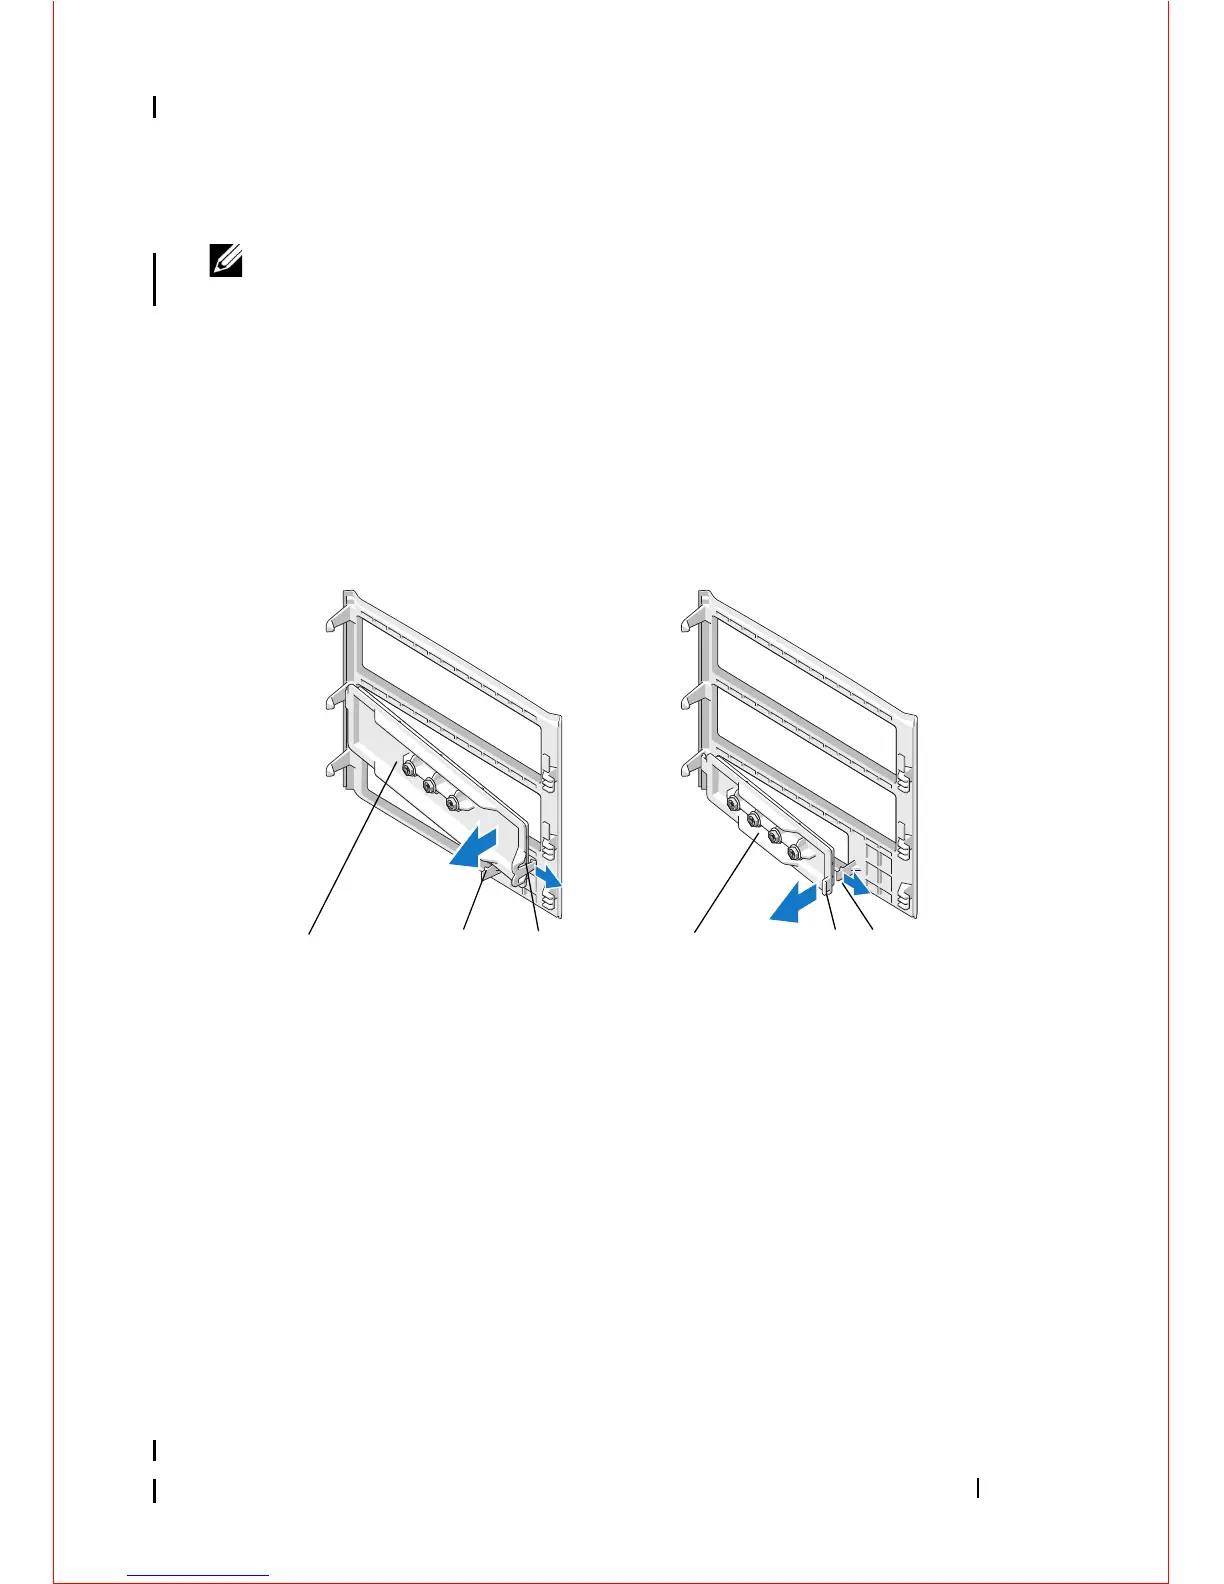
Holding the bezel insert tab for leverage, use a plastic scribe to gently
disengage the right-side grip for the bezel insert.
4
Swing the bezel insert to the left to disengage the left-side grip.
1 5.25-inch drive bezel insert 2 bezel insert tab
3 bezel insert grip 4 3.5-inch drive bezel insert
5 bezel insert tab 6 bezel insert grip