Drives 57
The SATA interface connectors are keyed for correct insertion; that is, a notch
or a missing pin on one connector matches a tab or a filled-in hole on the
other connector.
Optical Drive
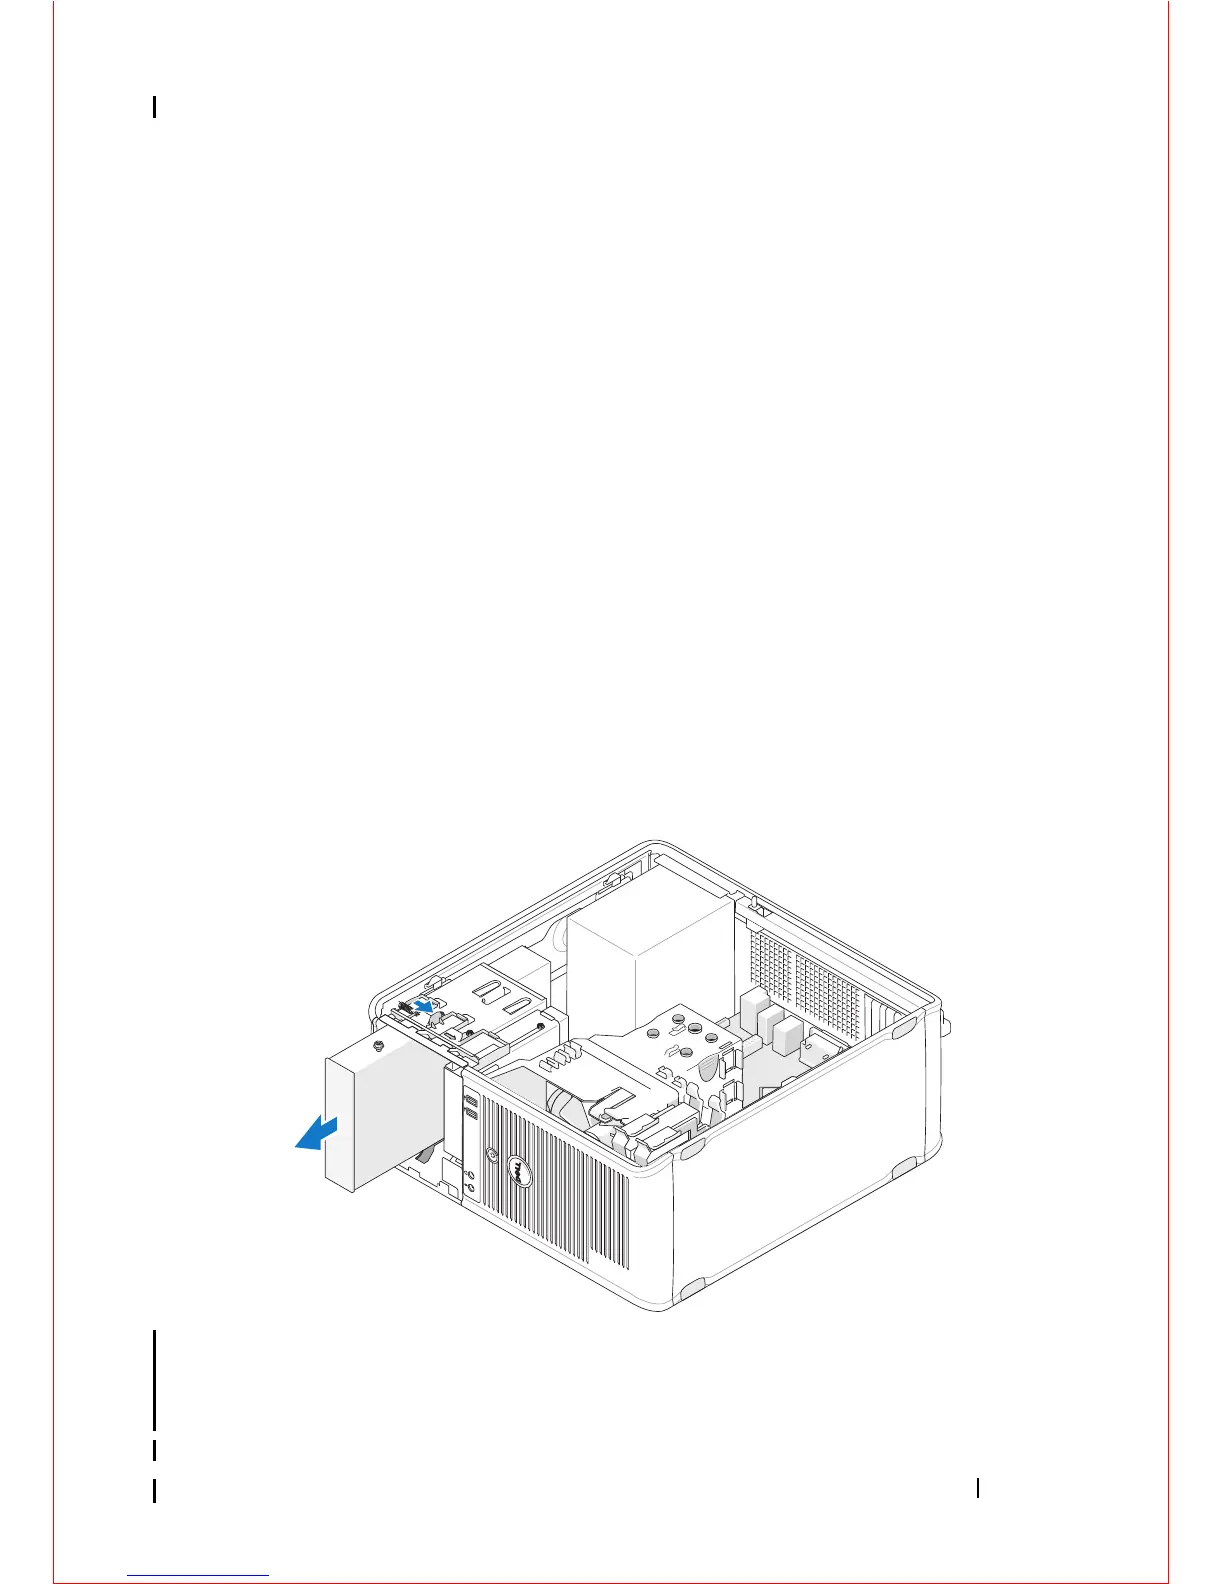
Removing an Optical Drive From the Mini Tower Computer
1
Follow the procedure in "Before Working on Your Computer" on page 9.
2
Remove the computer cover (see "Removing the Mini Tower Computer
Cover" on page 19).
3
Remove the drive bezel (see "Removing the Drive Bezel" on page 25).
4
Disconnect the optical drive data cable from the system board connector.
5
Disconnect the power cable and the optical drive data cable from the back
of the drive.
6
Remove the screw securing the optical drive to the optical drive bay.
7
Slide the optical drive out through the front of the computer.
8
If you are removing the drive permanently:
a
Install the drive panel insert (see "Installing an Optical Drive Panel
Insert" on page 59).