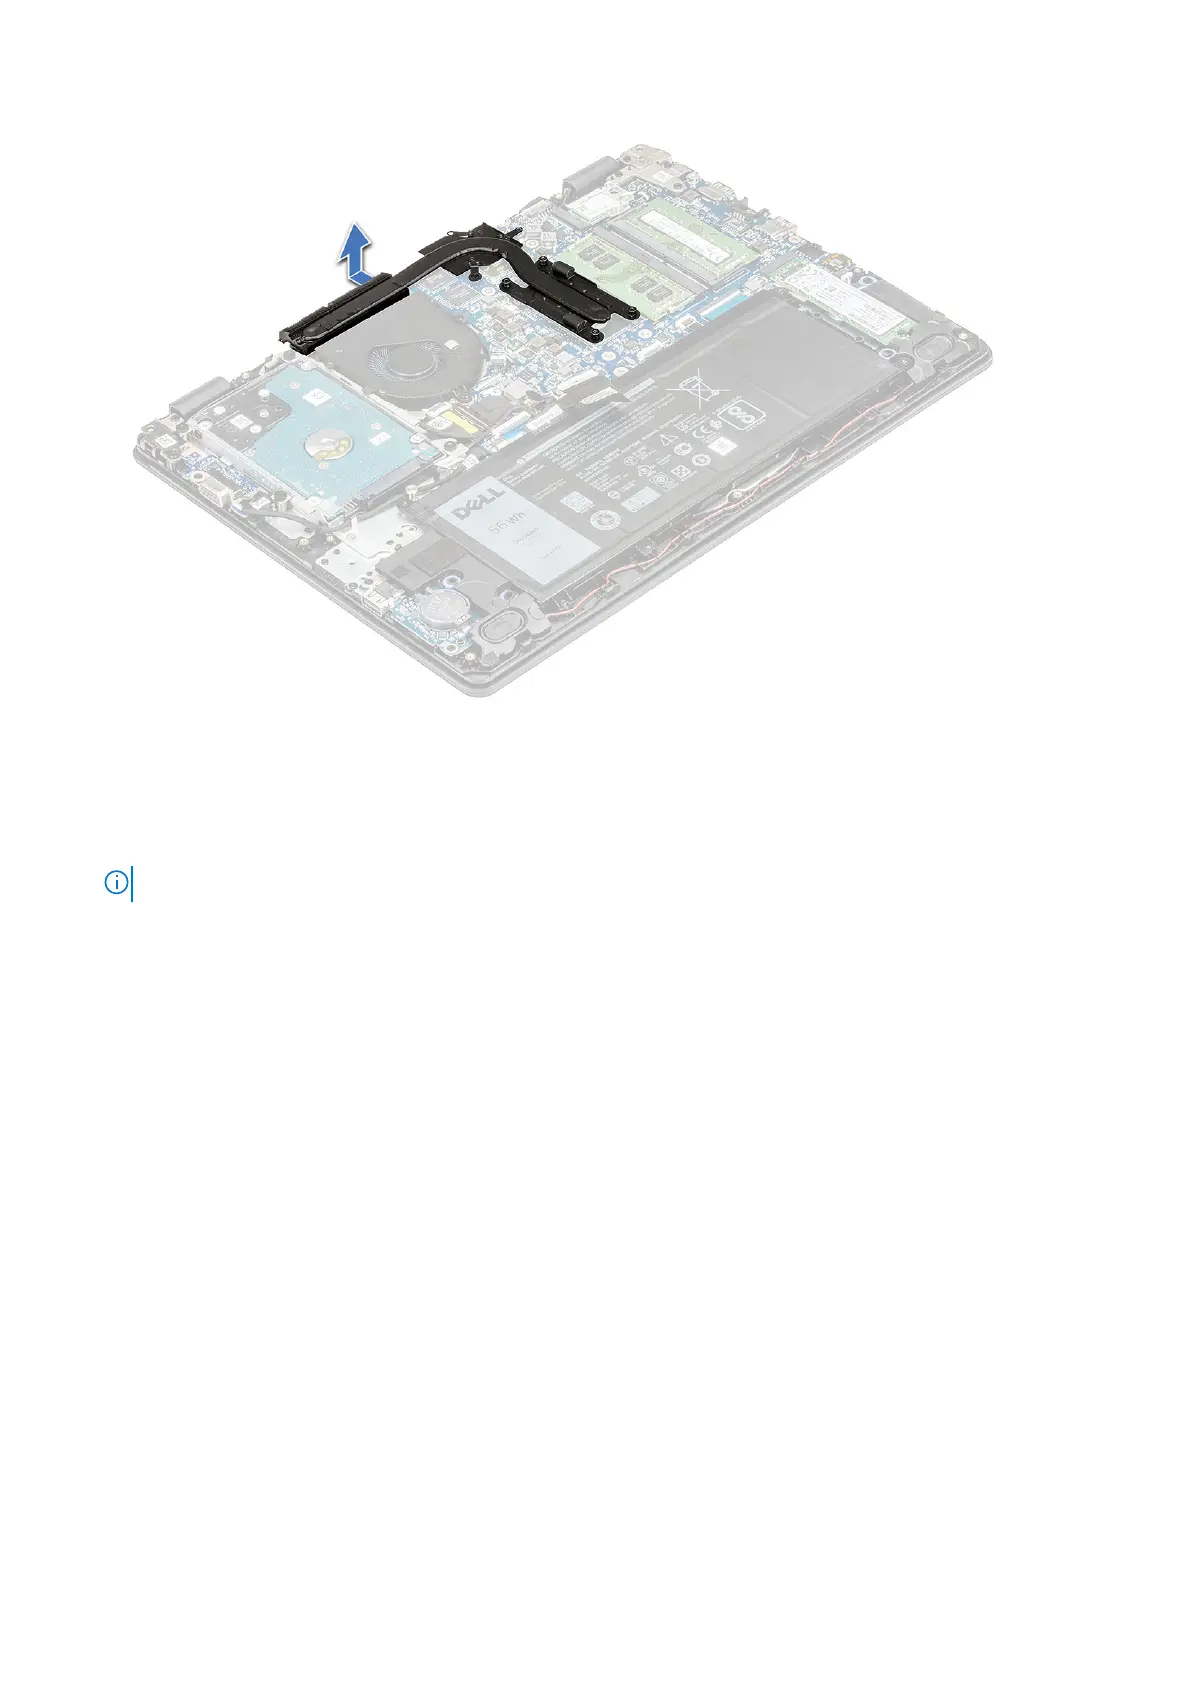
Installing the heatsink
1. Insert the heatsink into the slot on the computer.
2. Tighten the M2.5x2.5 screws and replace the three M2x3 screws to secure the heatsink to the computer.
NOTE: Tighten the heat sink screws in sequential order as indicated on the heat-sink.
3. Install the:
a. battery
b. base cover
4. Follow the procedure in After working inside your computer.
System Fan
Removing the system fan
1. Follow the procedure in Before working inside your computer.
2. Remove the:
a. base cover
b. battery
3. To remove the system fan:
a. Unroute the eDP cable from its routing channel on the system fan [1] and disconnect the system fan cable from its
connector on the system board [2].
Disassembly and reassembly
25