NOTE: The serial COM port is supported only in slot 4 or slot 8 of the expansion card riser.
Steps
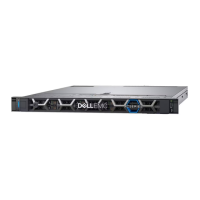
1. Loosen the captive screws on the system.
2. Press the blue release tab or blue button on the riser and holding the edges lift the expansion card riser from the riser
connector on the system board.
3. Disconnect the serial COM port cable from the rear I/O board.
Figure 150. Disconnecting the serial COM port
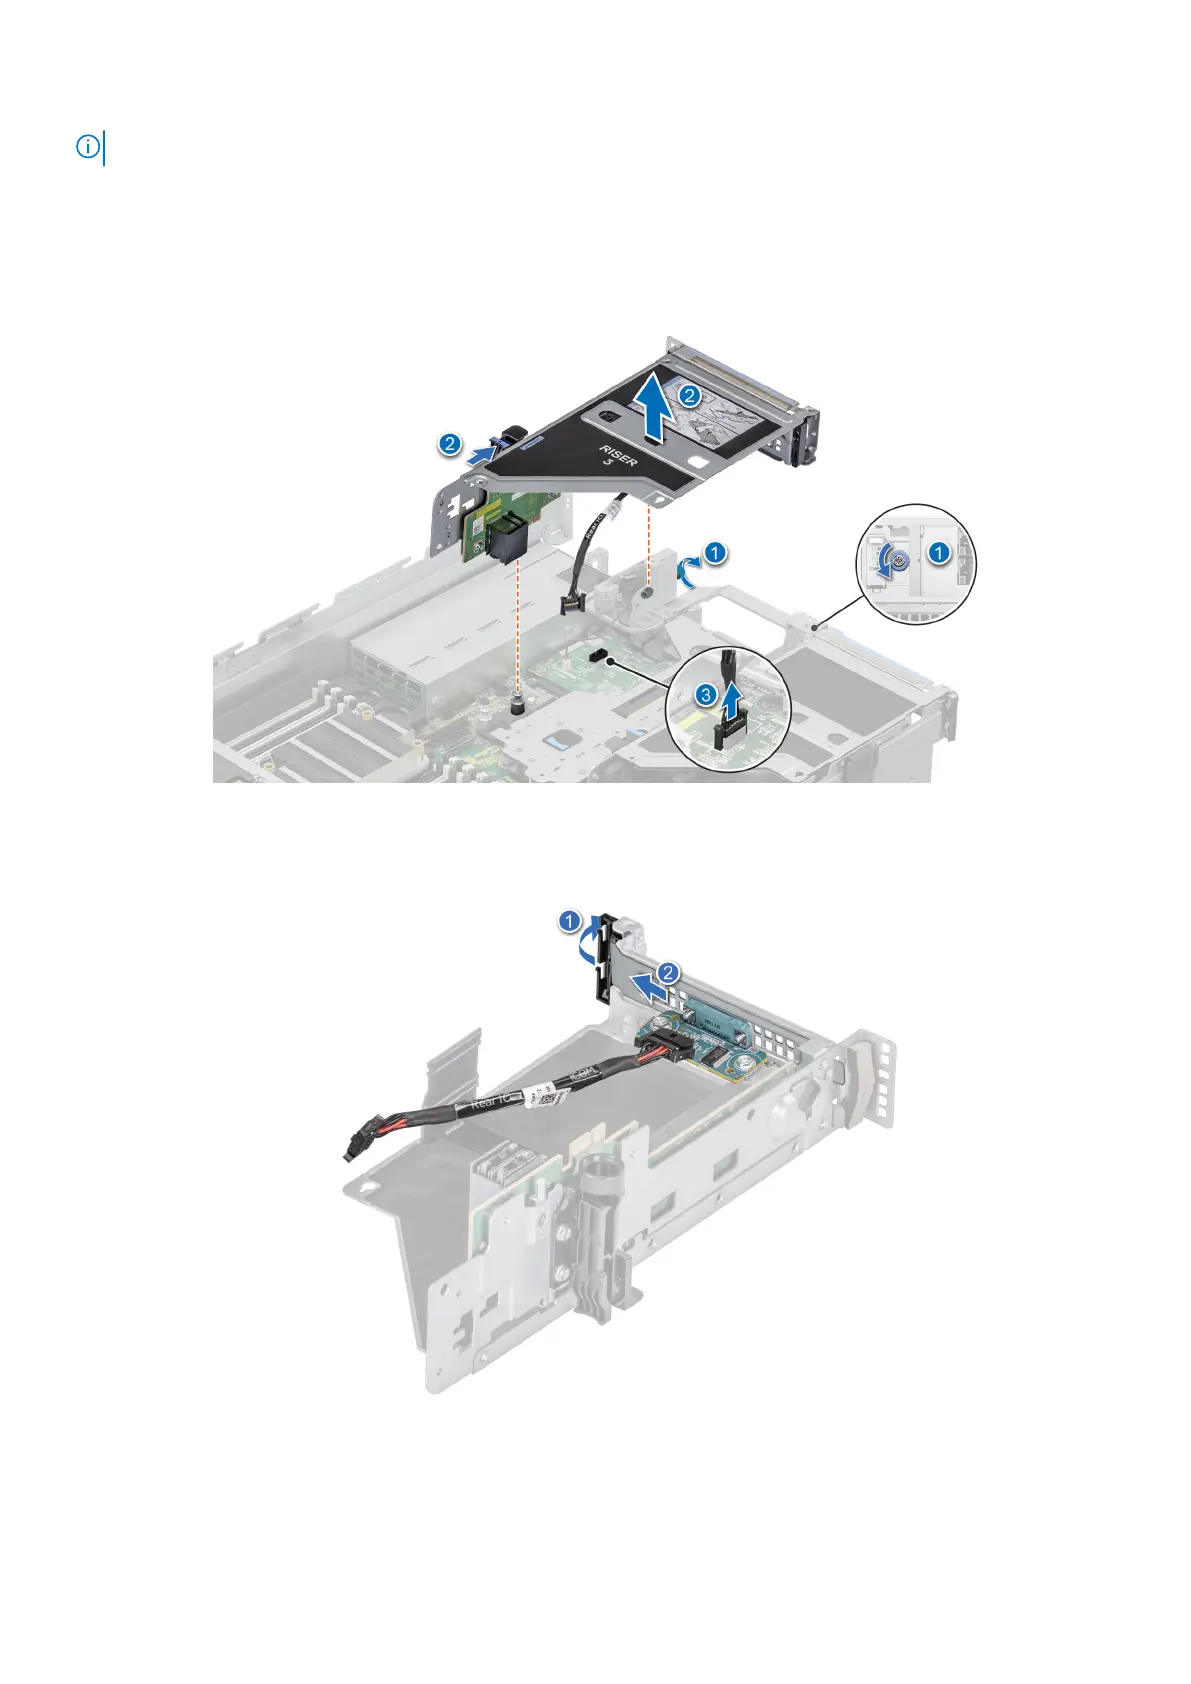
4. Open the latch on the expansion card riser and slide the serial COM port out of the expansion card riser.
Figure 151. Removing the Serial COM port
5. Install the filler bracket if not replacing the serial COM port.
158
Installing and removing system components
 Loading...