Installing the serial COM port
The procedure to install serial COM port to Riser 3 or 4 is same.
Prerequisites
1. Follow the safety guidelines listed in the Safety instructions.
2. Follow the procedure listed in Before working inside your system.
3. Remove the air shroud or remove the GPU air shroud.
NOTE: The serial COM port is supported only in slot 4 or slot 8 of the expansion card riser.
4. Remove expansion card riser.
5. If required, remove PCIe card from slot 7.
Steps
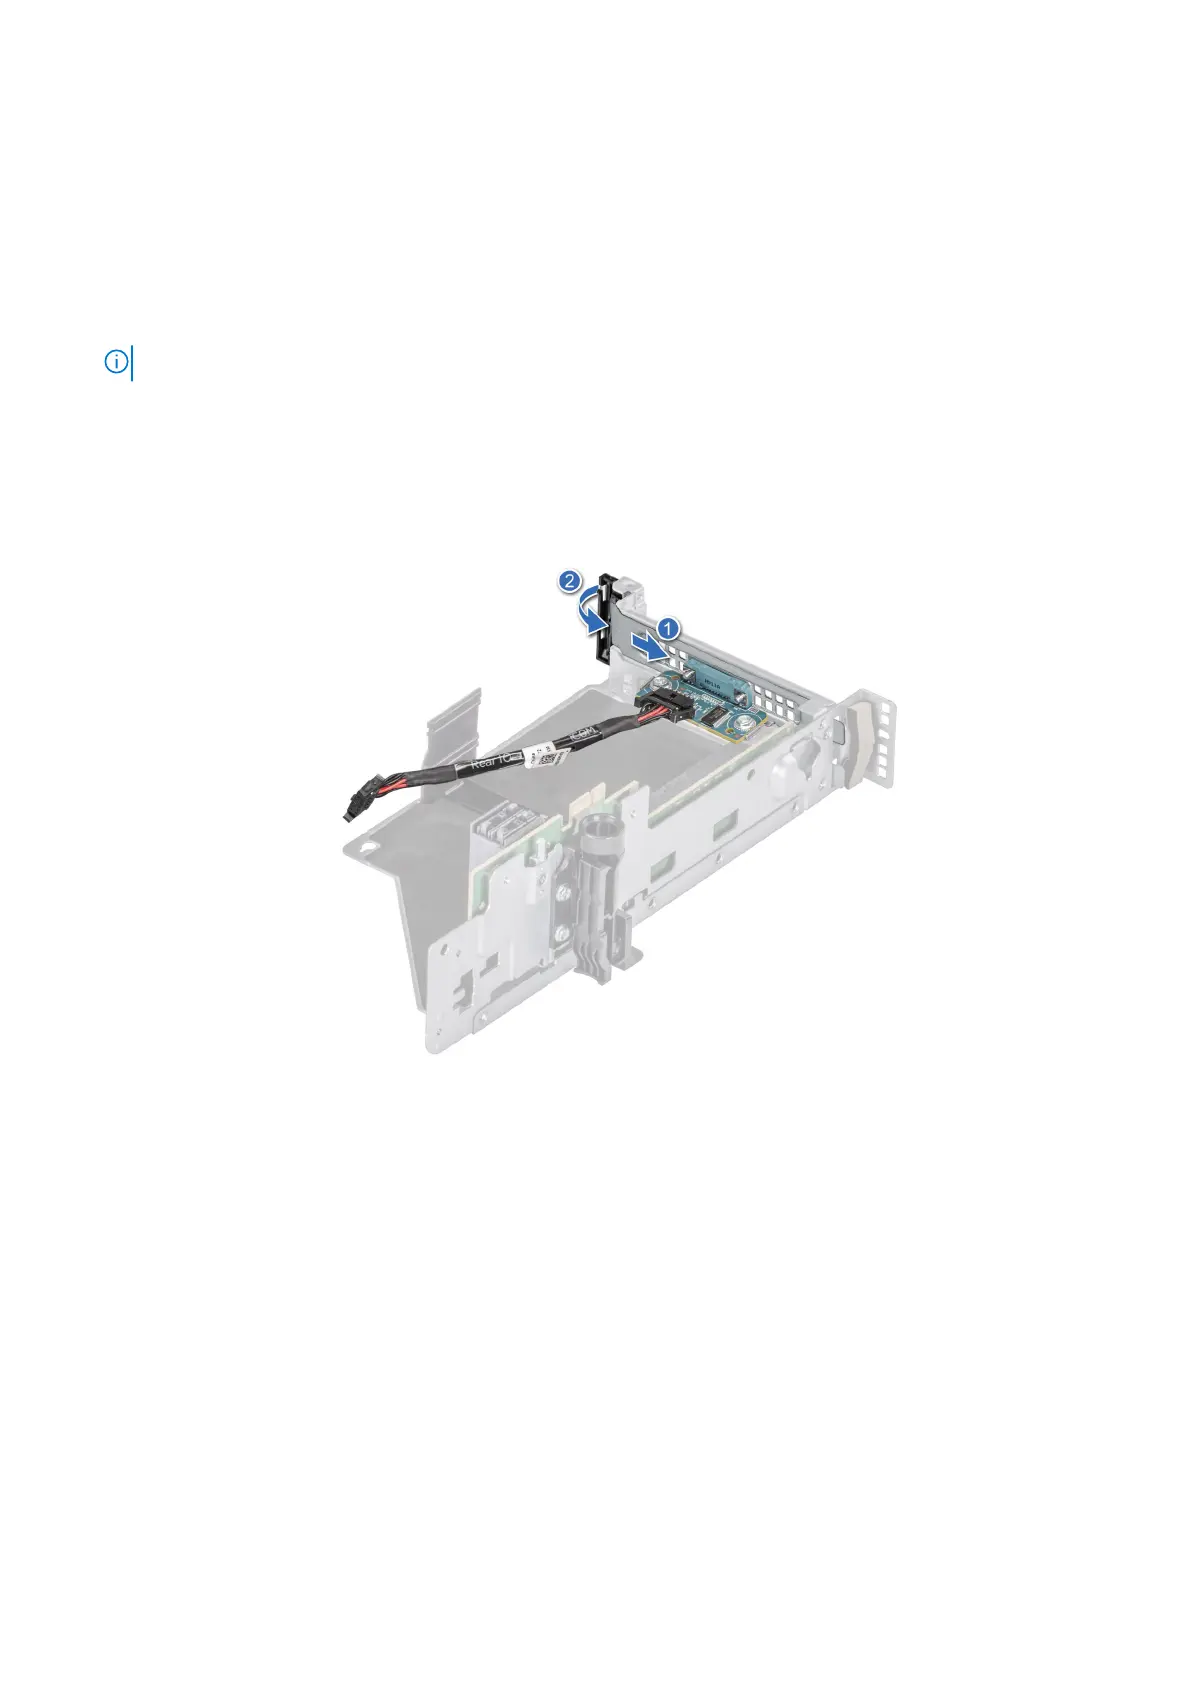
1. Open the latch on the expansion card riser and remove the filler bracket from the expansion card riser.
2. Slide the serial COM port into the expansion card riser and close the latch.
Figure 152. Installing the serial COM port
3. Connect the serial COM port cable to the rear I/O board.
4. Holding the edges or the touch points, align the holes on the expansion card riser with the guides on the system board.
5. Lower the expansion card riser into place and press the touch points until the expansion card riser connector is fully seated
on the system board connector.
6. Tighten the captive screws on the system.
Installing and removing system components
159
 Loading...