17
42
43
45
46
44
55
56
47
48
49
50
51
52
53
54
48
48
42
43
45
44
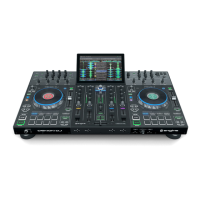
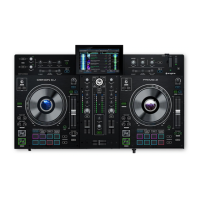
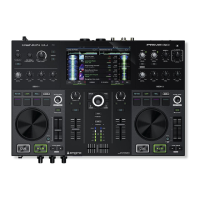
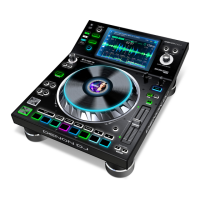
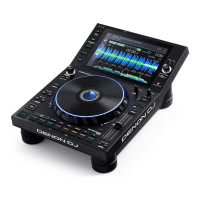
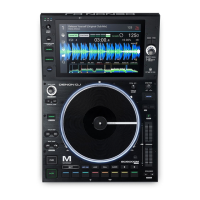
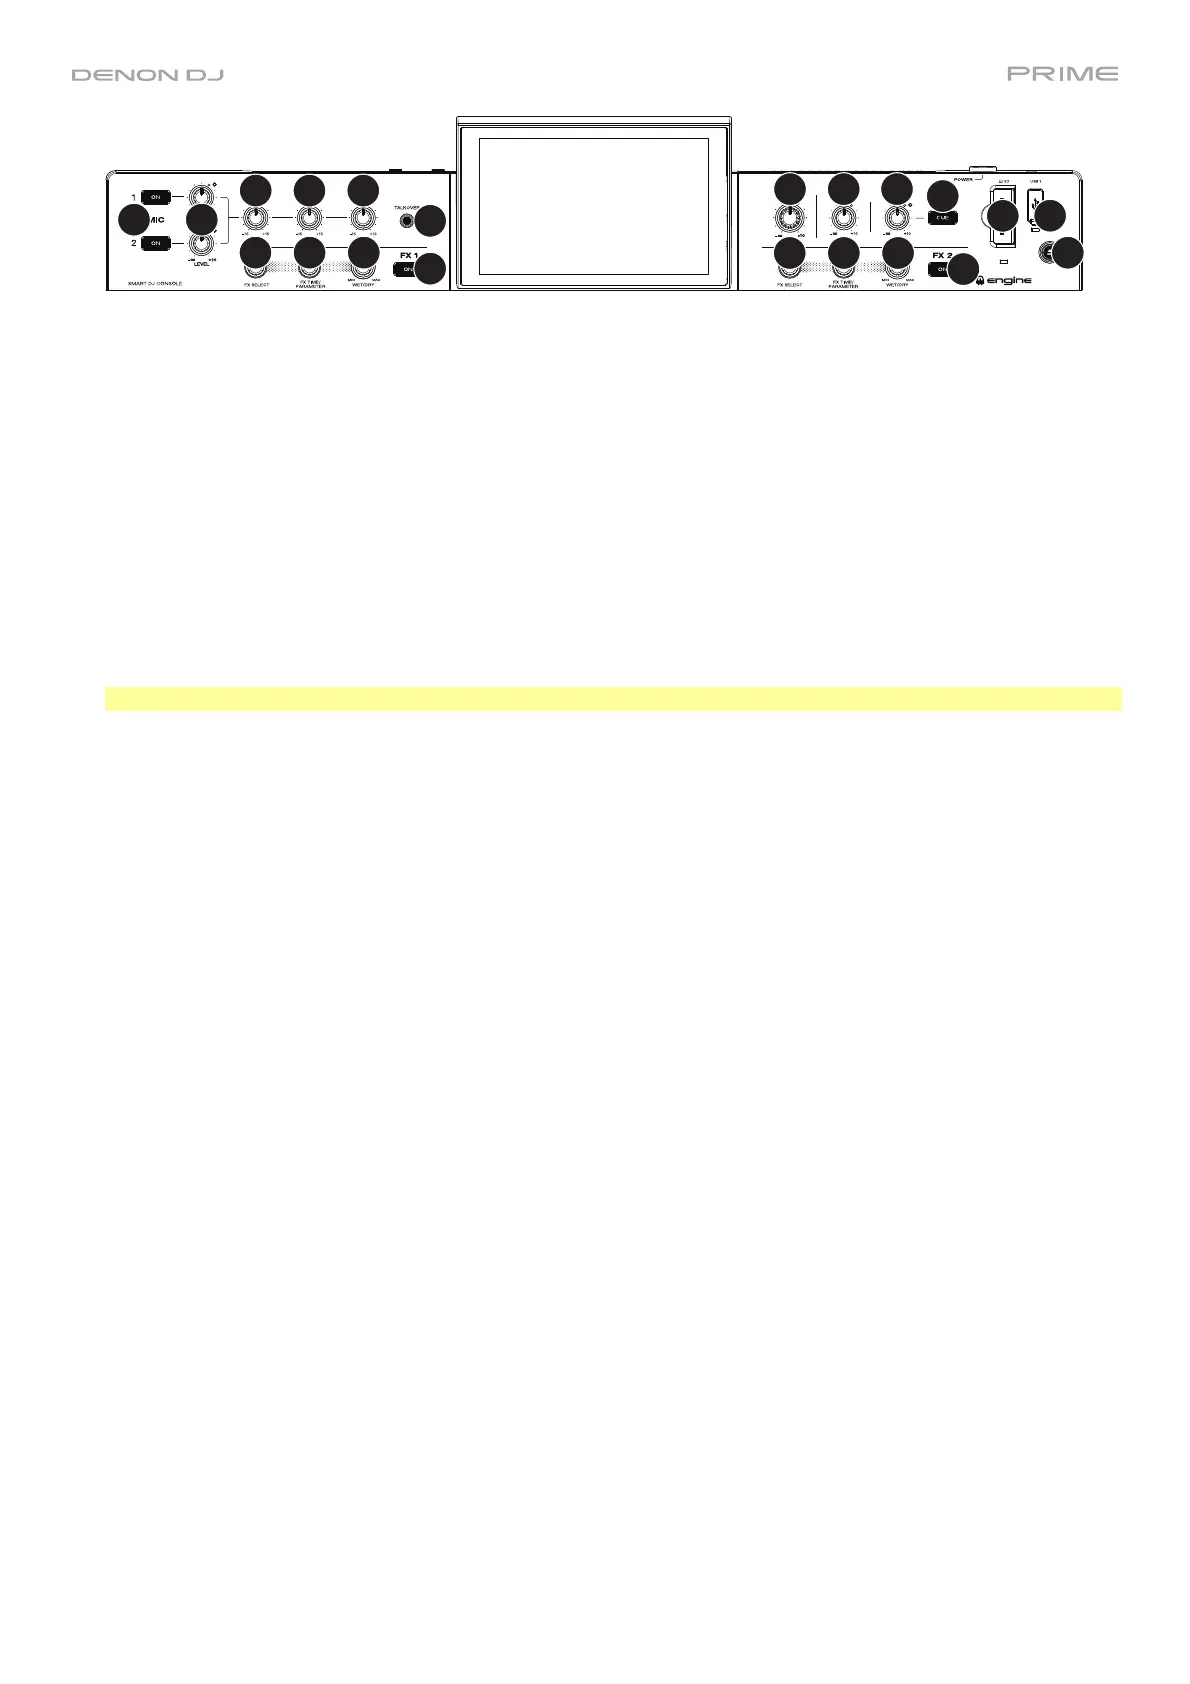
42. FX On: Press these buttons to enable or disable FX 1 and FX 2.
Press and hold Shift and press either of these buttons to show or hide the FX bar.
43. FX Select: Turn these knobs to select the active effect for FX 1 and FX 2.
44. FX Time/Parameter: Turn these knobs to decrease or increase the rate of time-based effects on that deck.
Press these knobs to toggle between FX Time and FX Parameter control, and then turn the knobs to adjust the
parameter.
45. FX Wet/Dry Knob: Turn these knobs to adjust the wet/dry mix of the effects.
46. Mic On/Off: Press these buttons to activate/deactivate the microphones.
47. Mic Level: Turn these knobs to adjust the volume levels of the corresponding microphone inputs. The Peak light
next to each knob indicates the current signal level, detected post-level pot position, by its color: green (low),
amber (normal/optimal), or red (maximum/peak). You can adjust the microphone attenuation in the Settings
menu.
Important: The audio signals from the microphones are routed directly to the Master Outputs.
48. Mic EQ: Turn these knobs to boost or cut the high, mid-range and low frequencies for the microphones.
49. Talkover: Press this button to use the “talkover” feature, which automatically reduces the volume level of the
master mix when you speak into the microphone.
50. Master Level: Turn this knob to adjust the volume level of the Master Outputs.
51. Booth Level: Turn this knob to adjust the volume level of the Booth Outputs.
52. Aux Level: Turn this knob to adjust the volume level of the Aux Inputs. The Peak light next to this knob
indicates the current signal level by its color: green (low), amber (normal/optimal), or red (maximum/peak). The
signal level is detected pre-level pot position, so you can confirm an optimal signal before sending to the master
bus.
53. Aux Cue: Press this button to send the aux signal to the headphones’ cue channel.
54. SD Card Slot: Insert a standard SD card to this slot. When you select that SD card as a source, you can use the
touchscreen to select and load tracks from your SD card.
55. USB 1 Port: Connect a standard USB flash drive to this USB port. When you select that USB flash drive as a
source, you can use the touchscreen to select and load tracks from your USB flash drive.
56. Eject/Source: Press this button to bring up on the touchscreen a list of connected media devices which can be
ejected. Tap one of the listed media sources to eject that device. To prevent data corruption, drives must be
ejected before being removed from the console.
Press and hold Shift and press this button to open the Source menu.
 Loading...