12
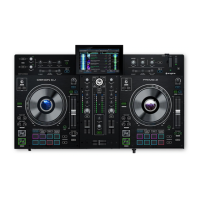
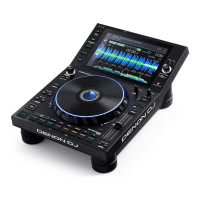
Front Panel
1
2
3
2
2
2
34
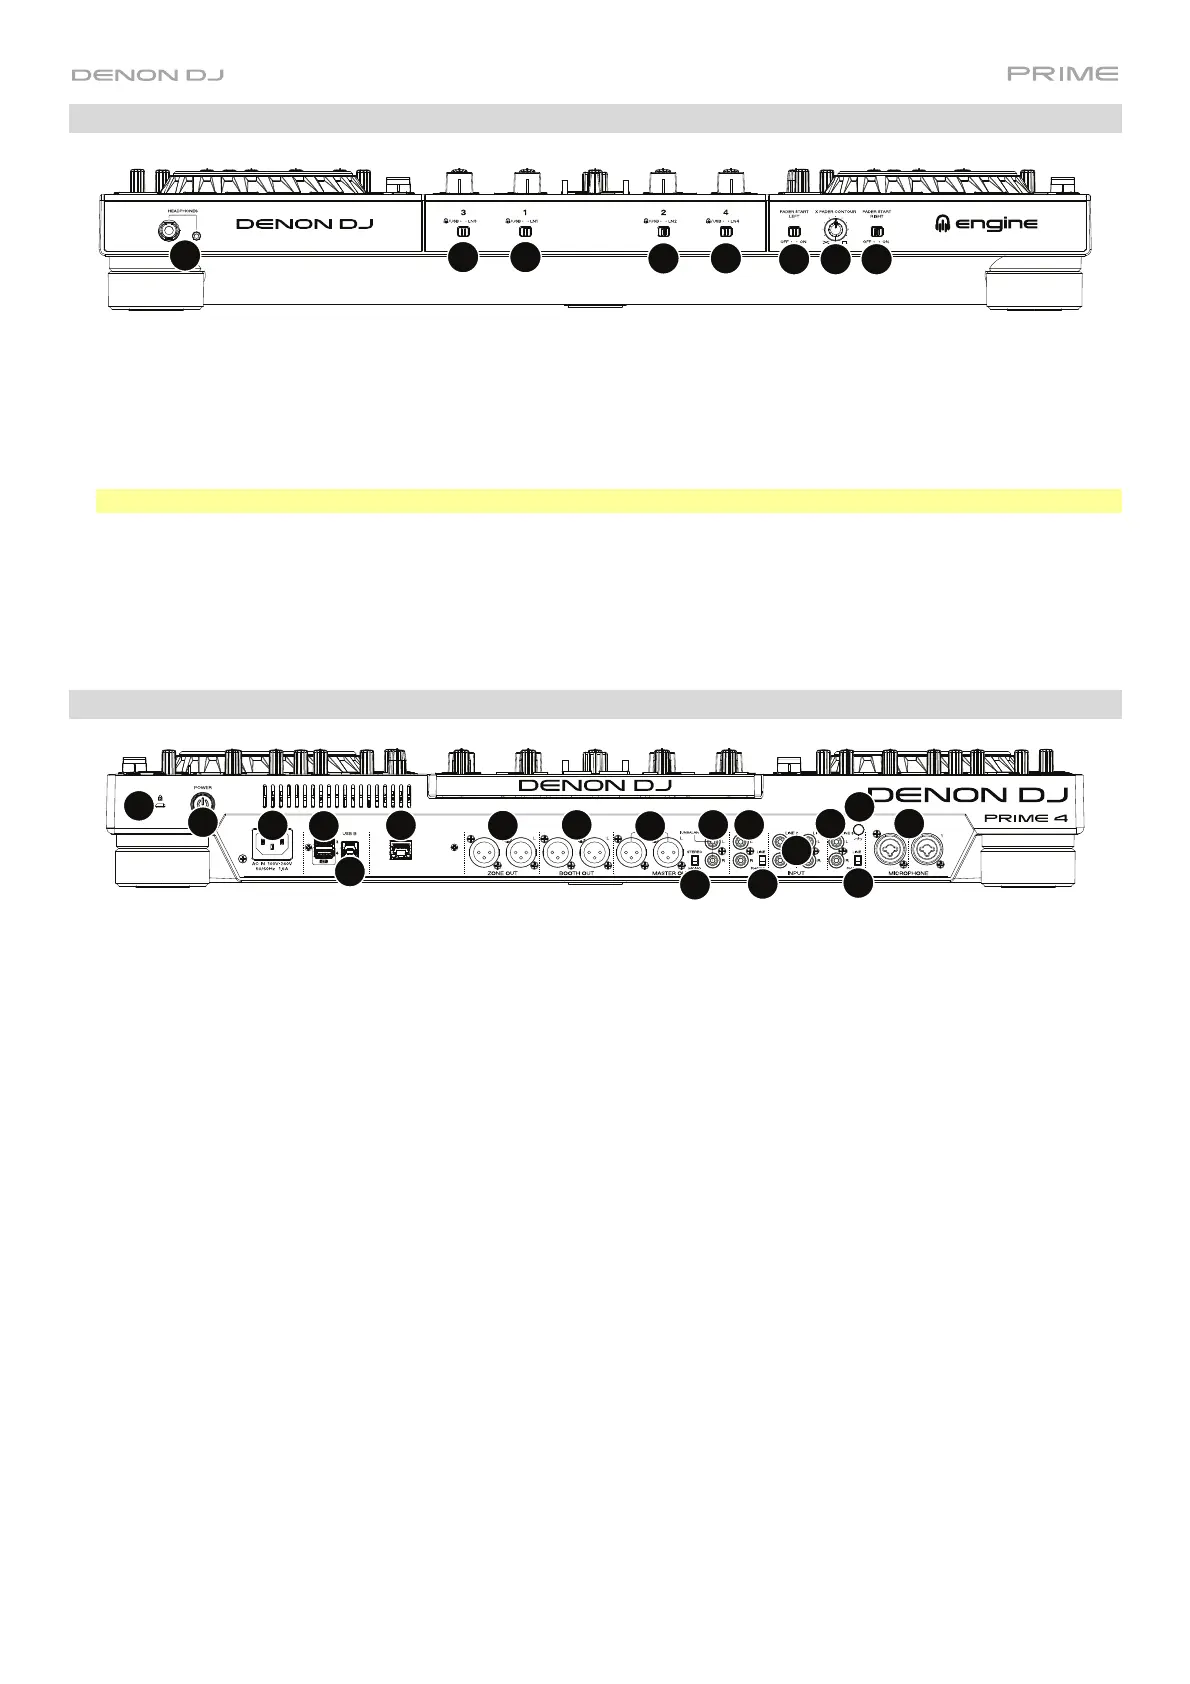
1. Headphones (1/4”, 1/8”) (6.35 mm, 3.5 mm): Connect your 1/4” or 1/8” (6.35 mm or 3.5 mm) headphones to this
output for cueing and mix monitoring. The headphone volume is controlled using the Phones Level knob.
2. Input Selector: Set these switches to the desired audio source from this channel: Engine/USB (a track playing on
that layer in the software, or from a connected USB flash drive or SD card), or Line (a device connected to the
inputs on the rear panel).
Note: When using Line Inputs, only the Filter Sweep FX will be available.
3. Fader Start: Enables or disables "fader start" on the corresponding side of the crossfader. When fader start is
enabled on one side, moving the crossfader toward that side will cause the deck to start playing.
4. X-Fader Contour: Adjusts the slope of the crossfader curve. Turn the knob to the left for a smooth fade (mixing)
or to the right for a sharp cut (scratching). The center position is a typical setting for club performances.
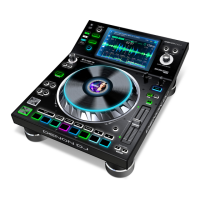
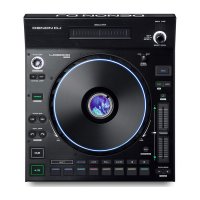
Rear Panel
1
2
3
4
567
10
11
12
13
14
15
16
8
9
12
13
1. Power Input: Use the included power cable to connect this input to a power outlet.
PRIME 4 has a protection circuit to safely eject all media after an unexpected power loss to protect your data from
corruption. Reconnect your power source to return to normal operation.
2. Power Button: Press this button to power PRIME 4 on. Power on PRIME 4 only after you have connected all
your input devices and before you power on your amplifiers and loudspeakers.
To power off PRIME 4, press this button and follow the prompts on the touchscreen. Power off your amplifiers
and loudspeakers before powering off PRIME 4.
3. Rear USB Ports 3/4: Connect standard USB drives to these USB ports. When you select one of those USB
drives as a source, you can use the touchscreen to select and load tracks on your USB drives. There are also
two similar USB ports on the top panel. USB Port 4 can also be used to charge a device (+5V, 1A).
You can also use Ports 3 and 4 to connect up to two LC6000 PRIME controller units, which can then be used to
control Decks 3 and 4, respectively. When connected, any tracks loaded to Decks 3 and/or 4 on PRIME 4 will be
moved to Decks 1 and/or 2, and PRIME 4’s Deck buttons will be disabled. You can then use the LC6000
PRIME’s Select/Zoom knob to browse and load tracks directly to that deck.
4. USB B: Use a standard USB cable (included) to connect this USB port to an available USB port on your
computer. This connection sends and receives MIDI messages to and from the computer.
5. Link Port: Use a standard Ethernet cable to connect this port to a computer. PRIME 4 will send time, BPM, and
other track data to the compatible StagelinQ lighting and video software over this connection.
6. Zone Out (XLR, balanced): Use standard XLR cables to connect these outputs to loudspeakers or an amplifier
system. By default, the Zone Out will send the same signal as the Master Outputs. Alternatively, you can press
the Zone Channel Assign button to set Deck 4 as a Zone Playlist which will be routed to these outputs. When
using the Zone Channel, the level and EQ controls of Channel 4 will be bypassed; use the Zone Level and Zone
EQ knobs on the top panel to control the volume level and EQ of the Zone Out signal.
 Loading...