EasyManuals Logo

Digital Projection E-Vision Laser 6500 Series User Manual

Digital Projection E-Vision Laser 6500 Series
90 pages
To Next Page IconTo Next Page
To Previous Page IconTo Previous Page
Page #25 background imageLoading...
Page #25 background image
Digital Projection
E-Vision Laser 6500 Series User Manual
Rev B August 2017
13
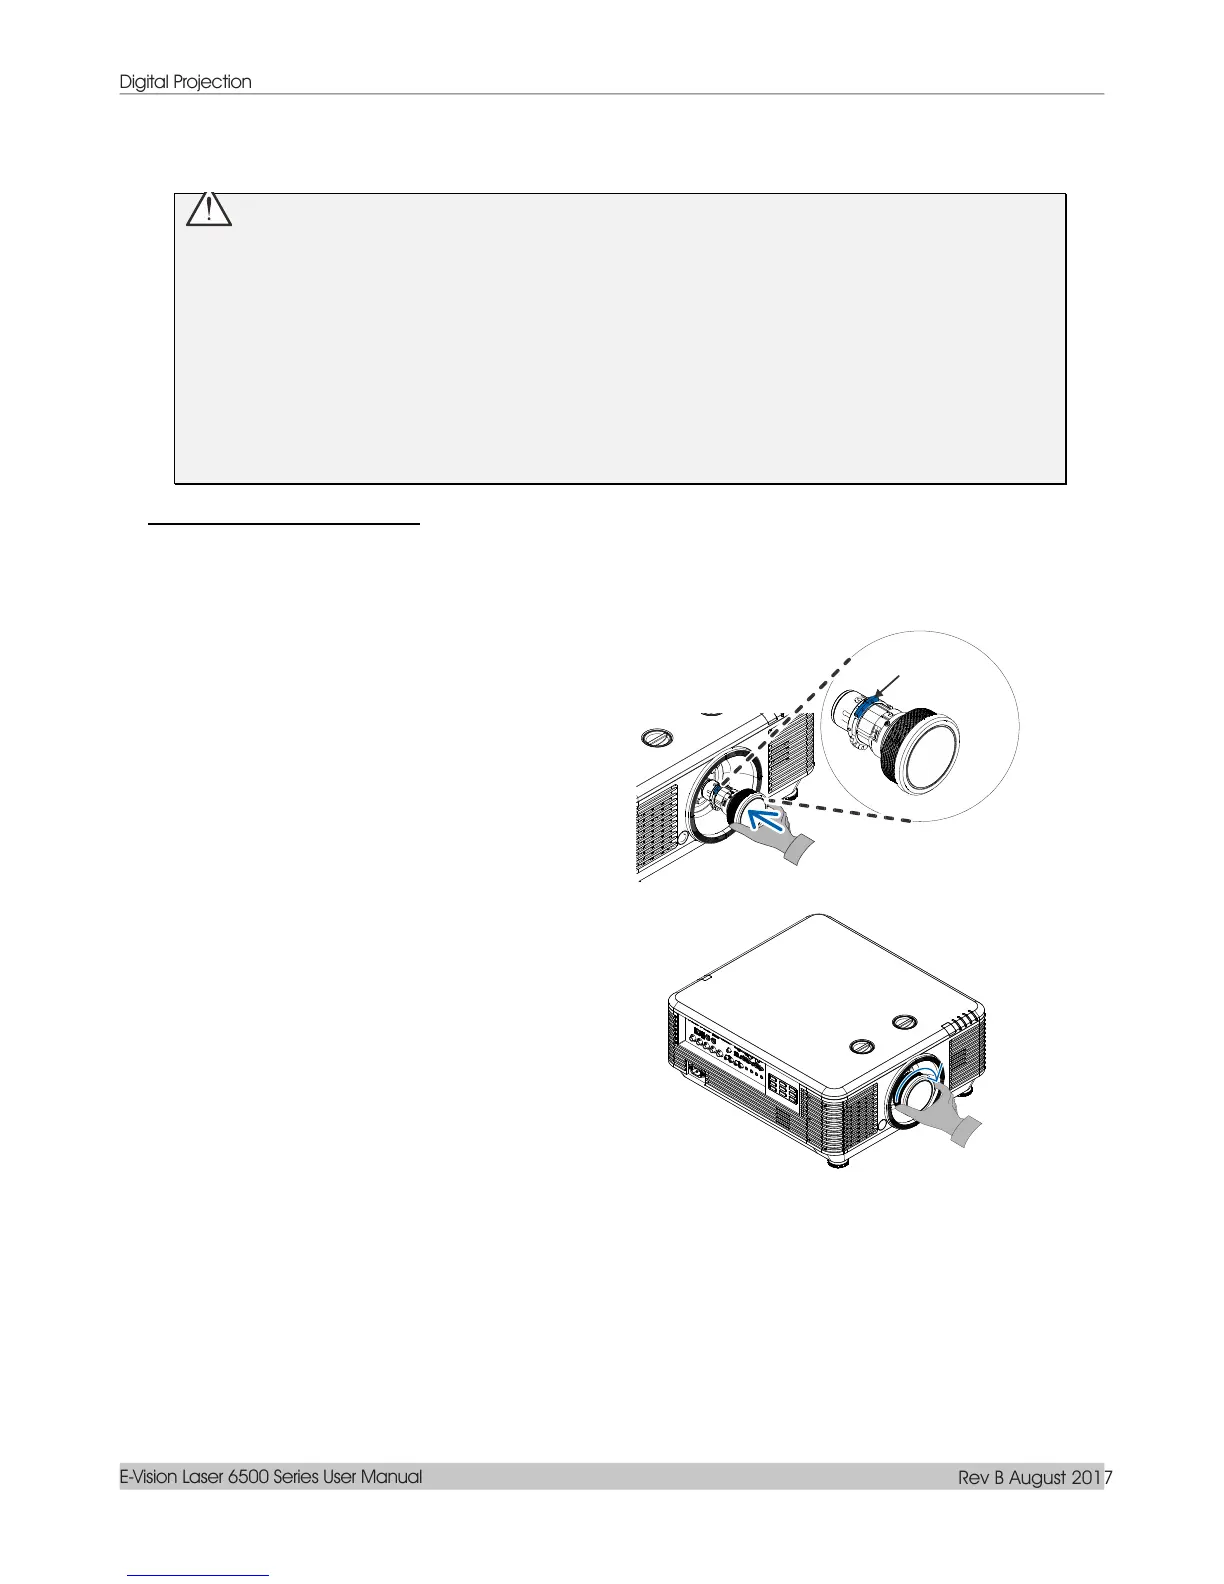
Installing or Removing the Optional Lens
Caution:
Do not shake or place excessive pressure on the projector or the lens components as the
projector and lens components contain precision parts.
Before removing or installing the lens, be sure to turn off the projector, wait until the cooling fans
stop, and turn off the main power switch.
Do not touch the lens surface when removing or installing the lens.
Keep fingerprints, dust or oil off the lens surface.
Do not scratch the lens surface.
Work on a level surface with a soft cloth under it to avoid scratching.
If you remove and store the lens, attach the lens cap to the projector to keep off dust and dirt.
Installing the New Lens
Remove both end caps from the lens.
Removal of the Anti-dust cap before inserting a lens for the first time.
1.
Align the flange and correctly
position at the 11 o’clock position as
shown in the picture.
2.
Rotate the lens clockwise until you
feel it click into place.
Flange

Table of Contents

Questions and Answers:

Question and Answer IconNeed help?

Do you have a question about the Digital Projection E-Vision Laser 6500 Series and is the answer not in the manual?

Digital Projection E-Vision Laser 6500 Series Specifications

General IconGeneral
BrandDigital Projection
ModelE-Vision Laser 6500 Series
CategoryProjector
LanguageEnglish

Related product manuals