Digital Projection
E-Vision Laser 6500 Series User Manual
Rev B August 2017
– 29 –
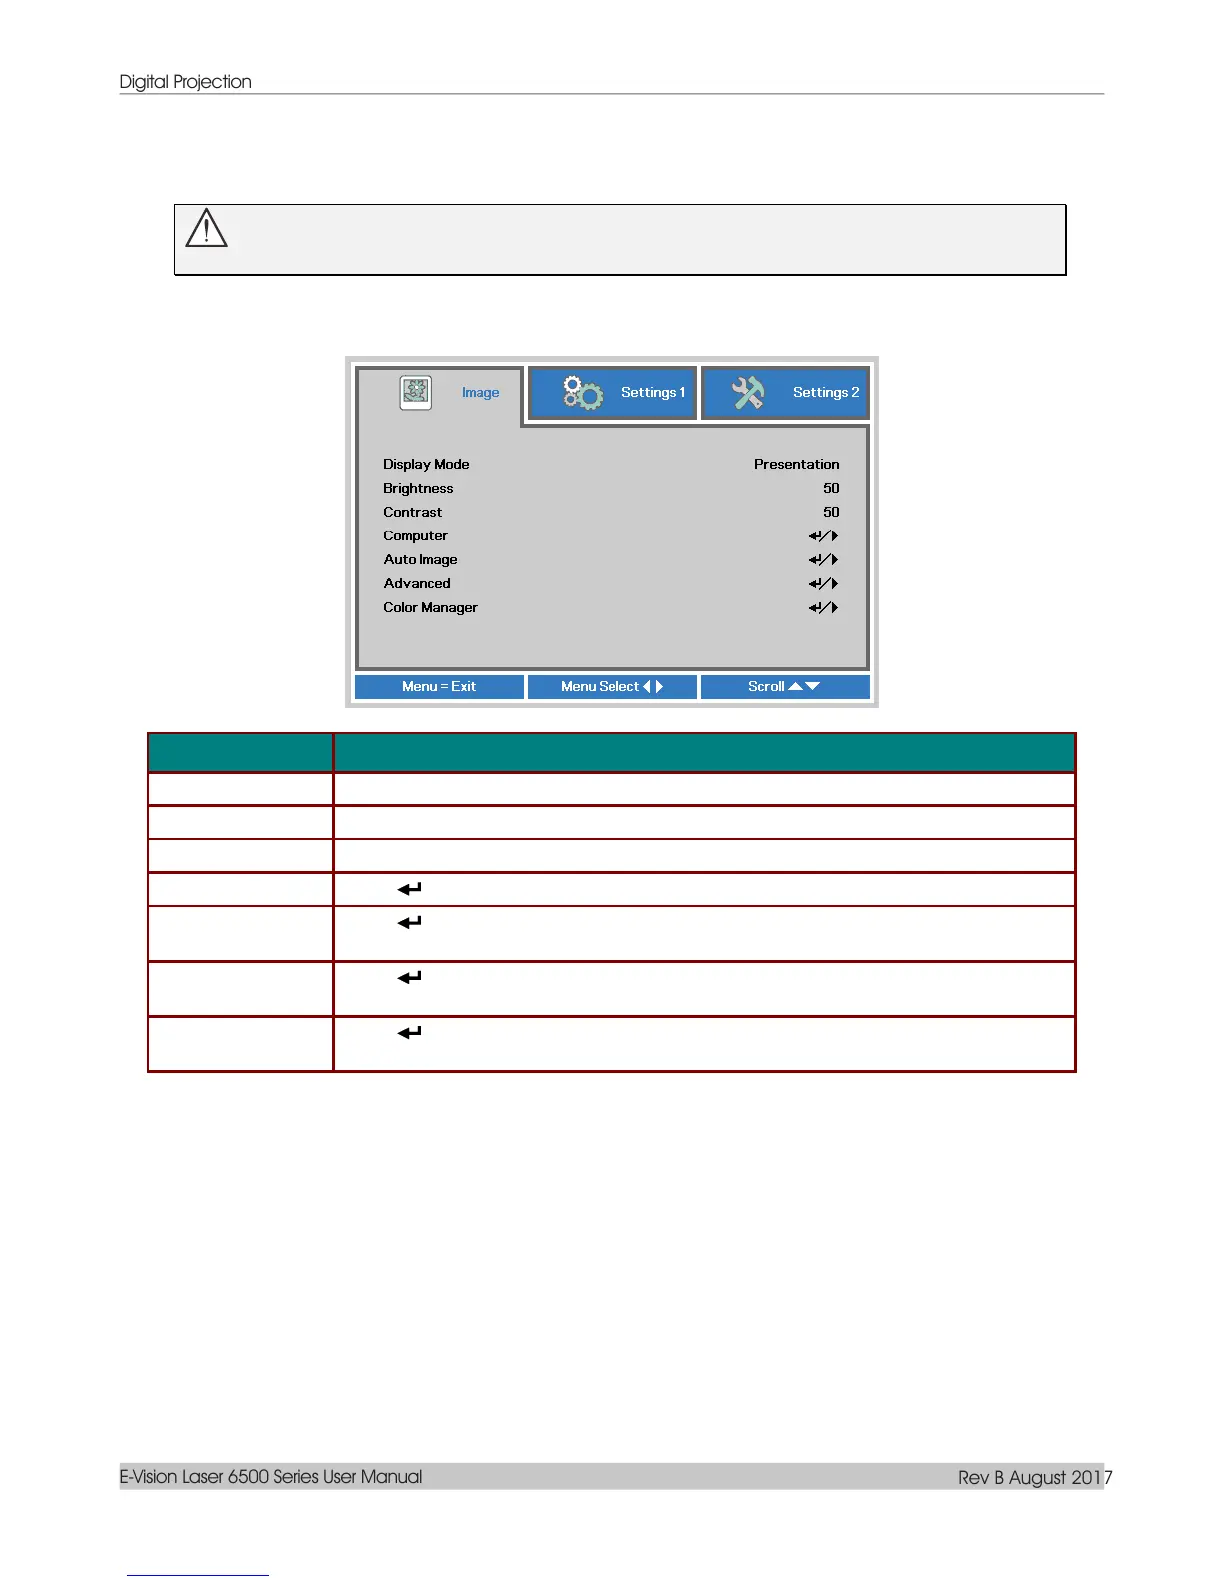
Image Menu
Attention !
All of display mode parameters when changed will be saved to user mode.
Press the MENU button to open the OSD menu. Press the cursor ◄► button to move to the Image Menu.
Press the cursor ▲▼ button to move up and down in the Image menu. Press ◄► to enter and change
values for settings.
Press the cursor ◄► button to enter and set the Display Mode.
Press the cursor ◄► button to enter and adjust the display brightness.
Press the cursor ◄► button to enter and adjust the display contrast.
Press (Enter) / ► to enter the Computer menu. See Computer Menu on page 30.
Press (Enter) / ► to automatically adjustment for phase, tracking, size and
position.
Press (Enter) / ► to enter the Advanced menu. See Advanced Feature on page
31.
Press (Enter) / ► to enter the color manager menu. See page 33 for more
information on Color Manager

 Loading...


