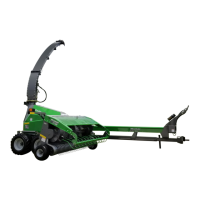
SETUP
46
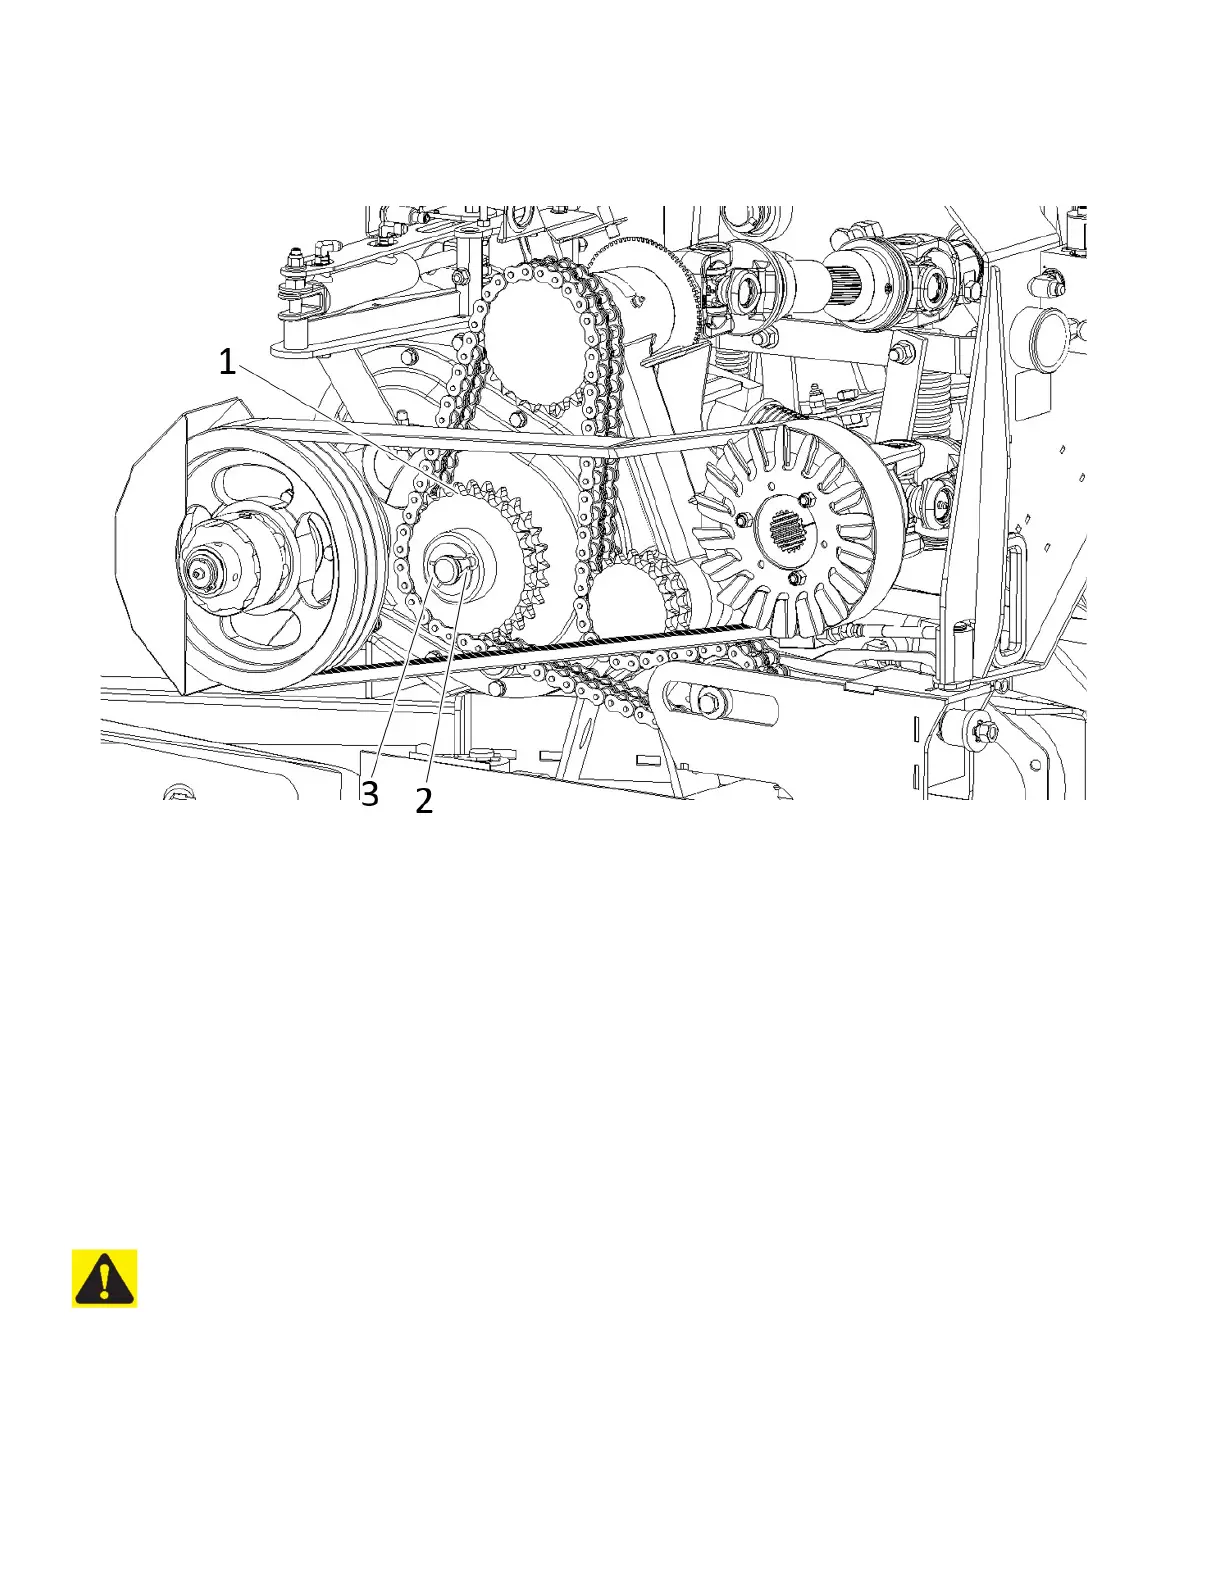
STEP 3 - FIGURE 51
Remove the quick link of the chain before attempting to remove the sprocket. Remove the LOC double sprocket (item 1),
by removing the spring clip (item 2) and washer (item 3). You may need to clean the shaft with fine sand paper to remove
paint or dirt before the sprocket can be removed.
Figure 51 Double sprocket
STEP 4
Clean the shaft with fine sandpaper and apply anti-seizing lubricant on the shaft. Determine the appropriate sprocket
from the table in Figure 48. Install the sprocket and replace the washer(s) (item 3) and clip (item 2).
STEP 5 - FIGURE 50
Reset the tension on the chain (item 1) by tightening the tensioning rod (item 2). Tighten until the proper tension is
achieved (see Figure 48). Close the main guard.
NOTE: Three sprockets are included with the harvester: 17, 26 and 34 tooth.
SPOUT EXTENSION REMOVAL
FIGURE 52
For harvesters equipped with a Stinger spout extension it is possible, at any time, to change the drop configuration by
removing or adding the "Stinger" extension to switch from side loading to rear loading or vice versa.
NOTE: For the first installation of the chute extension, see the installation manual provided with the purchase.
CAUTION: Always keep the machine coupled to the tractor when operating the spout.
STEP 1
1. Rotate the spout so it is facing the back of the machine, then lower it completely.
2. Disconnect the hydraulic hoses (item 1), the electric cable of the deflector light (Item 2) and the camera (Item 3)
Figure 52 Spout conversion.
3. Protect all tips of all hydraulic hoses to prevent contamination, at all times.
 Loading...