9
© 2008 Directed Electronics. All rights reserved.
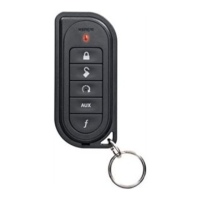
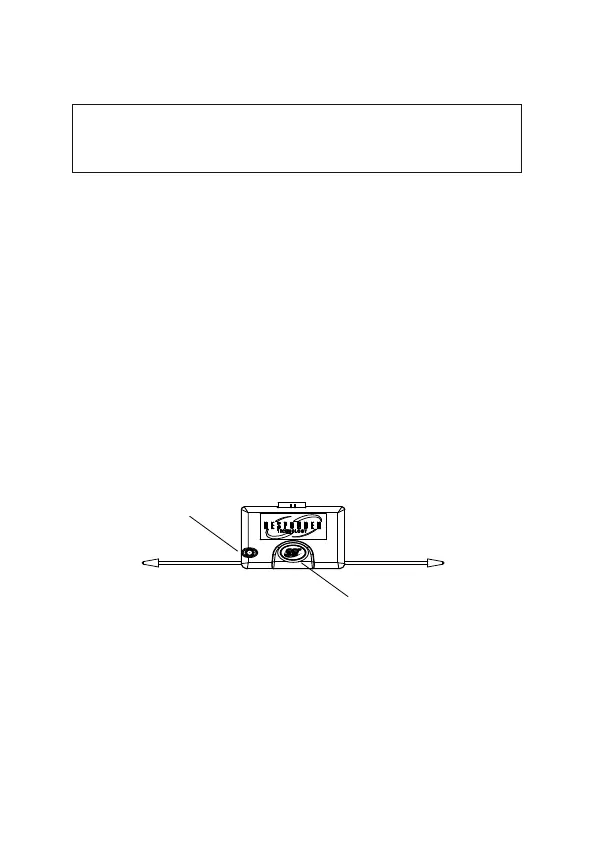
¢Valet® program switch
The valet/program switch is built into the control center.
Important:
When the vehicle is delivered, please show the
user where this switch is lo cat ed and how to disarm the sys-
tem with it.
Note: An optional valet switch (p/n #8631) is available if the onboard valet
switch is not used for the install.
When installing the external valet switch ensure that the location has sufficient
clearance to the rear. The switch should be well hidden. It should be placed so
pas sen gers or stored items (such as in a glove box or center console) cannot
accidentally hit it. The switch fits into a 9/32-inch hole.
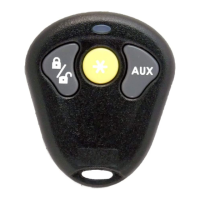
¢ Status LED
The status LED is built into the control center. An optional LED (p/n 8634) is
available if the onboard LED will not be used for the install. The LED fits into a
9/32-inch hole.
LED
Valet switch