©
2022 DJI All Rights Reserved.
43
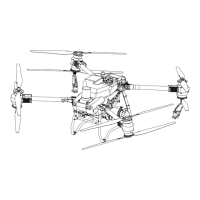
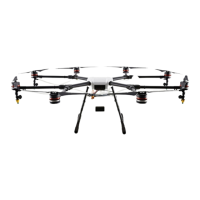
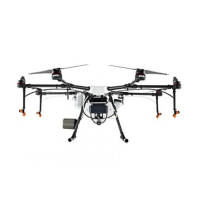
AGRAS T30
Unmanned Aircraft Flight Manual
normally ies at a low speed when turning on a task route. The aircraft will automatically descend
once the ight speed returns to normal.
3. Edit Obstacles
For polygonal obstacles, follow the Edit Waypoints instructions to edit the added points around the
obstacle. For circular obstacles, tap the center of the circle to select the obstacle and drag to adjust
the position. Select the red point on the circumference of the obstacle and drag to adjust the radius.
4. Add More Boundary Points or Obstacles
On the Field Editing screen, use the crosshair, remote controller, or aircraft to add more boundary
points or obstacles. The instructions below use the crosshair as an example.
A more accurate map is required to add points using the crosshair. It is recommended to
select a map source in HD Second-layer Map in
under to improve the accuracy of the
added points.
a. Select Crosshair in the Add Point list on the right of the screen. A crosshair will be displayed in the
center of the map.
b. Select Boundary Point, Obstacle, or Round from the Type of Point list. Drag the map to align the
crosshair and tap Add to add the corresponding type of point.
c. Follow the Edit Waypoints and Edit Obstacles instructions to edit the added points accordingly.
5. Add Prescription Maps
Tap
on the screen. Select a prescription map from the list to preview. Each area of the eld on
the map will be displayed in a color corresponding to the amount of material. Tap Yes to apply the
selected prescription map to the eld.
6. Tap Back, then Done, name the operation, choose crop, and congure other parameters.
Performing an Operation
1. Power on the remote controller and aircraft.
2. Go to the home screen in DJI Agras and tap Execute Operation to enter the Operation View.
3. Tap
to select a eld in Fields tag.
4. Tap
on the center of the eld to add a prescription map.
5. Tap Edit to edit the waypoints and route again and add more boundary points or obstacles.
6. Tap Invoke.
7. Tap Move Flight Route to adjust the position of the route using the ne-tuning buttons if Rectify Offset
is disabled under
Settings. If Rectify Offset is enabled under Settings, place the aircraft at one
of the previously set calibration points, tap Rectify Offset then Rectify Aircraft Position, and tap OK.
8. Connection Routing enables the aircraft to rejoin a task route automatically and safely. It is
recommended to mark all obstacles outside the task area during field planning. Users can add
connection points where necessary to change the connection route to circumvent obstacles that
were not marked during eld planning. Refer to the descriptions below for more information.
9. Set operation parameters, tap OK, and tap Start.
10. Set an appropriate auto-takeoff height and speed by setting the Connection Routing and RTH
Altitude and Connection Routing and RTH Speed, move the slider to take off, and start spraying.
The Connection Routing and RTH altitude and speed can be adjusted under Pre-Task Auto
Check and Aircraft Settings. If it is adjusted in one location, it will automatically be updated in
the other location too.
 Loading...