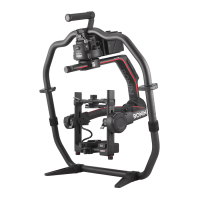
Ronin 2
User Manual
©
2017 DJI OSMO All Rights Reserved.
9
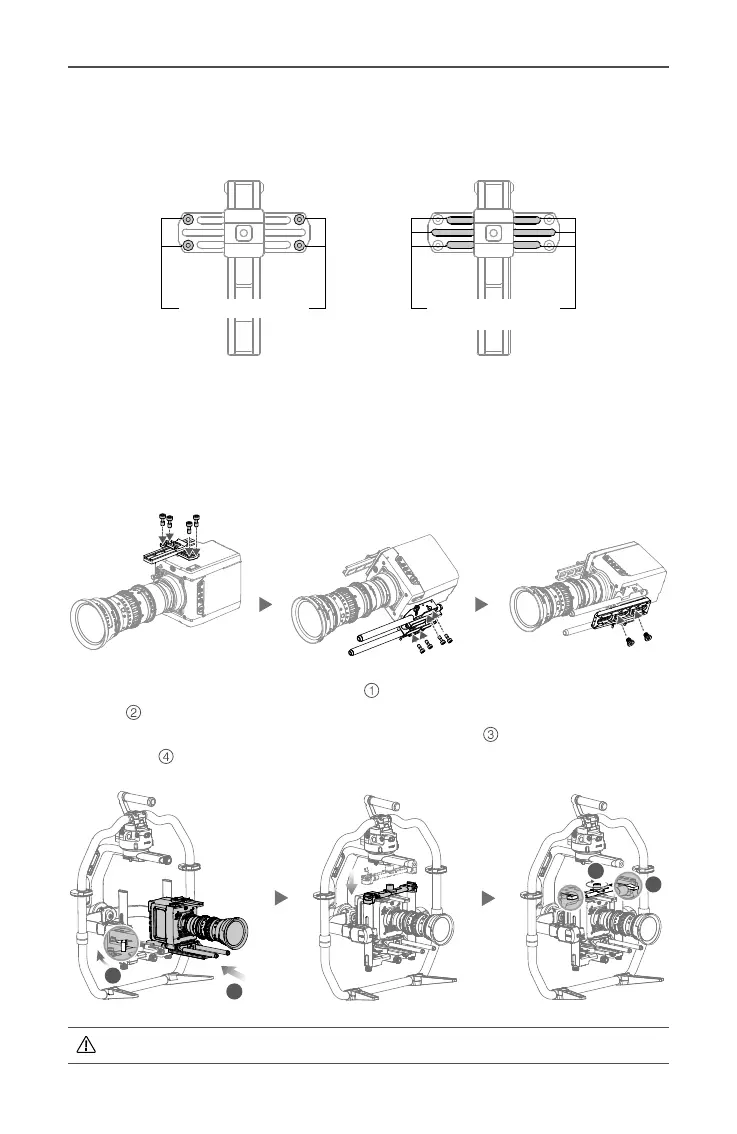
2. Attach the Camera Top Cross Bar to the camera. Refer to the locations below to mount
the Top Cross Bar to the ARRI ALEXA MINI (using M4-10 screws), RED EPIC (using
1/4" screws) and RED WEAPON 8K (using M4-10 screws) cameras.
5. Slide the camera into the mounting plate
until the safety lock engages, then lock the
lever
.
6. Attach the upper crossbar and tighten the securing knob
to the camera, then lock
the levers
.
It is recommended to adjust the camera’s center of gravity further back and down.
1
2
3
4
ARRI ALEXA MINI
RED EPIC,
RED WEAPON 8K
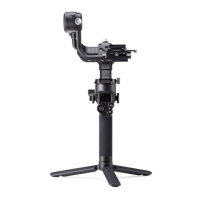
The Top Cross Bar can be installed in two directions. If the camera lens’ center of
gravity is forward, then mount the Top Cross Bar with the long part forward as shown.
3. Attach the 15 mm Rod and the Focus Rod Mount to the camera.
4. Choose the proper camera screws (type 3/8"-16 or 1/4"-20) and attach the Camera
Base Plate to the camera.
 Loading...