Ronin-MX
User Manual
©
2016 DJI All Rights Reserved.
9
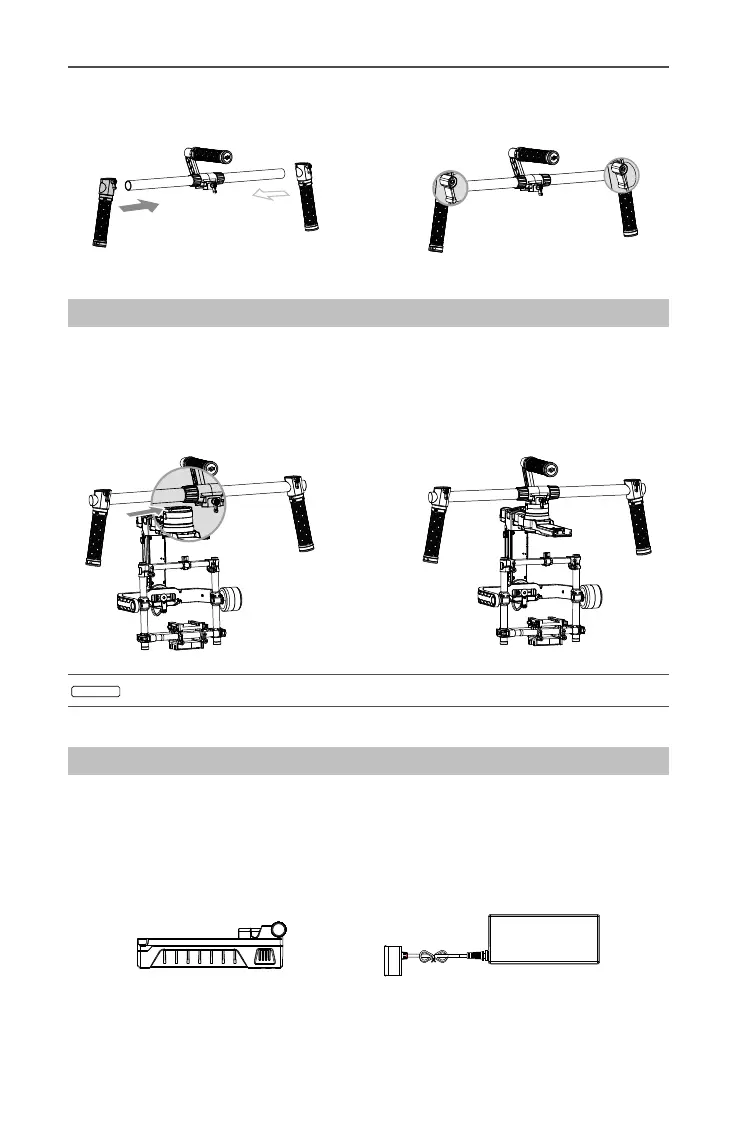
2. Attach the grips to the bar and lock them in the preferred position.
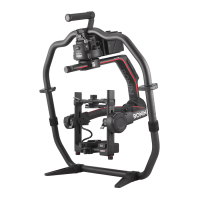
Installing the Handle Bar onto the Gimbal
1. Place the handle bar in position, as shown below, then slide the gimbal horizontally
into the handle bar, tighten the knob when you hear a “click”, which indicates that the
safety lock has engaged.
2. Holding the gimbal by the grips, make sure the gimbal is not obstructed during a 360
degree pan. The installation is complete.
To remove the gimbal, pull down the safety lock and then loosen the knob.
DJI Intelligent Battery
Before you start using your Ronin-MX, be sure to charge the battery. The DJI Intelligent
Battery was specially designed for the Ronin-MX. It has a capacity of 1580 mAh, a voltage
of 14.4 V, and a variety of power management functions. Only charge the DJI Intelligent
Battery with the DJI approved Charger (MODEL BC235144015). When the DJI Intelligent
Battery is fully charged, the Ronin-MX has a maximum run-time of three hours.
DJI Intelligent Battery Charger
 Loading...