Ronin-MX
User Manual
©
2016 DJI All Rights Reserved.
15
Balancing
To obtain the best performance from the Ronin-MX, proper balancing is a must. Accurate
balance is critical for shots where the Ronin-MX will be subjected to extreme movements
or accelerations (running, biking, moving cars, aircraft, etc.). Proper balance will also
offer a longer battery runtime. There are three axes that need to be accurately balanced
prior to turning on the Ronin-MX and setting up the software.
The camera needs to be fully configured, with all accessories and cable
connections, prior to installing and balancing the camera on the gimbal. If the
camera has a lens cap, be sure to remove it prior to balancing.
Be sure that the Ronin-MX’s power and camera are turned off while balancing the
camera.
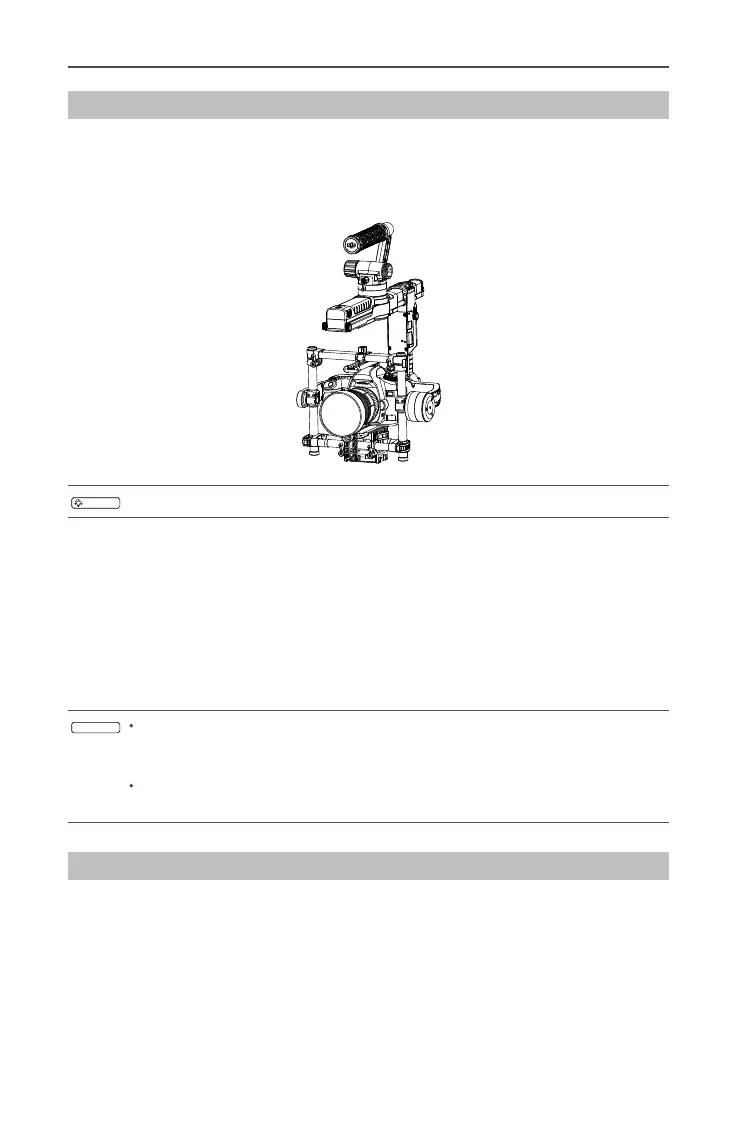
Step 1: Balancing the Vertical Tilt
To adjust the vertical balance, you will need to change the camera’s vertical position.
Adjust the height of the crossbar to achieve vertical tilt balance.
1. Rotate the tilt axis so that the camera lens is pointing upward, then loosen the two
vertical adjustment tabs and the lock-knobs on the top crossbar.
2. Gently slide the camera mount crossbar forwards or backwards until the camera
points upwards when released.
3. Tighten the tabs and lock-knobs, then manually rotate the assembly, simulating tilt, to ensure
there is no binding in the tilt motor. When proper balance is achieved, you can rotate the
camera to any tilt angle and it will stay in that position (while holding the roll axis in position).
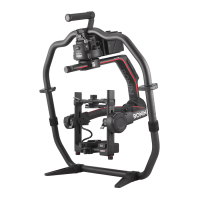
ConguringtheHandleBar
The customizable handle bar on the Ronin-MX can be removed, if necessary. Loosen
the two grip screws where the handle bar meets the gimbal and then remove the grips
from the handle bar. You can remove one or both sides of the handle bar. The resulting
conguration is shown below.
You may need to reduce the stiffness of the pan motor in this conguration.
 Loading...