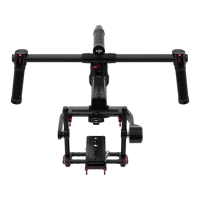
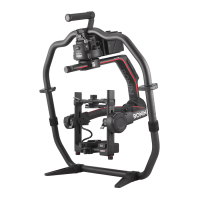
Ronin-MX
User Manual
©
2016 DJI All Rights Reserved.
33
Remote Controller Operation
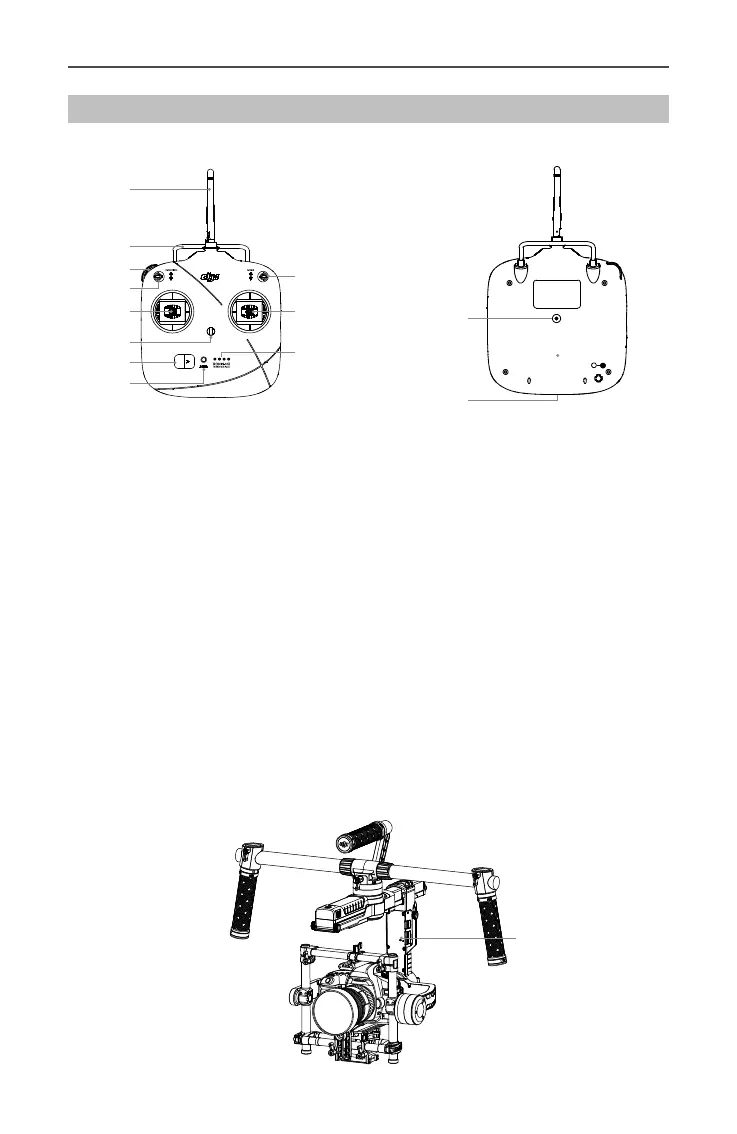
Remote Controller Diagram
[
2
]
[
4
]
[
6
]
[
5
]
[
3
]
[
7
]
[
8
]
[
9
]
[
10
]
[
11
]
[
1
]
[
12
]
[
13
]
[1] Antenna
[2] Carrying Handle
[3] Left Dial (reserved)
[4] 3-Position Switch (MODE)
[5] 3-Position Switch (FUNCTION)
[6] Right Stick
[7] Left Stick
Connecting the Remote Controller to the Ronin-MX
1. Turn on the Ronin-MX.
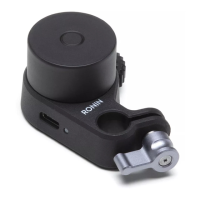
2. Press the Bind Button (shown below) of the Ronin-MX once. The Ronin-MX’s LED
indicator will blink green quickly at that time.
3. Slide the power switch to the right to power on the Remote Controller. If the LED of
gimbal turns solid green light, the Remote Controller and the Ronin-MX have been
successfully bound.
The binding process only needs to be done once, unless the bind button is pressed or if
the Ronin-MX needs to be bound to another Remote Controller.
Bind Button
[8] Neck Strap Attachment
[9] Power Switch
[10] Power Indicator
[11] Battery Level Indicators
[12] Battery Charging & RC Assistant Port
(Micro USB port)
[13] Reserved Port
 Loading...