The main display is shown in Figure 6.2. At this time, the speed is set at 5,000rpm, indicating the set
running time of 10 min.
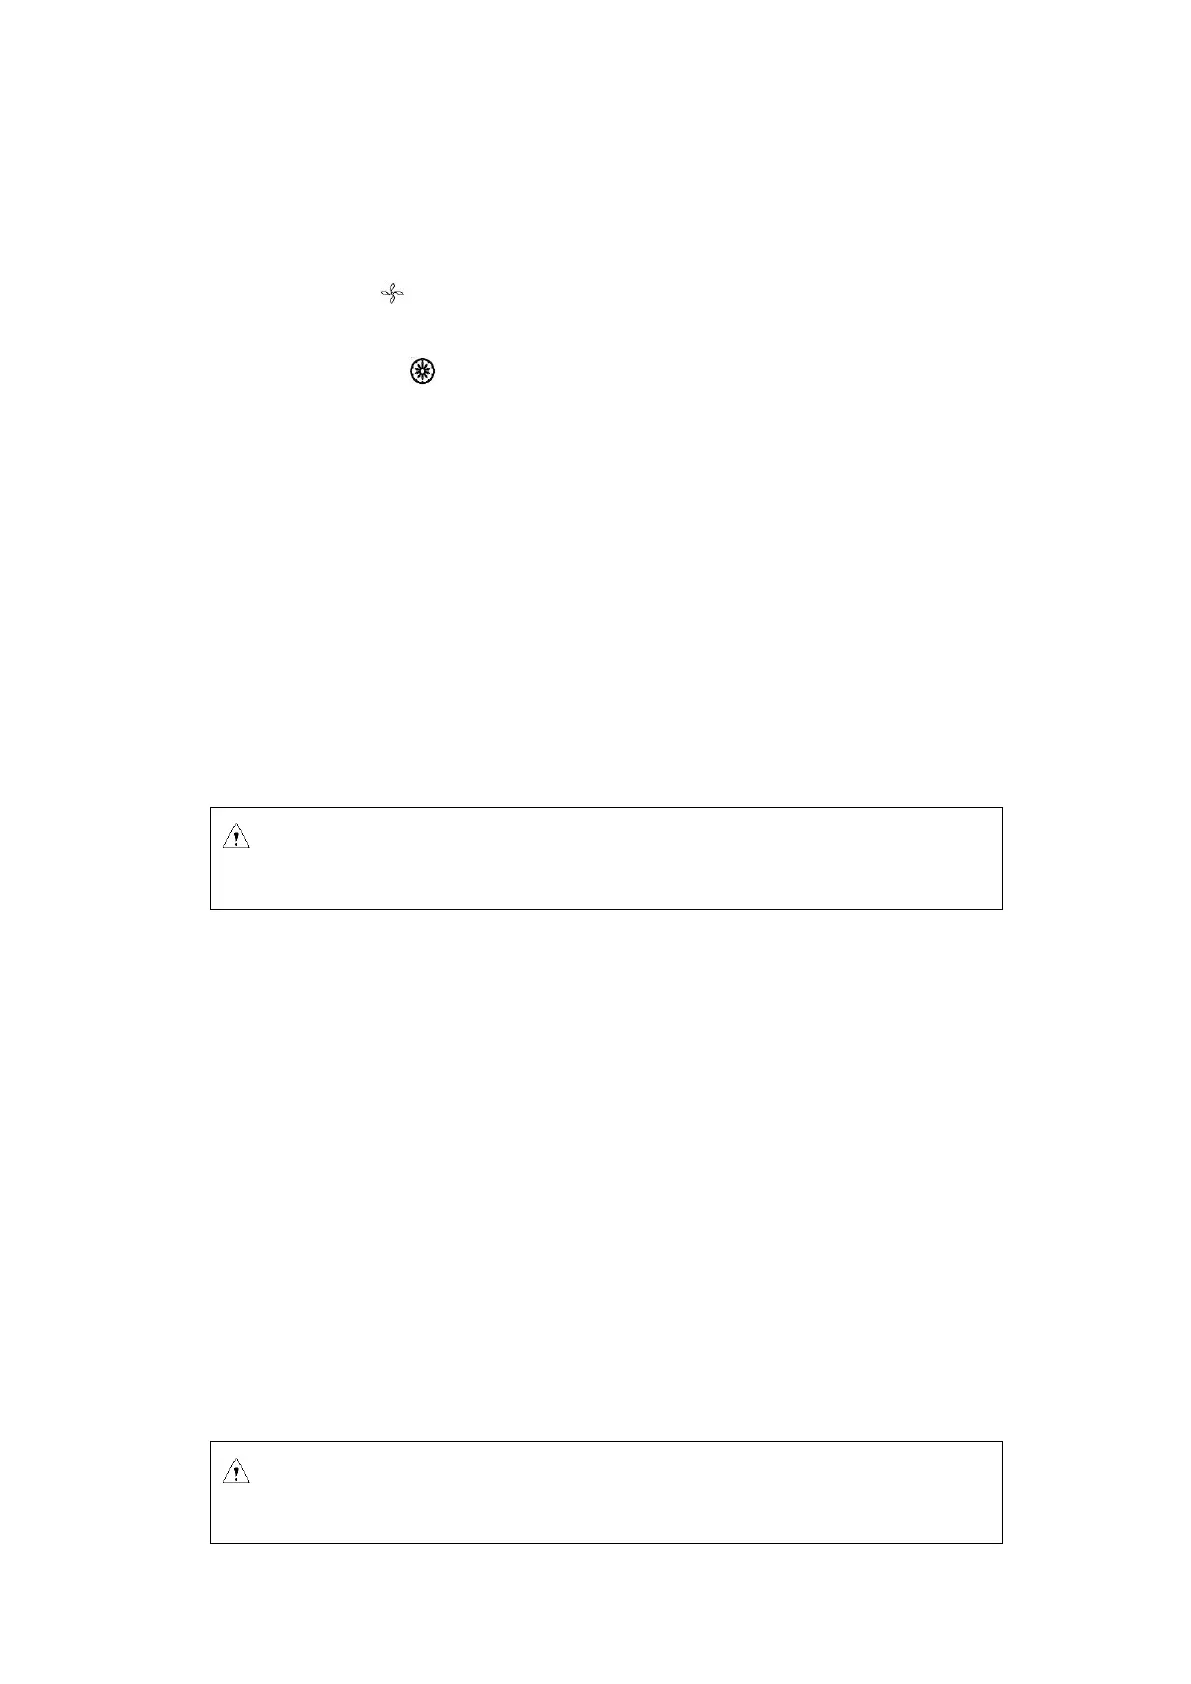
When the speed icon rotates, it indicates that the machine is in run mode. The icon rotates quicker
at higher centrifuge speed.
The time display icon divides the entire runnig time into 10 equal parts, displaying the ratio of
elapsed time to the total time.
7. Rotor preparation
7.1. Prepare the samples to be separated
7.2. Place samples into the centrifuge tube
The amount of sample should not exceed the working volume capacity of the centrifuge tube.
7.3. Ensure the balanced centrifuge tube
◼ Although this centrifuge may be used with visually confirmed balance, it is suggested that samples
be weighed using a balance to ensure balanced centrifuge tube in order to prolong the service life
of centrifuge.
◼ Although the imbalance to some extent is allowed (See 11.1.2 Rotor and adaptor), don’t run this
centrifuge under poor balance conditions.
7.4. Check the rotor
Check the rotor for any corrosion or scratch before use.
Caution: Adding excessive samples into the centrifuge tube will result in leakage,
therefore don’t add excessive samples.