movement of the tool in
balance during the
tensioning process. Lift the
rocker lever to stop working
when an emergency stop is
required during the
tensioning process.
Therefore, do not block the
movement direction of the
strapping tool.
d.Weld and cut off the strap:
Weld and cut off the strap to
finish the strapping operation
by referring to the Method for
Basic Settings.
The purple indicator light will
be on during the welding
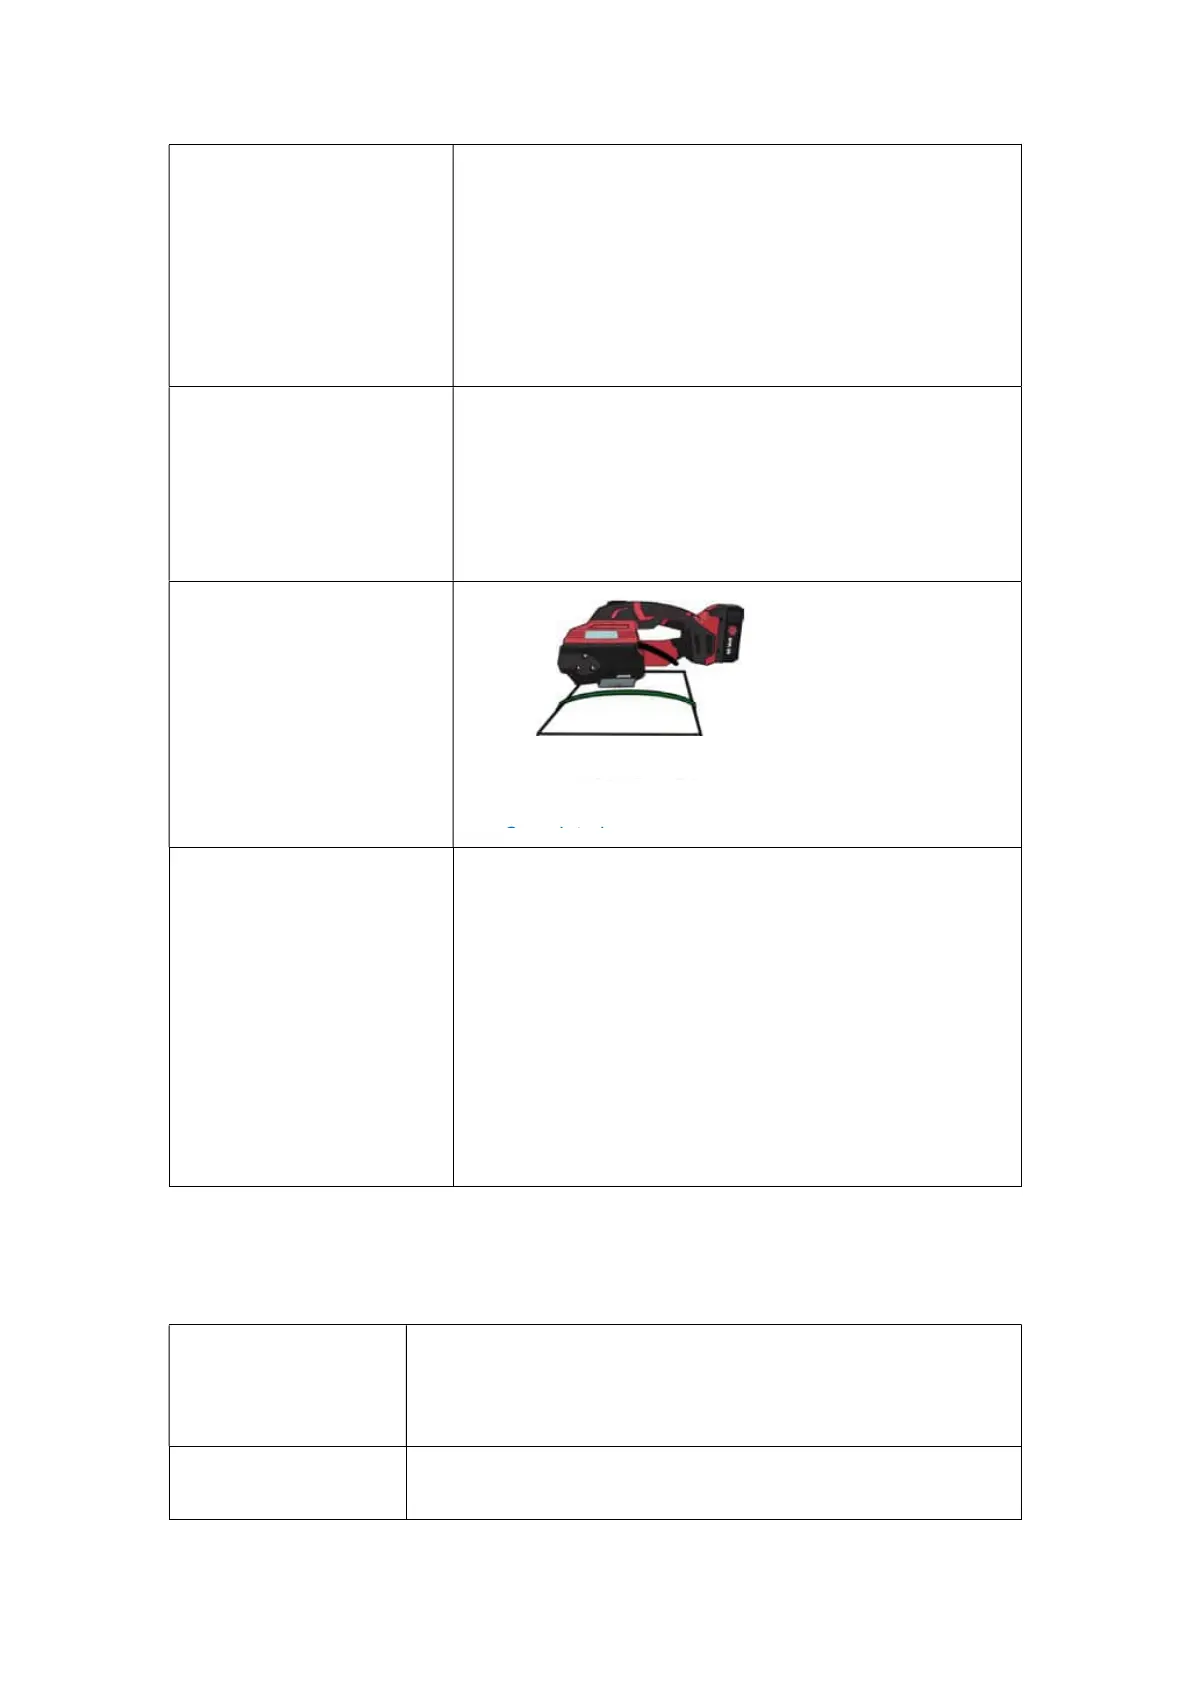
e.Remove the machine and
complete the operation:
After the welding is finished,
the buzzer rings for 3 seconds
and stops, indicating that the
strap welding and cutting work
is completed. At this time, you
can remove the machine by
lifting the rocker lever and
moving the tool rightward and
wait for a next operation.
Remarks: 1. In the Automatic(AUT) Mode, only Steps a, b, c, e are
required.
2. Remove the battery and then install it again, if the machine
fails to work normally due to misoperation or other reasons.
3. When the strap is stuck by the machine, the battery must be
pulled out first, then cut off the strap, remove the panel screw,
and then remove the strap.
4.The tension protection function will start by pressing the
button Tensioning continuously for 8 times, and at this time, the
protection function can be cancelled by lifting the rocker lever
once.
5. Note: If the rocker lever is lifted immediately after welding,
the machine will give rapid sound alarms for 5 seconds due to a
5.2.4 Operation Methods for Three Modes
Manual Mode (MAN): Long press the button Tensioning until the set tension grade is
reached, and the machine will stop automatically. Then press the
button Welding, and strap welding and cutting will be finished after
three short sounds of "Beep", and at this time, hold the rocker lever to
retract the strap and remove the
Semi-Automatic(SEM): Long press the button Tensioning until the set tension grade is
reached, and the machine will automatically weld and cut off the
strap. The strap welding will be finished after three short sounds of
Strap Welding & Cutting