ScaoldingErectionGuidelines User Information Ringlock
999817902 - 11/2020
12
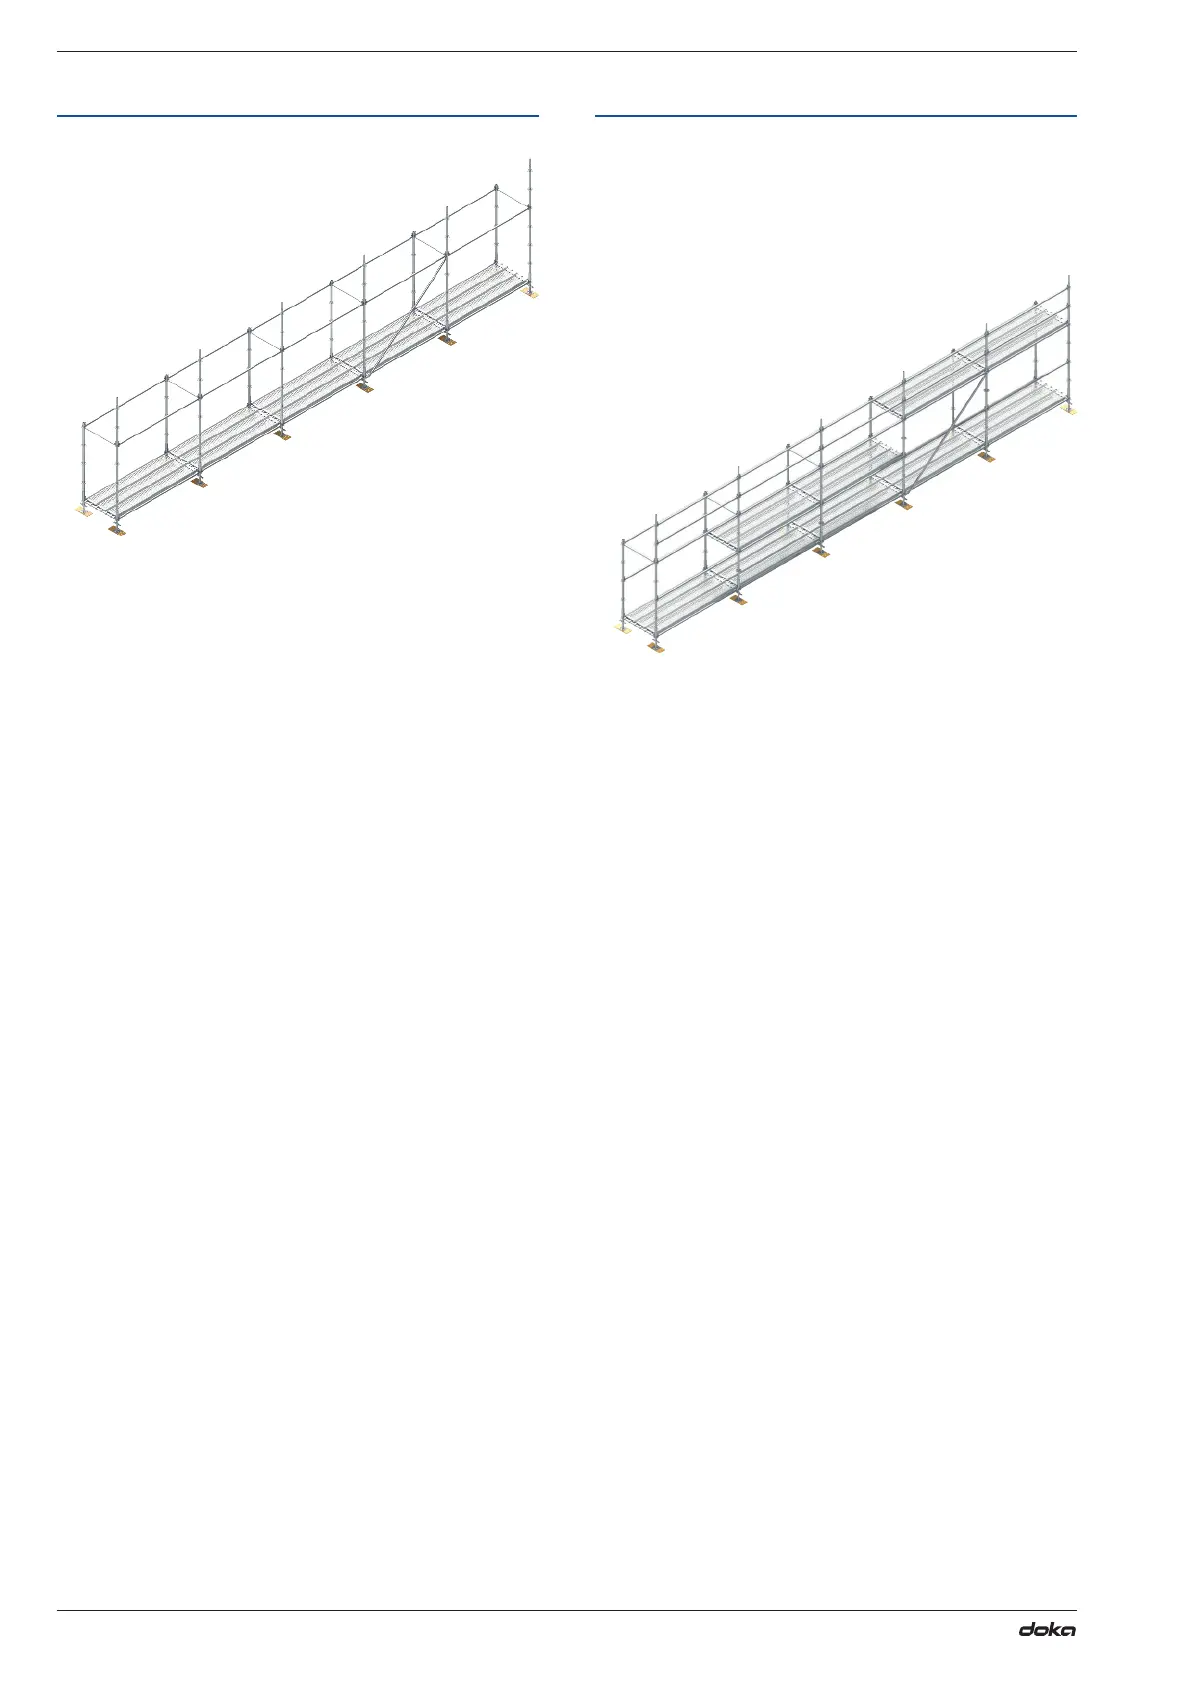
Step 6
➤ InordertoinstallanadvancedGuardrail,atempo-
rary (dummy) lift could be installed 1.0m above the
baseofthescaold.Thescaolderswillthenable
to stand at the correct height to safely install the
Guardrailsabovetherstworkingplatformlevel.
Step 5
➤ ToattachtheBayBrace,slidetheterminalintothe
rosette on the Base Collar and insert the Brace
wedge.Oertheterminalattheotherendofthe
BracetotherosetteoftheStandardatthenextlift
above.Alwaysworkfromaxednodetoamovable
upper node.
➤ BayBracesshouldbexedtoatleastevery5th
bayalongthelengthofthescaoldandfrombot-
tomtothetopofthescaold,orasrequired
by design.
➤ BayBraceshelpstostien
thescaoldandensureitissquare,
keeping the Standards vertically aligned.
ScaoldingNote:
BayBracesaregenerallyttedinonebay,fromthe
bottom to the top without any break in between. This
bracingpatternisthenrepeatedeveryfthbay.
Alternatively the bay braces can commence in the
lowest outside bay and can continue as a straight line
untilthefaroutsideedgeofthescaoldisreached.
Thebracingthenrepeatsinthismannerfromthenext
liftaboveuntilthetopofthescaoldisreached.
Forverylongscaoldsitispreferabletostartoppos-
ing bracing at both ends and work towards the middle
of the façade.