dormakaba Header Installation Instructions with EML310/320 and 371/372
For use with DRS Rails and Patching Fittings (4-1/8”, 4-1/2”, 6” Headers)
933903
07-2019EML Header Shim
11
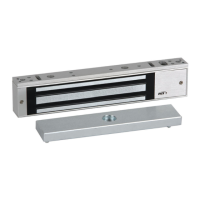
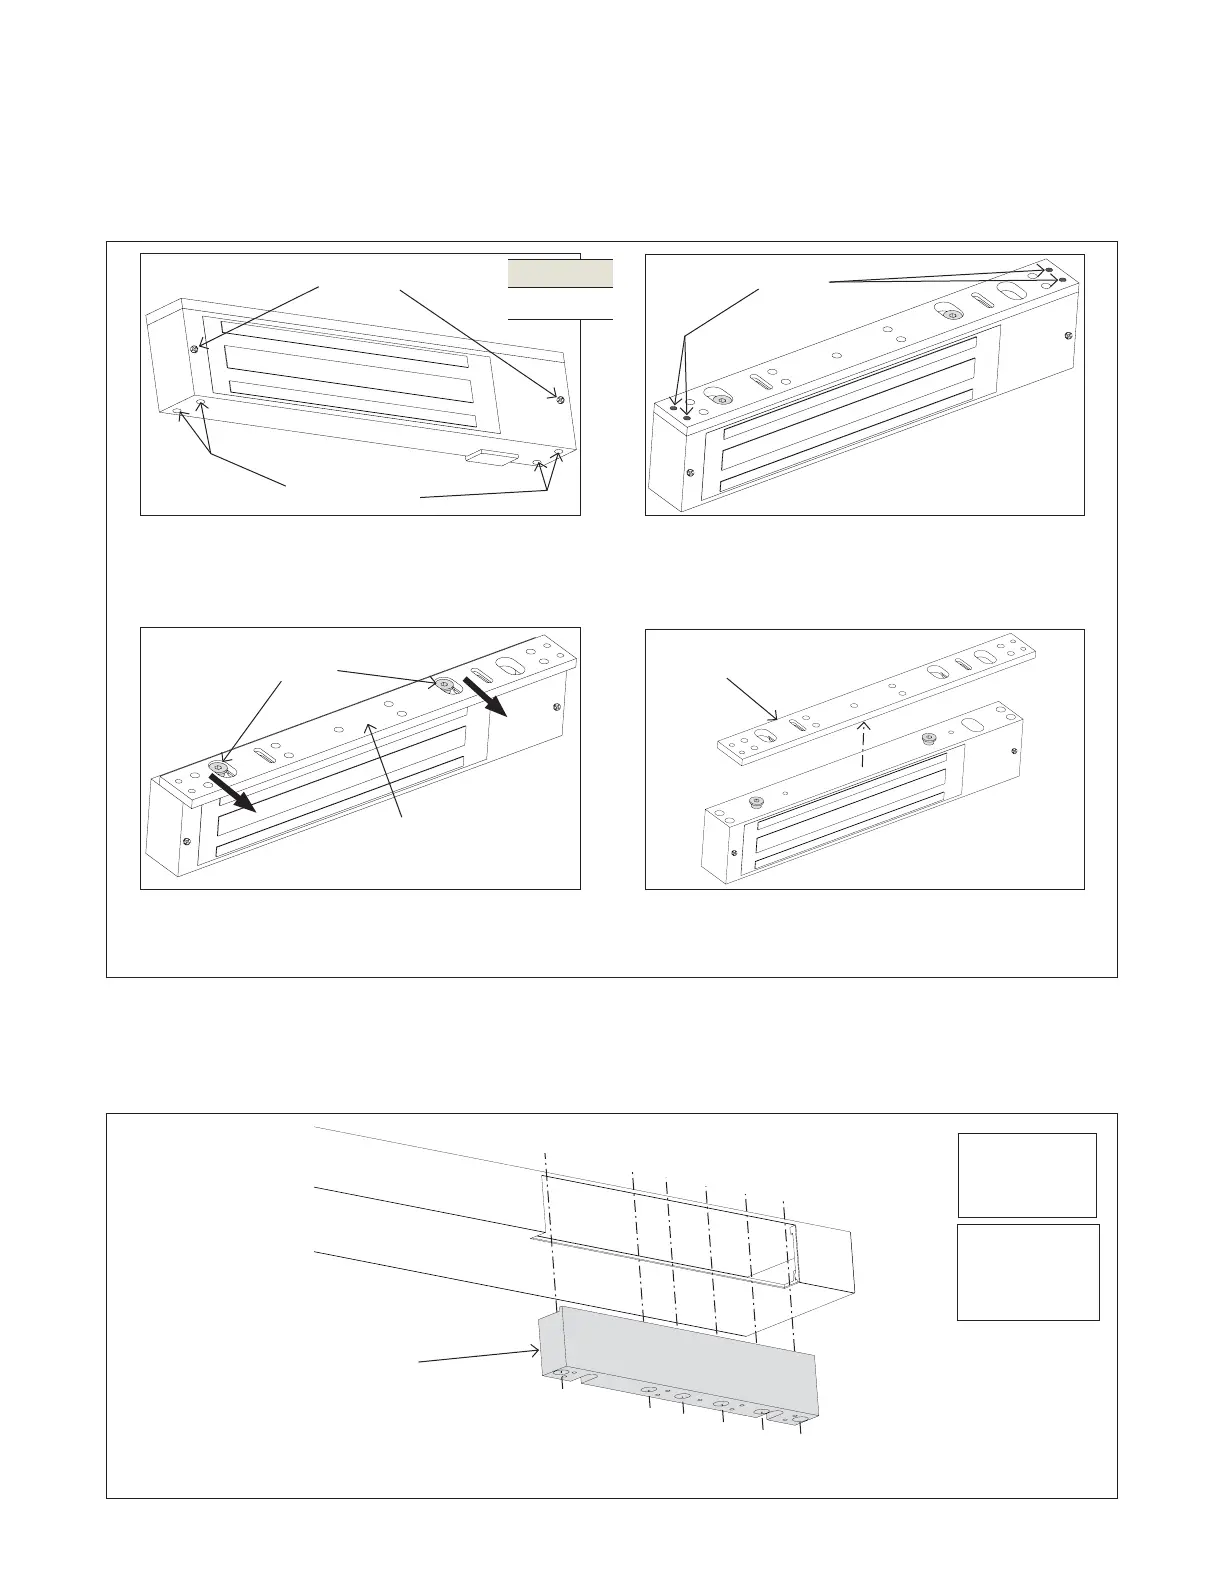
Disassembly mag lock
Secure header shim
. Prepare/disassemble mag lock body and mounting bracket
.. Secure header shim to frame above or ceiling
surface using appropriate fasteners.
NOTE: May need to drill through header tube
depending on shim hole locations.
. Secure header shim to frame/ceiling surface
(for 4-1/8” or 4-1/2” headers only)
Fig.
.. Remove anti-tamper screws to access
captive mounting screws.
.. Slide and lift mounting bracket from mag
lock body screws.
Anti-tamper
screws
Access to captive
mounting screws
Captive
mounting
screws
Mounting
bracket
Mag lock
body screws
Mounting
bracket
EML 371/372
header shim
shown.
Header
tube
NOTE: DO NOT REMOVE OR LOOSEN MAG
LOCK BODY SCREWS.
Hex key size
mm
Same
instructions to
be used for
EML 310/320.
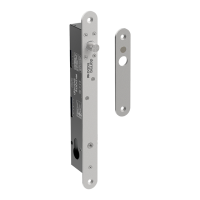
3 EML and shim installation instructions
Fig.
.. Unthread captive mounting screws from
bottom.
Header
shim