dormakaba USA Inc. System User Guide 7040.0321 | 36
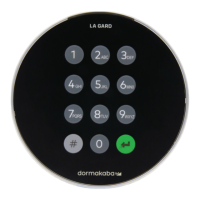
5 LA GARD Software
Note: The LA GARD Software is not UL evaluated.
The LA GARD software is a multi-faceted client that manages Users, Schedules and Systems to be used in concert with
LA GARD safe locks and Entries. This section outlines certain software functions. Review the software online help by
pressing F1 within the client for information not outlined here. Also review the Software Installation Guide (Document
#7041.0320) for basic installation steps.
5.1 Adding a User
Follow these steps to add a User to the LA GARD Software client:
1. From the LA GARD Software Main Menu, select Users.
2. From the top-right of the screen, select the Create icon.
3. Input the First, Middle (if needed) and Last Name into their respective fields. Press the enter key to confirm each
field.
4. Repeat Steps 1 – 3 for any additional Users.
5. From the LA GARD Software Main Menu, select System.
6. Select the applicable System from the middle column.
7. In the right column, select the Users tab.
8. Select the applicable User number (please note that 00 will always be the Master User). Fill out the following
information:
• Name – Select the Name from the drop-down menu. Names are listed alphabetically by Last Name
• User Type – If the User number is 00, Master will automatically be selected. For other numbers, select
between User and Manager from the drop-down menu
• Combination – If Master User was selected, this field will not be fillable. For other Users, fill in a
Combination
• Time Delay Override – Check the box to activate
• Disabled – Check the box to active
• Privileges – Select the box beside each lock type the User will gain access to
9. Select the Save icon from the top-right of the screen.
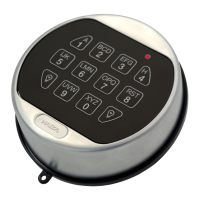
5.2 Install a User into the Keypad
Follow these steps to install a User from the LA GARD Software client into the Keypad:
1. From the LA GARD software main menu, select System.
2. Select the applicable System from the middle sub-menu.
3. From the top-right menu, select the PC Link icon.
4. Double-check the COM port or select a different port with the drop-down menu.
5. Select Program from the left-hand column.
6. Check the box beside User Changes.
7. Plug the USB cable into the USB port of the computer and the other end into the mini USB port of the Keypad.
8. Using the Arrow buttons on the Keypad, navigate through the Main Menu and select PC Link by pressing the Return
Key. The top of the Keypad will illuminate red.
9. In the software client, select the Send icon located at the top-right of the screen. A progress bar will appear on
screen. The Keypad will beep three times and flash a green LED once complete.
 Loading...