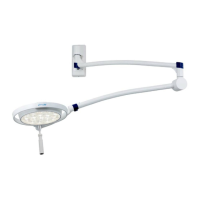
Ceiling and wall attachment
Dr. Mach
Lamps and Engineering
4. Wall attachment
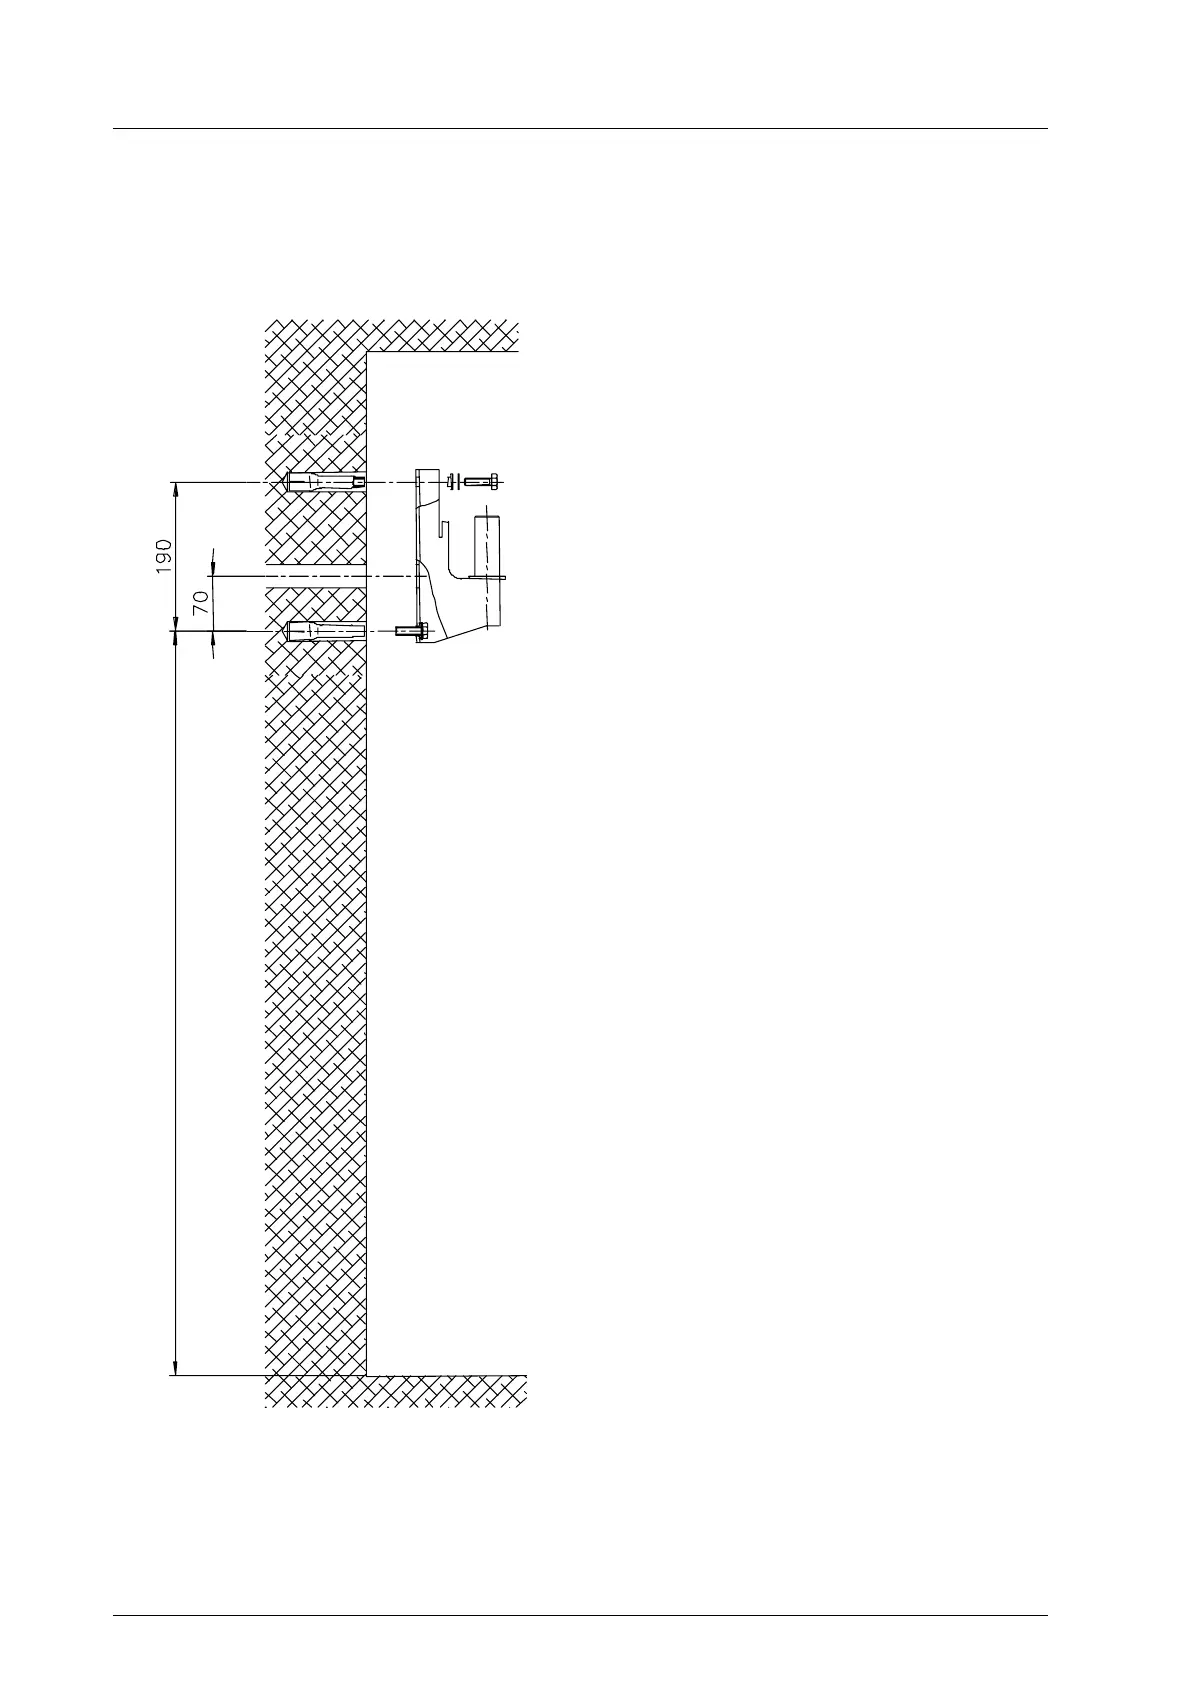
4.1 Preparatory work on the wall
Fastening with tubular dowel
• Using the enclosed template, mark the bore-
holes at the proper height (depending on the
lamp type) precisely perpendicular.
• Drill or chisel out a hole ∅ 25mm (or slightly
larger) 100mm deep.
• Cement or grout in the tubular dowel flush with
the wall or slightly deeper and let it set well
(keep strictly to the 190mm spacing and per-
pendicular position).
Fastening with counter-plate
Depending on the stability of the location, it may be
necessary to use a counter-plate for the wall at-
tachment.
• Ascertain the exact position of the OT-lamp-
• In the case of a fixed connection, lay the elec-
trical cable.
• Stick the supplied drilling template to the wall.
• Drill the two holes ∅ 12mm and 190mm apart.
When drilling, keep as closely as possible to the
spacing between the holes. The counter-plate
can be mounted with variations of up to 20mm.
Electrical connection is carried out later using a 2m
long cable provided by Dr. Mach with shock-proof
plug on the wall arm.
It is important to check whether there is an appro-
priate plug socket in the vicinity.
If the lamp is to be connected directly, the mains
connection must be located between the two fixing
screws (see section showing electrical connection).
Follow any directions given by the technical
staff!
Mounting height
59500001 Edition 06 11.03.2003 / Bak Page 16/48