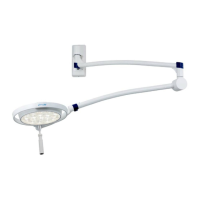
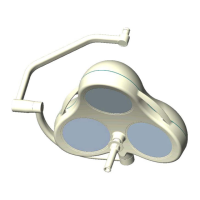
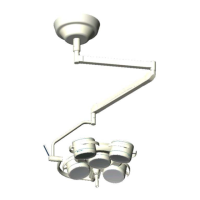
Ceiling and wall attachment
Dr. Mach
Lamps and Engineering
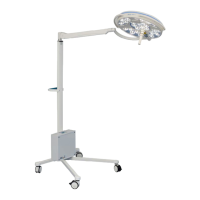
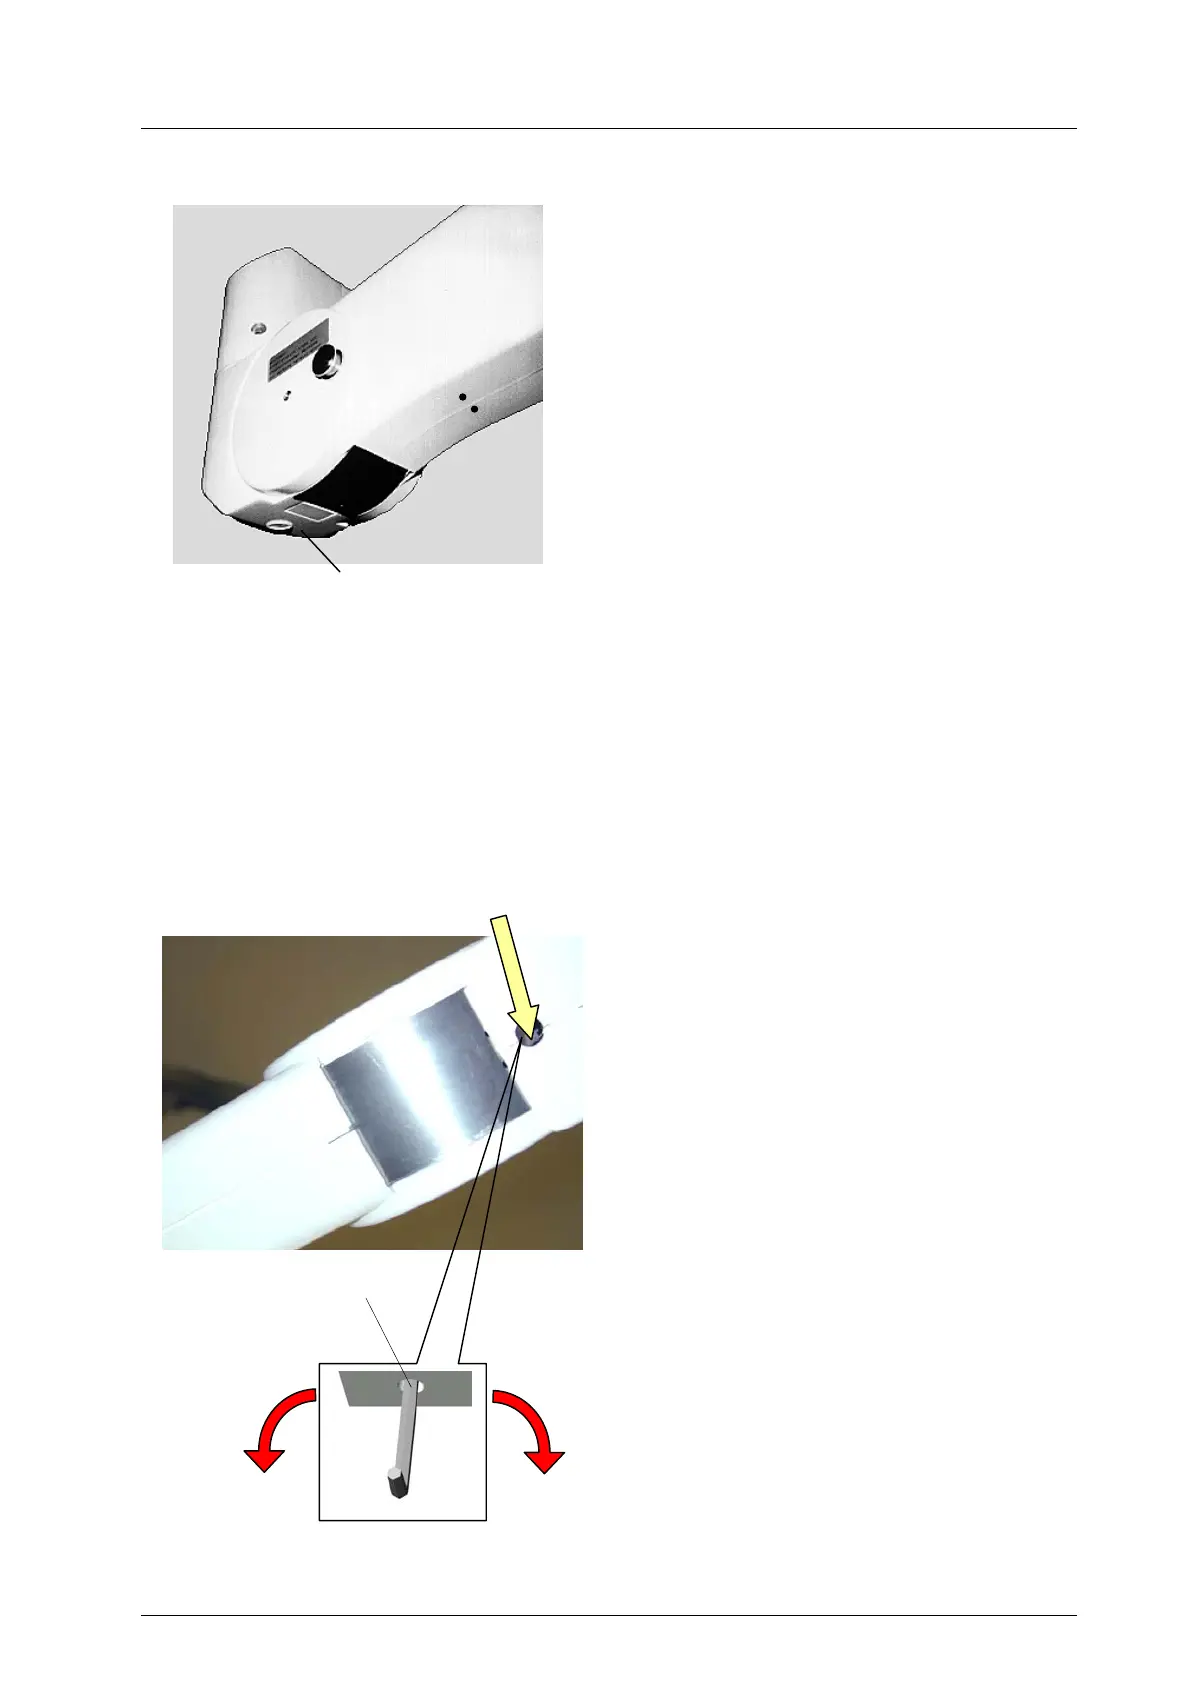
8.2.2 Space spring arm
If you find during use that the lamp does not stay at
the height set, proceed as follows:
N.B.: Only adjust the setting after the locking pin
has been released and the lamp is mounted. Any
course of action other than that described can
cause damage to the arm.
• Remove the protective cover 5 (on the under-side
of the spring arm next to the horizontal arm).
• Insert the allen key (included in the scope of sup-
ply).
• Move the arm slightly out of the horizontal position
in a upwards direction until the adjusting screw
can be moved easily. It is easiest to adjust the
screw, if you move the arm slightly up and down
in the position found.
You should react as follows to the lamp body move-
ments:
- Lamp moves downwards – turn allen key in
clockwise direction.
- Lamp moves upwards – turn allen key in anti-
clockwise direction.
Store the allen key and replace protective cover 5.
5
8.2.3 Central spring arm
Central spring arm (since 2000)
To adjust the spring force make sure that the spring
arm with the lamp / device can come to rest in any
desired position.
• Insert the Allan key width 5 in the hole 6.
If the spring arm drops, the spring force is too
low:
- Rotate the adjustment screw to the left (counter
clockwise) in the + direction.
If the spring arm rises, the spring force is too
high:
- Rotate the adjustment screw to the right
(clockwise) in the - direction.
If the spring arm with the lamp / device cannot
come to rest in any desired position after the
spring force has been adjusted, the springs
must be replaced by a service technician.
Hole 6
6
+
-
Width 5
59500001 Edition 06 11.03.2003 / Bak Page 37/48