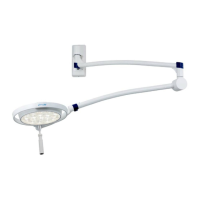
Ceiling and wall attachment
Dr. Mach
Lamps and Engineering
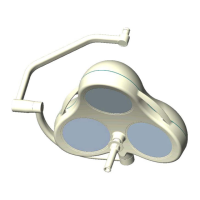
Central spring arm (until 2000)
• Loosen fixing screw 7 and remove cover 8. You
can see two slots.
• Move the spring arm in a vertical direction, until
the hole nut is visible in one of the slots (even-
tually in the upper position of the arm).
• Insert the key bolt (included in the scope of
supply) into the hole nut and turn accordingly.
Use only the enclosed key bolt, since a
screw driver could break.
Proceed as follows depending on the movement of
the lamp:
- Lamp moves down on its own – turn bolt in the
direction of the „ + “ mark.
- Lamp moves up on its own – turn bolt in the
direction of the „ - “ mark.
• Fix cover 8 with the screw 7.
Store the enclosed key bolt carefully.
7
8
2 slots
59500001 Edition 06 11.03.2003 / Bak Page 38/48