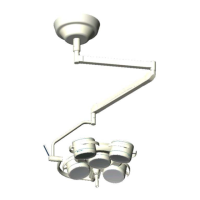
Ceiling and wall attachment
Dr. Mach
Lamps and Engineering
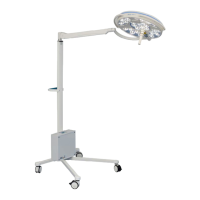
• Position the plug 5 straight and push it toward the
extension arm 6 using slight pressure.
• Push the two noses N of the plug to the inside
with a screw driver, until they snap in.
• Check the plug for firm seating.
• Position and engage the casing halves.
• Screw in the two brakes B and the two screws S
(see chapter 6.1.2).
• Put the two covering caps AK on the brake
screws.
• Check the casing halves for safe fit.
N
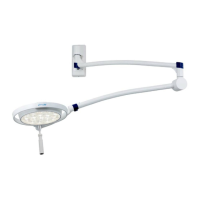
6.2 Wall mounting
Place the upper articulated arm onto the mounted wall bearing on the side of the electrical connection.
In case of a lamp with built in transformer put the plug into the socket.
If the electrical connection is made through the wall (no plug), the power supply cable is connected to the
line clamp in the wall bracket (below cover 1).
Caution: When making the electrical connection, please make sure, that the current is not passing
through the line!
6.3 Mounting the spring arms
6.3.1 Mounting the standard spring arm
Attention!
Disconnect the on-site power supply and protect
it from being switched on again.
• Remove the two lateral covering plates of the
bracket as described in chapter 6.1.2.
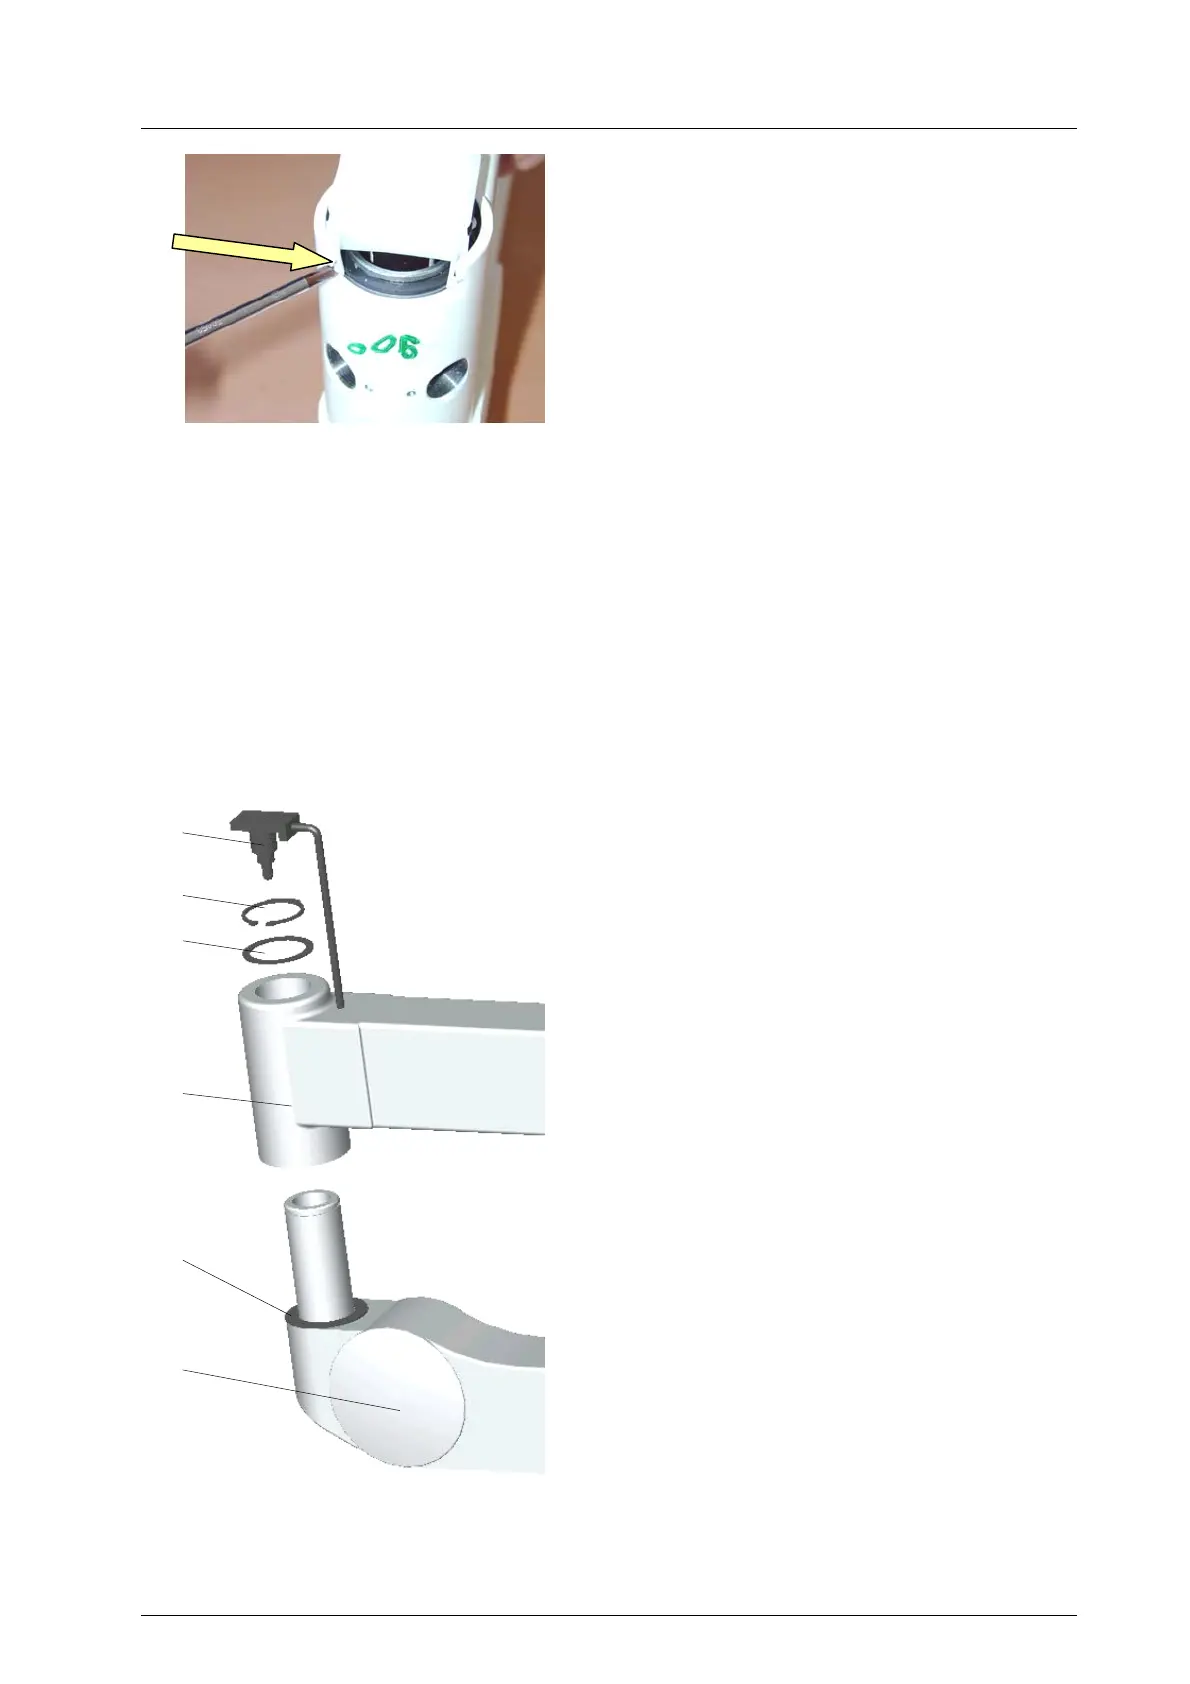
• Carefully pull the plug 12 off the bracket.
• Remove the circlip 8, then remove the disk ∅
38mm 9 and the protective sleeve from the
spring arm 10.
• Make sure that the disk ∅ 48mm 11 is installed
to the spring arm.
• Carefully remove the plug 12 from the extension
arm 6.
• Slide the spring arm 10 into the extension arm 6.
• Install the disk ∅ 38mm 9 and install the retaining
ring 8.
• Check the spring arm 10 for firm fixation in the
extension arm 6.
• Establish the electrical connection as described
in chapter 6.3.2 and mount the casing halves.
12
8
9
6
11
10
59500001 Edition 06 11.03.2003 / Bak Page 27/48