38 DR
®
TRIMMER/MOWER
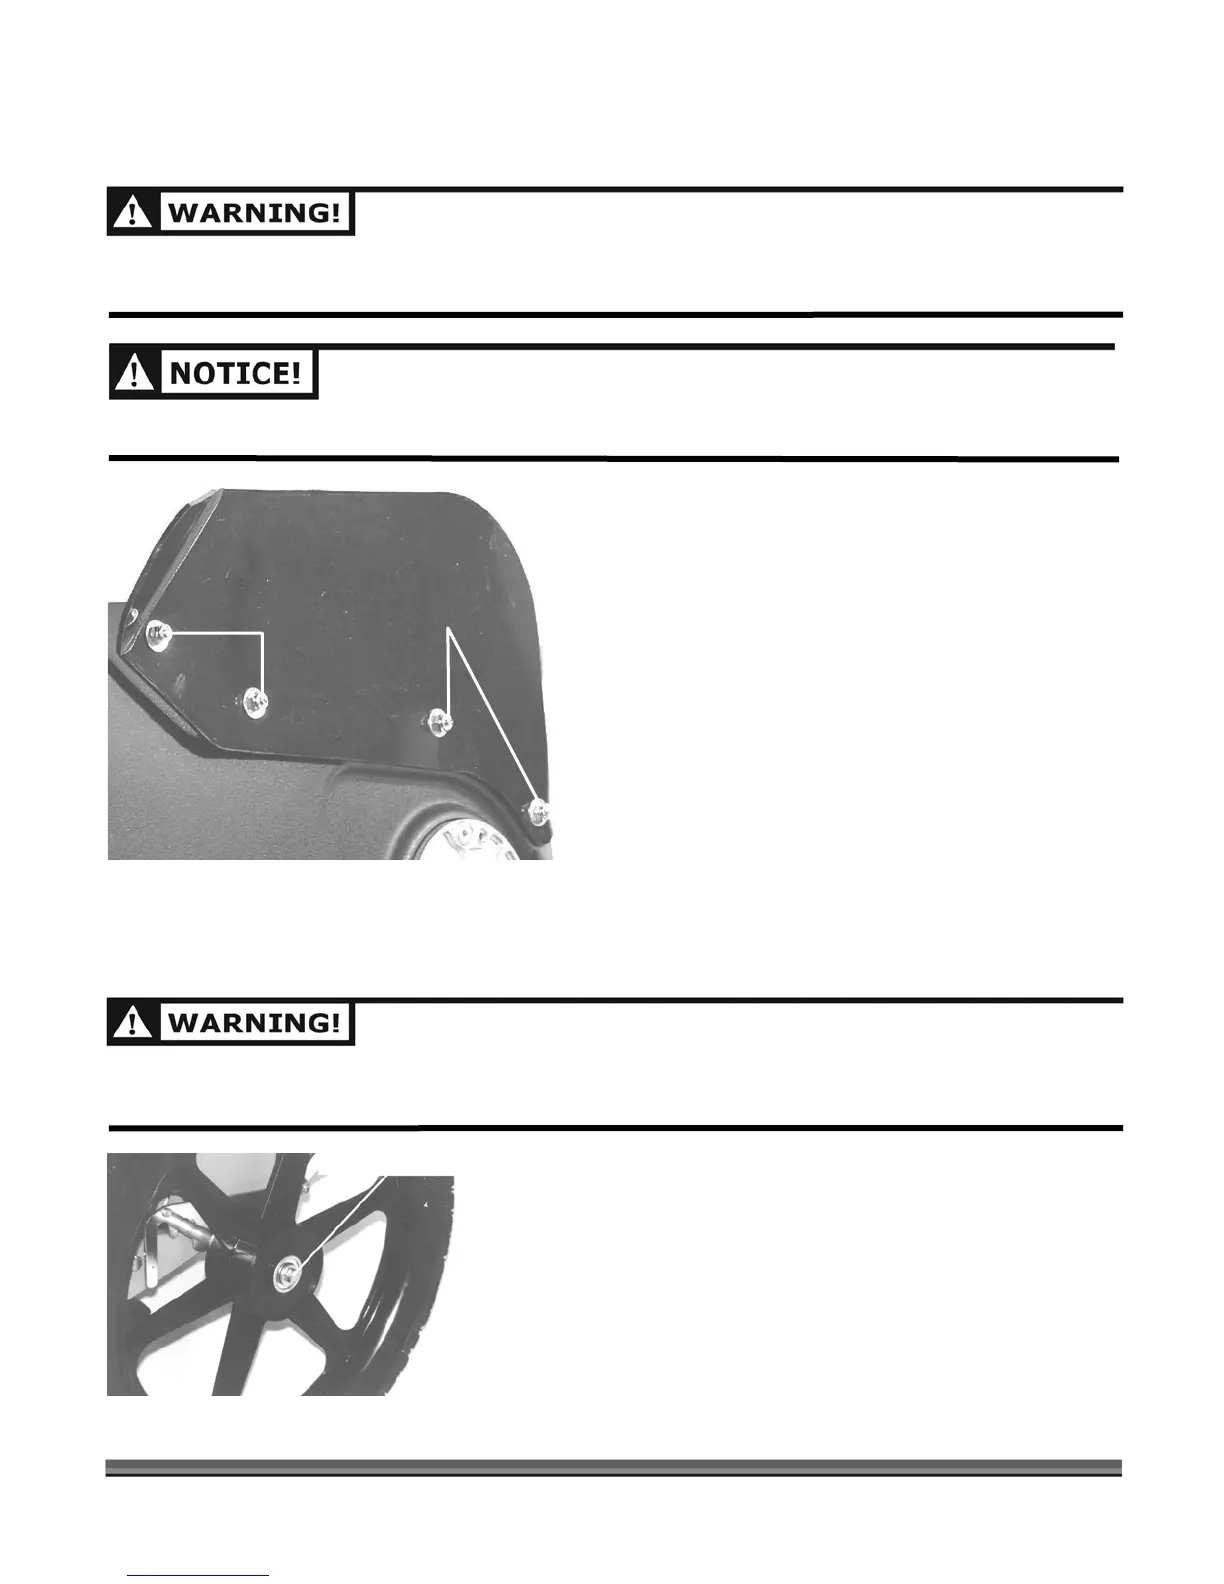
Side Shield - All models
BEFORE PERFORMING ANY MAINTENANCE PROCEDURE OR INSPECTION, STOP THE ENGINE, WAIT FIVE (5)
MINUTES TO ALLOW ALL PARTS COOL. DISCONNECT THE SPARK PLUG WIRE, KEEPING IT AWAY FROM THE
SPARK PLUG.
YOU SHOULD NEVER OPERATE THE TRIMMER WITHOUT THE SIDE SHIELD IN PLACE. ALWAYS REPLACE A
DAMAGED SIDE SHIELD IMMEDIATELY.
Tools needed:
3/8" Wrench or Socket
7/16" Wrench or Socket
1. Using a 3/8" Wrench or Socket (topside) and a 7/16"
Wrench or Socket (underneath), remove the four (4)
mounting Bolts, Nuts and Washers that retain the Side
Shield and discard the old Shield.
2. Install the new Shield and secure in place with the
mounting hardware.
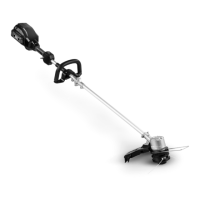
Wheels - SPRINT
, PRO and COMMERCIAL
BEFORE PERFORMING ANY MAINTENANCE PROCEDURE OR INSPECTION, STOP THE ENGINE, WAIT FIVE (5)
MINUTES TO ALLOW ALL PARTS COOL. DISCONNECT THE SPARK PLUG WIRE, KEEPING IT AWAY FROM THE
SPARK PLUG.
Tool needed:
5/8" wrench or socket
1. Block and stabilize the machine so that the wheels are
off the ground.
2. Loosen and remove the Lock Nut. (Figure 33).
3. Slide the wheel off the axle.
4. Reverse the steps to install the wheel.
Figure 33
Figure 32
Bottom Shield
Side Shield
Hardware to remove