Pocket Guide Oxylog 3000 plus 19
Getting started
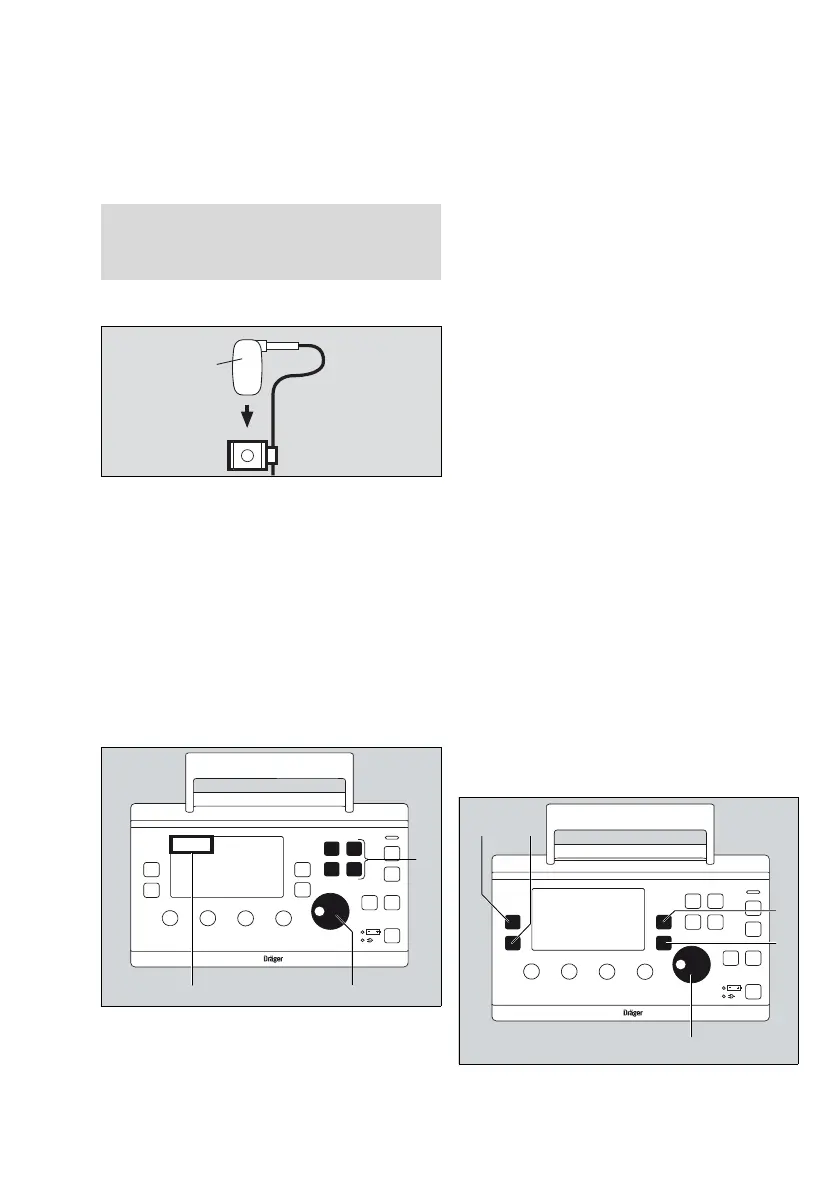
CO2 filter check before ventilation
1 Remove the CO2 sensor from the cuvette.
2 Attach the CO
2 sensor (A) to the test filter (B).
3 Select Filter check.
4 Confirm. The filter check starts and the screen dis-
plays Filter check in progress. After a successful
filter check, the line briefly displays Filter check
OK.
5 Press Alarm Reset to exit.
6 Attach the CO
2 sensor back to the cuvette.
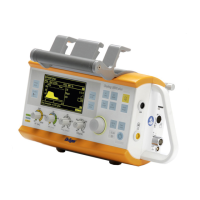
Selecting the ventilation mode
z Press the appropriate ventilation mode key (A) for
approximately 3 seconds.
Or
1 Press the appropriate ventilation mode key (A).
2 Press the rotary knob (B) to confirm.
The selected ventilation mode will be activated.
The active ventilation mode is displayed in the upper left
corner of the display (C).
Setting ventilation parameters
z Set the required control knob below the display.
Or
z Select, set and confirm a parameter on the display
with the rotary knob.
If the changed settings are not confirmed after
5 seconds, the alarm ! Confirm settings appears. If the
settings are still not confirmed after 10 seconds, the
alarm ! Settings not confirmed appears. After that the
former settings are restored.
When the PEEP setting is increased above 10 mbar, a
message Confirm PEEP above 10 mbar? will appear
to request confirmation of the change. The PEEP set-
ting can be increased to the desired setting after the
message is confirmed with the rotary knob.
The device can be configured to show Ti or I:E as a pri-
mary parameter that can be set. If Ti is configured as the
primary parameter, I:E will be shown in the information
window when Ti is selected, and vice versa.
Display operating controls
NOTE
Before the CO2 filter check, you need to have finished
a successful CO
2 zero calibration. Otherwise the CO2
filter check may be outside of the tolerance range.
02308537170
00237170
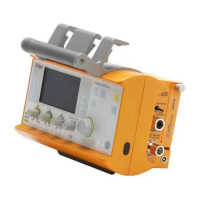
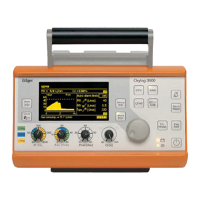
Oxylog 3000 plus
B C
D
E
A
 Loading...