16 Pocket Guide Oxylog 3000 plus
Getting started
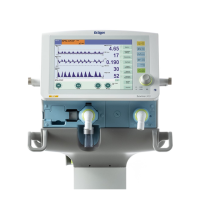
Perform device check
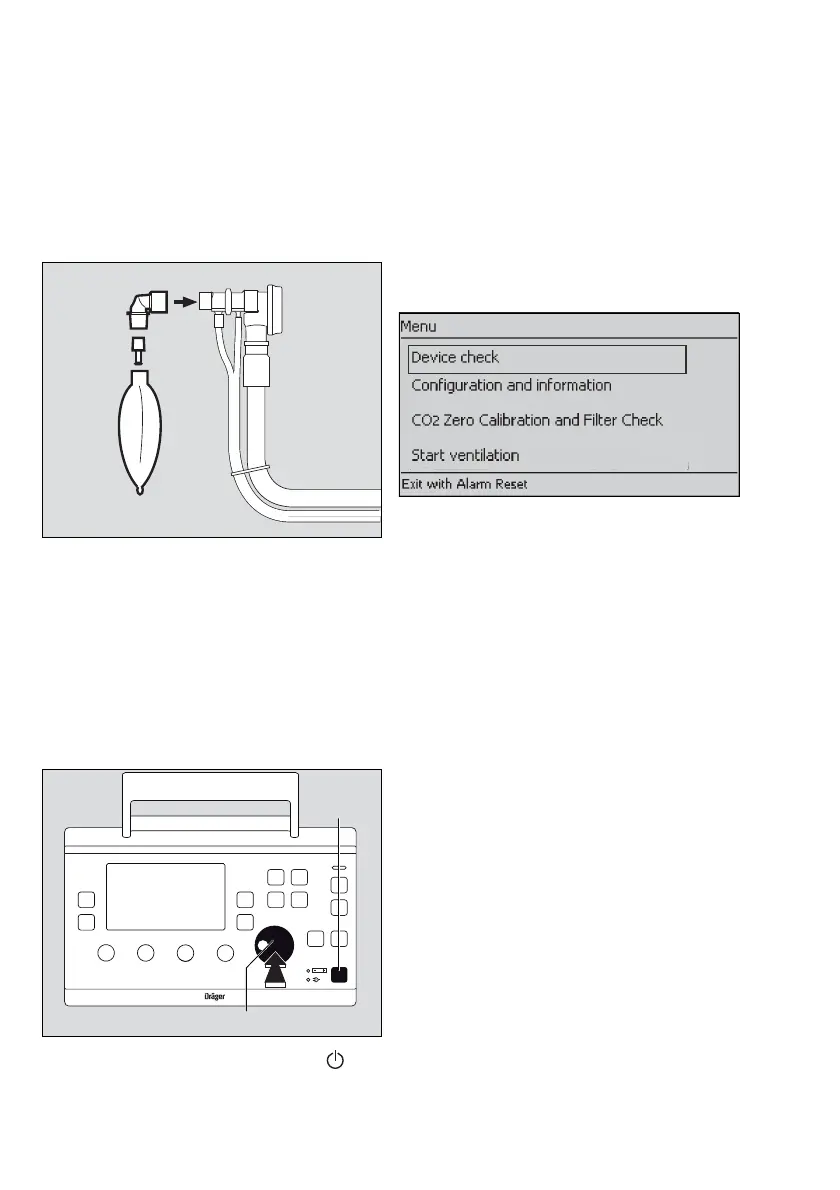
Connect the test lung
1 Make sure that the angled connector (A) is connec-
ted to the flow sensor.
2 Connect the catheter connector (B) of the test lung,
diameter 7 mm, to the angled connector. The cathe-
ter connector simulates the resistance of the air-
ways.
3 Connect the balloon (C) of the test lung.
Switch the device ON
1 To switch the device ON, briefly press the key
(A).
The device performs a self-test and the operator is
prompted, on the display, to activate the configuration
menu or device check:
Press rotary knob for device check and configurati-
on
2 Press the rotary knob (B) to confirm, before the bar
is full. The start-up screen appears:
3 Select Device check in the start-up menu and con-
firm.
The device check can be aborted at any time by pres-
sing the Alarm Reset key.
Check connections
1 Ensure that the gas supply has been connected.
2 Select and confirm the appropriate hose type.
3 Ensure that the test lung has been connected. The
Oxylog 3000 plus automatically checks if a test lung
has been connected. The device check is interrup-
ted if a test lung is not detected within one minute.
The check is continued when the test lung is detec-
ted.
4 The Oxylog 3000 plus automatically checks if the
detected hose differs from the selected hose type.
5 Set the controls below the display to the required va-
lues.
The Oxylog 3000 plus successively activates the
audible and visual alarm signals and prompts the
operator to acknowledge each signal.
6 Confirm the audible and visual alarm signals. The
device check continues automatically.
The bar graph shows the progress made by the de-
vice check.
The result is displayed on the last page of the device
check screens.
02100337170
15537171
 Loading...