Page 41
Pulmonary Function Test • Publication 014181-001 Rev 02 • www.datasci.com ©2023 Data Sciences International
Pictured above a connection is made from Pleural Pressure to Lead 4. Most systems are not sold with this option.
If your system was NOT sold with it, do not connect this lead, and simply leave the Pleural Pressure Lead on the
Site disconnected.
Once you have made those connections, enter the dead space value in the edit box beside Dead space as circled
above.
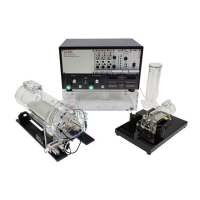
Finally click the Preamp Configuration button. This button presents a dialog box which you use to indicate the
hardware module which is currently creating each signal. This information is used by the system to customize the
calibration wizard precisely to your system. It will not affect data collection beyond that.
In this form you need to tell the system what type of preamplifier you have connected to Lead 1, Lead 2, Lead 3,
(optionally) Lead 4, and Lead 10. Lead 1, Lead 2, and Lead 10 are all from the Flow Preamplifier (at different gain
settings). If you look at the preamplifier, it is either labeled Advanced Preamplifier or simply Strain Gauge
Preamplifier. Shown here, all the relevant leads are connected to the Advanced Preamplifier. You should set
yours to the type of preamplifiers you have in your system.
Click OK. Then click Finish on the Create New Configuration wizard.
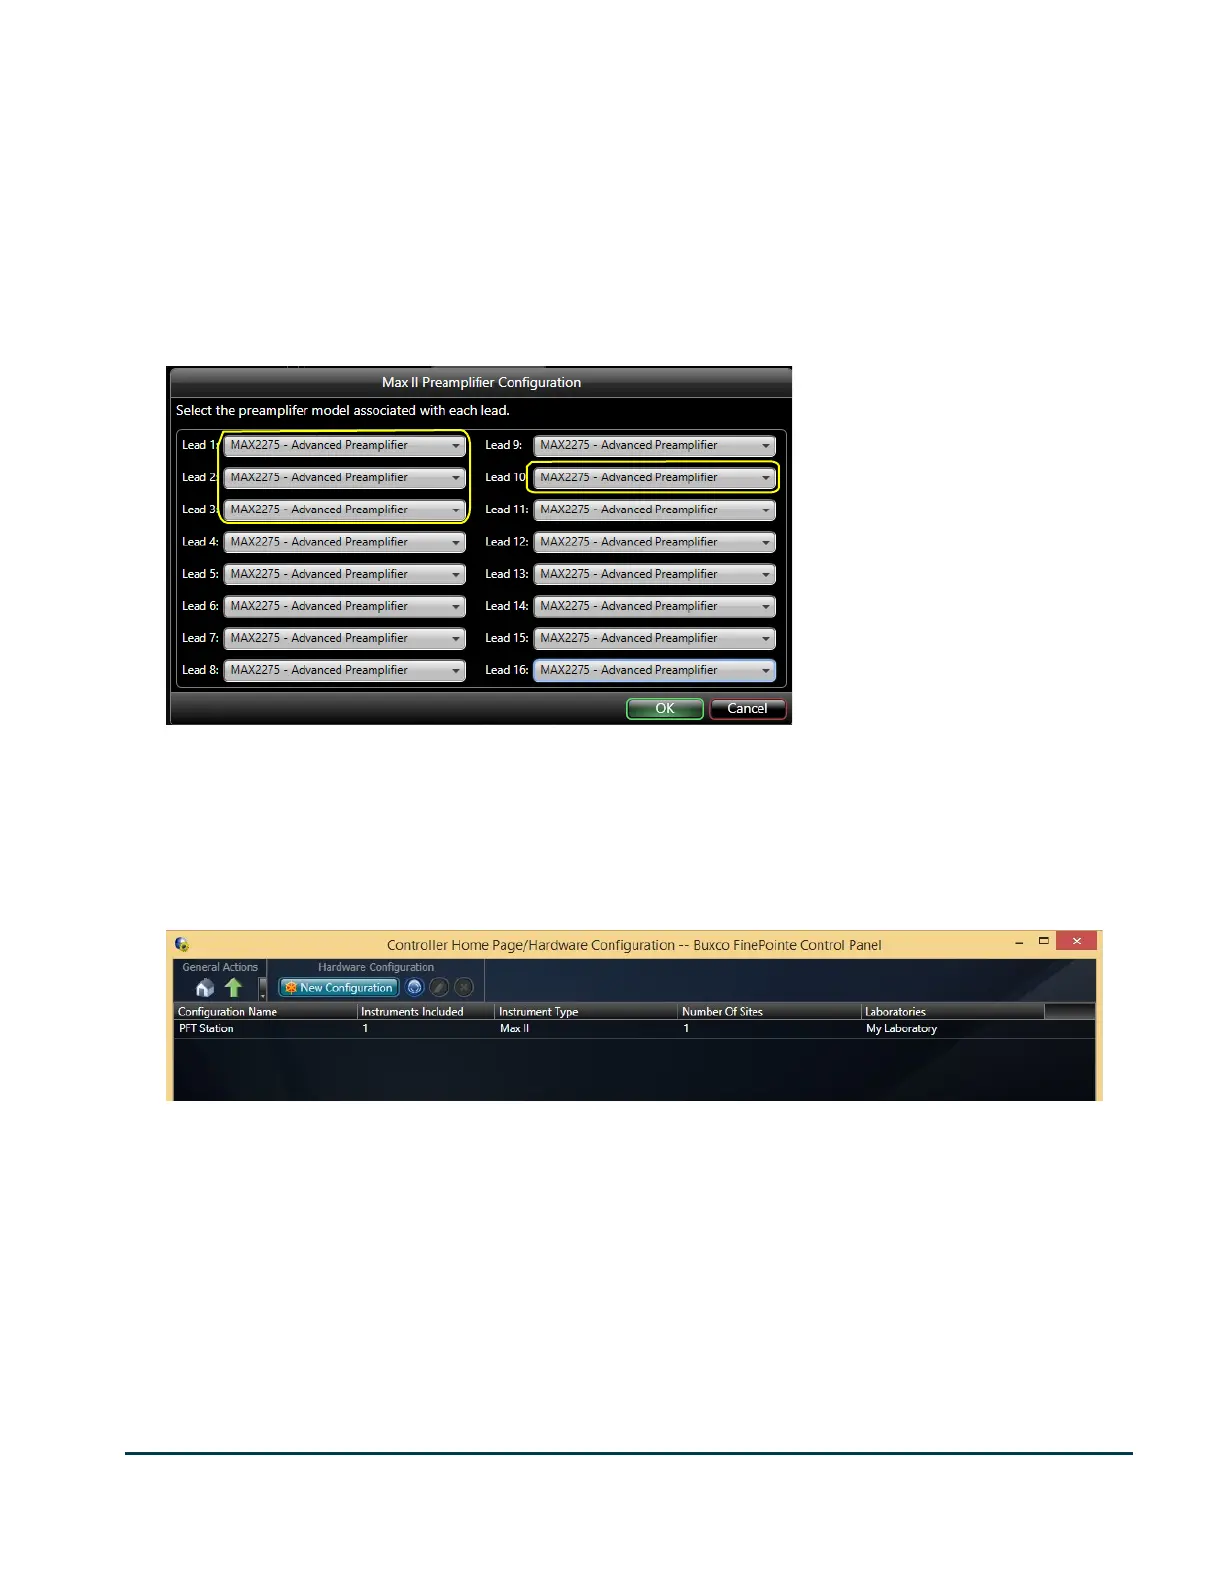
Once you have created your hardware configuration, it appears in the list as shown in the image above. You can
select it and click the Pencil button to edit it, or you can create another one of a different species if you intend to
share your Pressure Panel with different chambers.
 Loading...