Dymax BlueWave® 200 Version 3.0 User Guide
■ Run Button — Pressing this button will start a timed or manual curing cycle. In PLC Mode, it will open the
shutter if the PLC has not inhibited the shutter.
■ Set Button — Pressing this button will change the unit’s mode, enter menu selections, and/or enter a
timer value depending on which menu is showing. A long press is necessary to change to PLC Mode.
■ Up and Down Arrow Buttons —These buttons are used to adjust timer and select menu items.
Turning the BlueWave 200 On
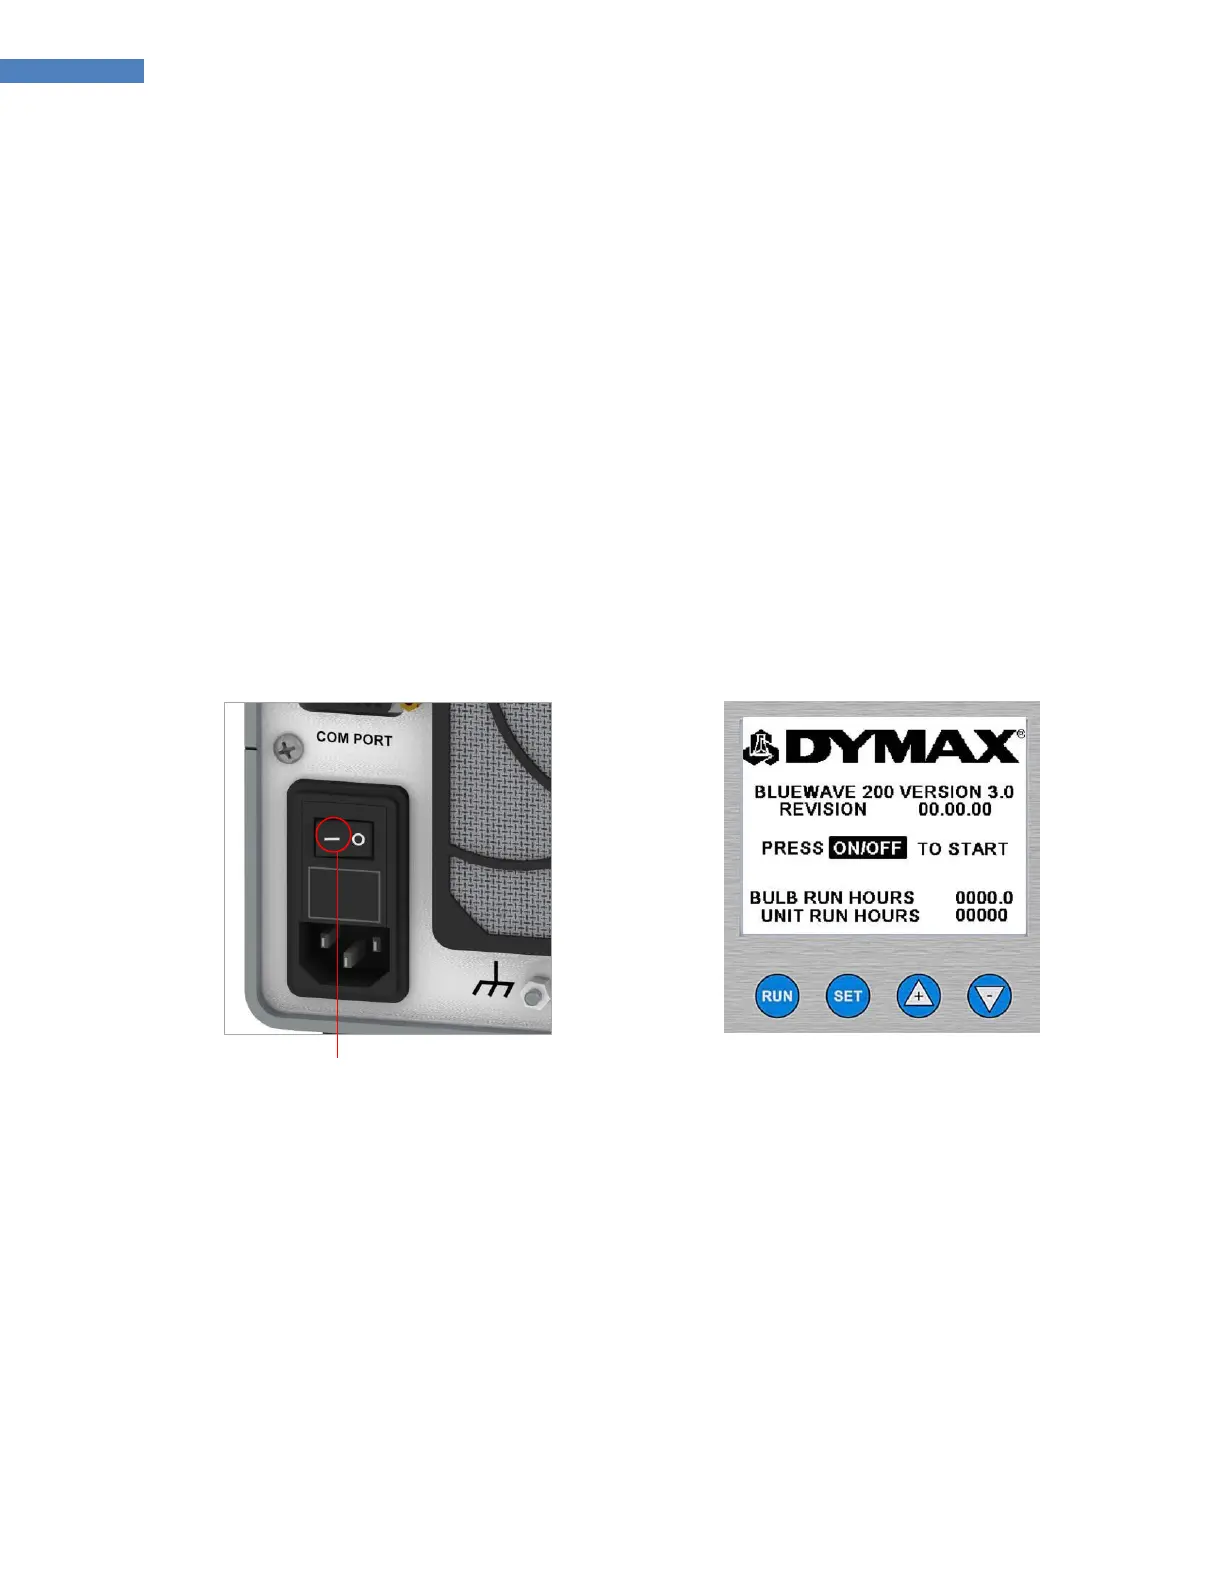
1. Turn on the power by moving the On/Off Switch on the back panel to the on position (Figure 8).
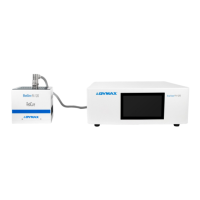
2. The LCD Display will turn on and show the product configuration screen (Figure 9).
NOTE: If you have already set the BlueWave 200 up for PLC operation according to the instructions in
“Operating in PLC Mode” (Page 20), the bulb will be controlled by the PLC and the starting screens will be
slightly different. See “Start-Up Screen for PLC Mode” (Page 20).
Figure 8. Back Panel On/Off Switch
Figure 9. Product Configuration Screen
3. Turn on the internal UV Bulb by pressing the On Button located on the front panel.
CAUTION! This is an arc, not a filament Bulb. Once ignited, it must be left on for a minimum of 10
minutes to vaporize elements in the Bulb. If not, the Bulb may be difficult to re-ignite. Each re-ignition
increases the rate of Bulb degradation.
NOTE: You can turn off the Bulb at any time by pressing the Off Button on the front panel. The Bulb must
be allowed to cool at least five minutes before it can be re-ignited. If the Bulb fails to ignite, an error
message will appear on the LCD Display. Refer to “Troubleshooting” (Page 31).